” Makeup is an extraordinary tool that allows me to share my inspirations, my fantasies, and my vision with the world”
PAT McGRATH
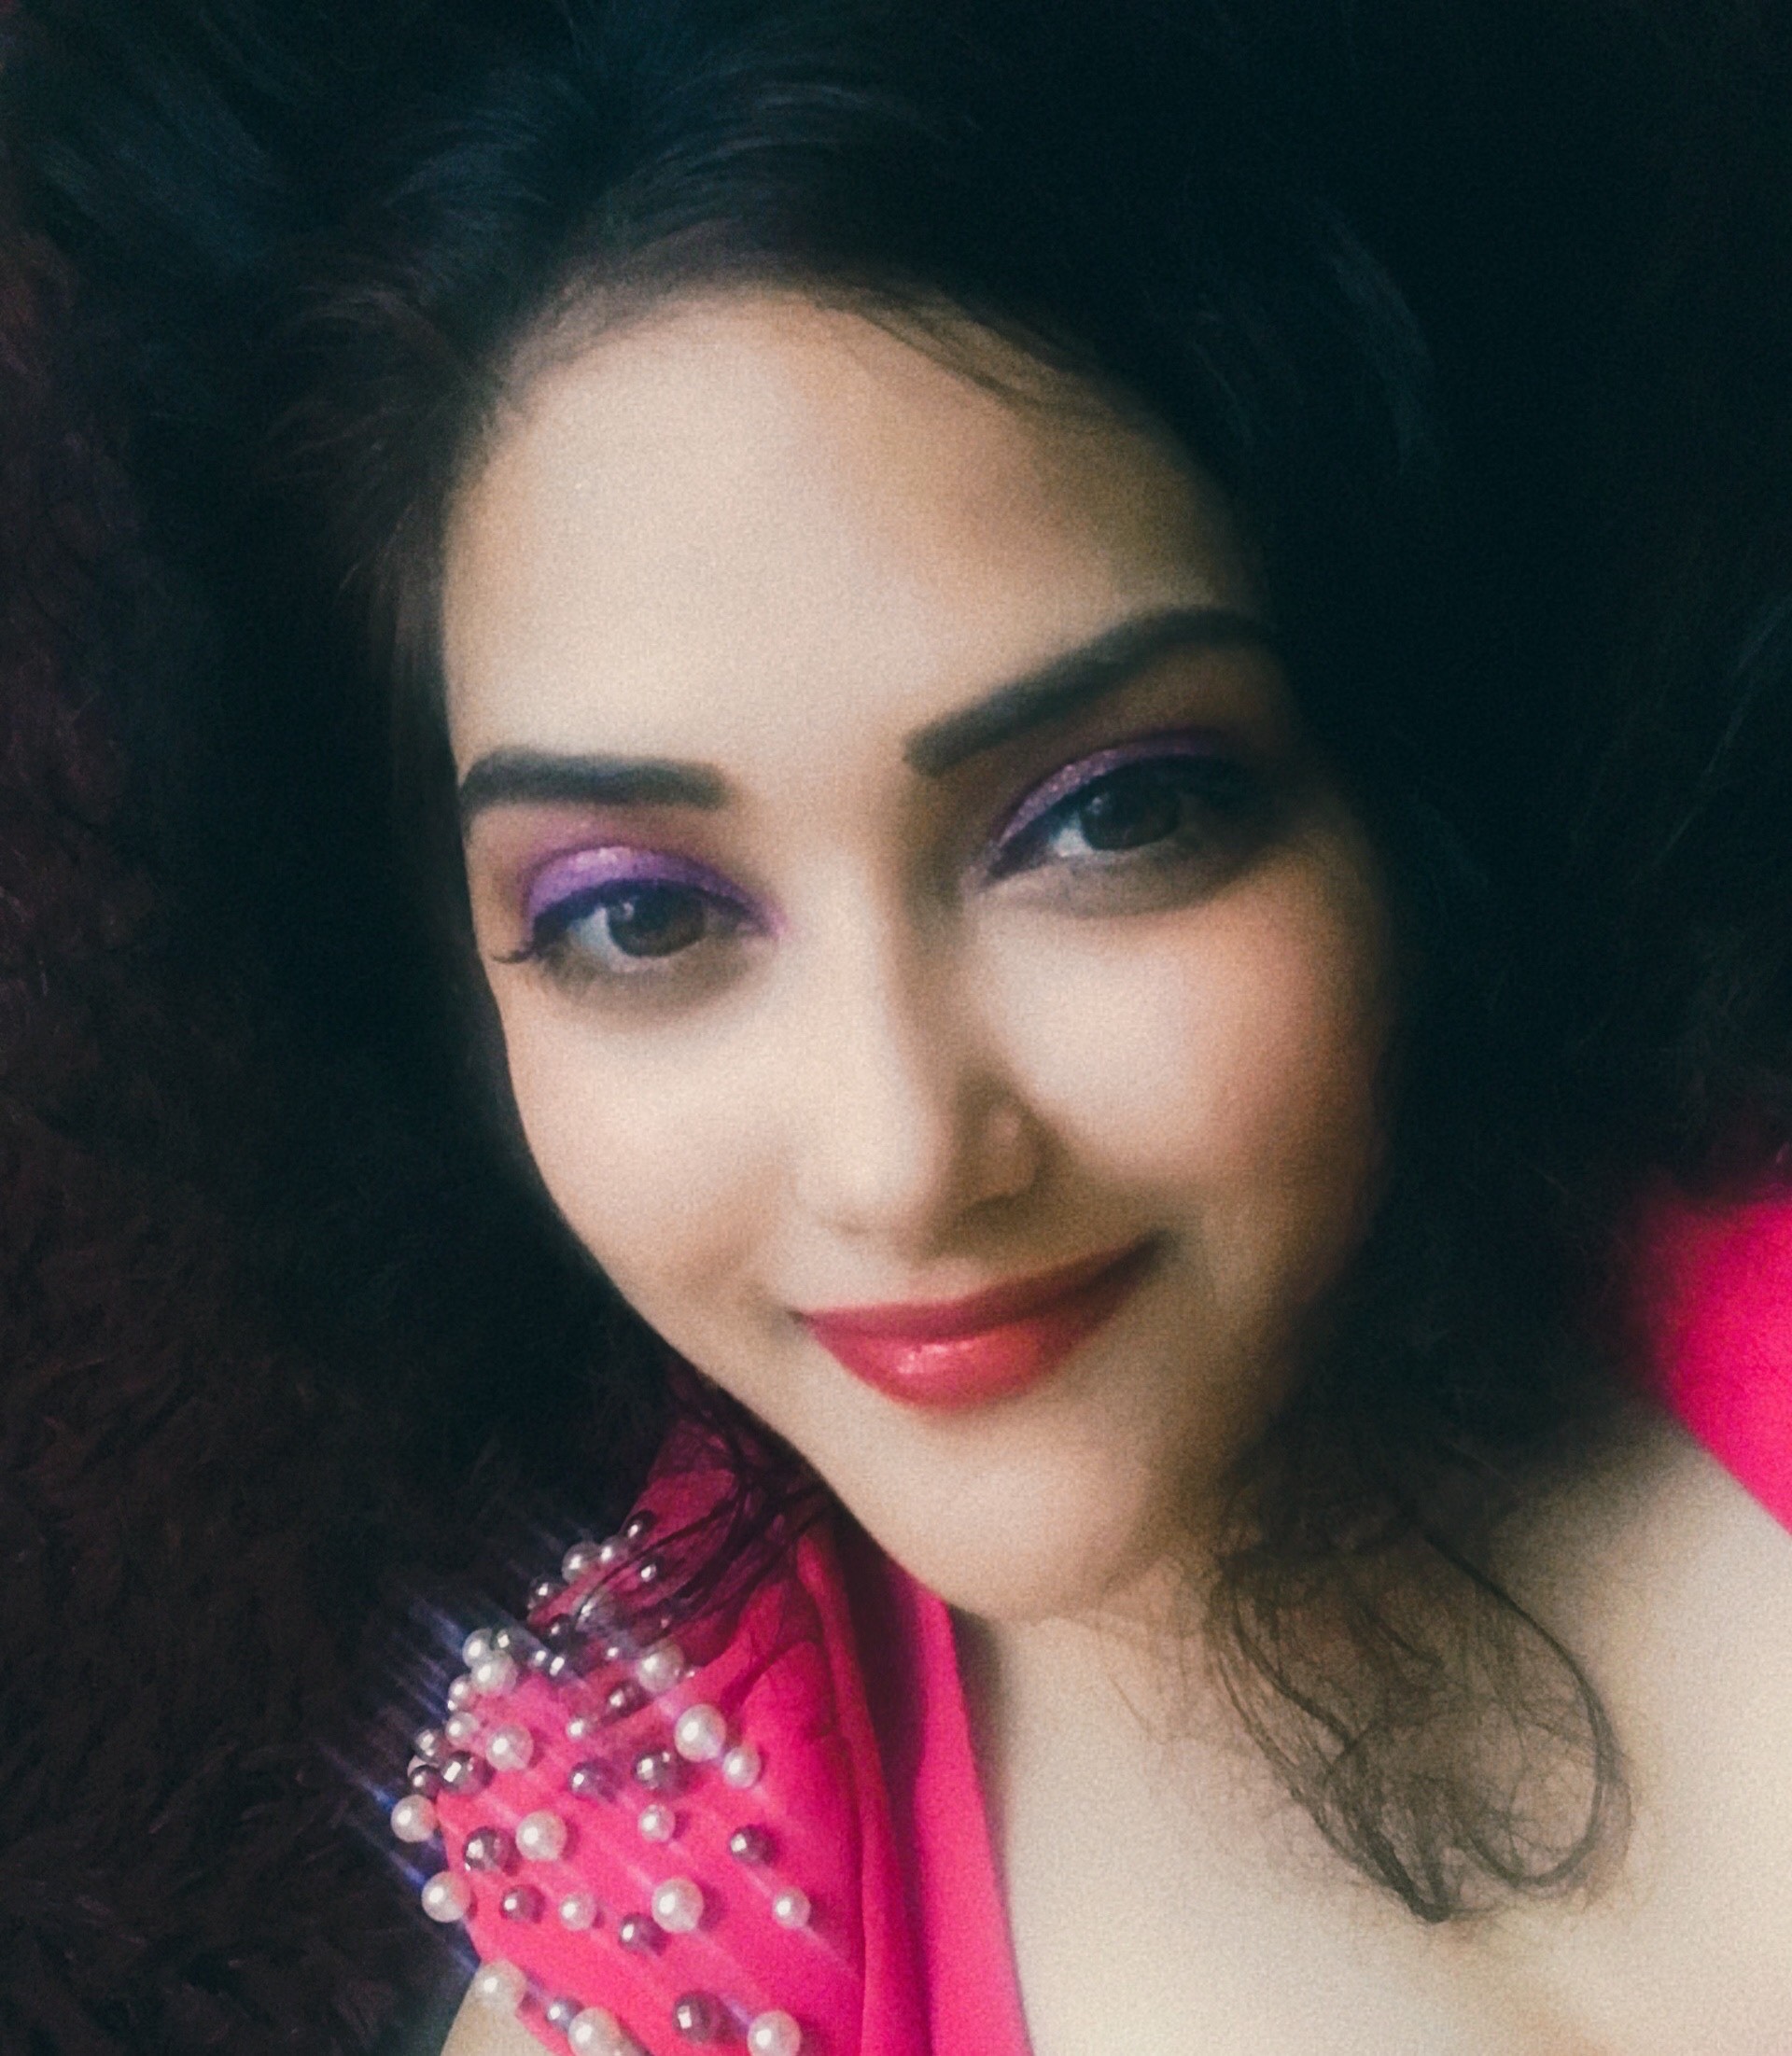
Glittery eye accents and warm highlights are definite standouts for any season, especially when we are transforming from one season to another. And taking this to newer heights by trying on earthy tones is a bang-on! My love for earthy tones will never end and also it’s my mantra when I am not planning to go overboard and keep it close to simple. Earthy shades always glam up the whole look by keeping it subtle which other shades or colour palettes rarely do. You can play any which way with these earthy shades as they rarely go wrong and can be experimental any time you want.
Let me decode one such makeup look which includes all earthy shades from head to toe as you can accessorize this look with a proper hairdo and take this to next level.
Like previous tutorials again we have to focus on three major areas to nail this look!
Let me start with:
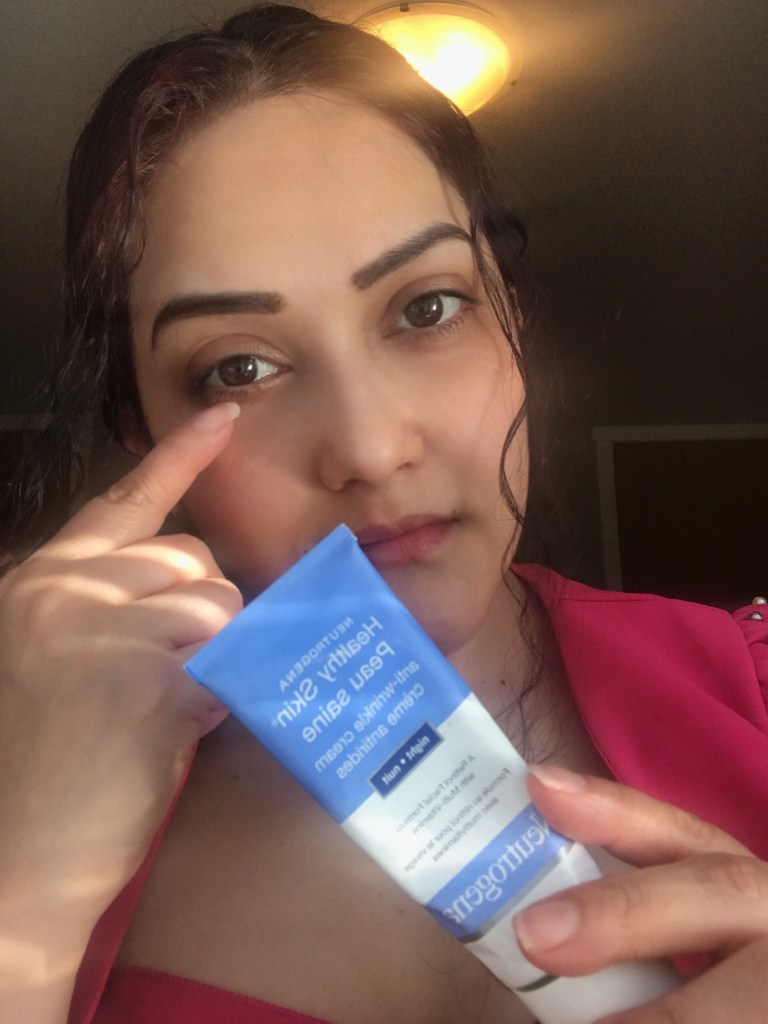
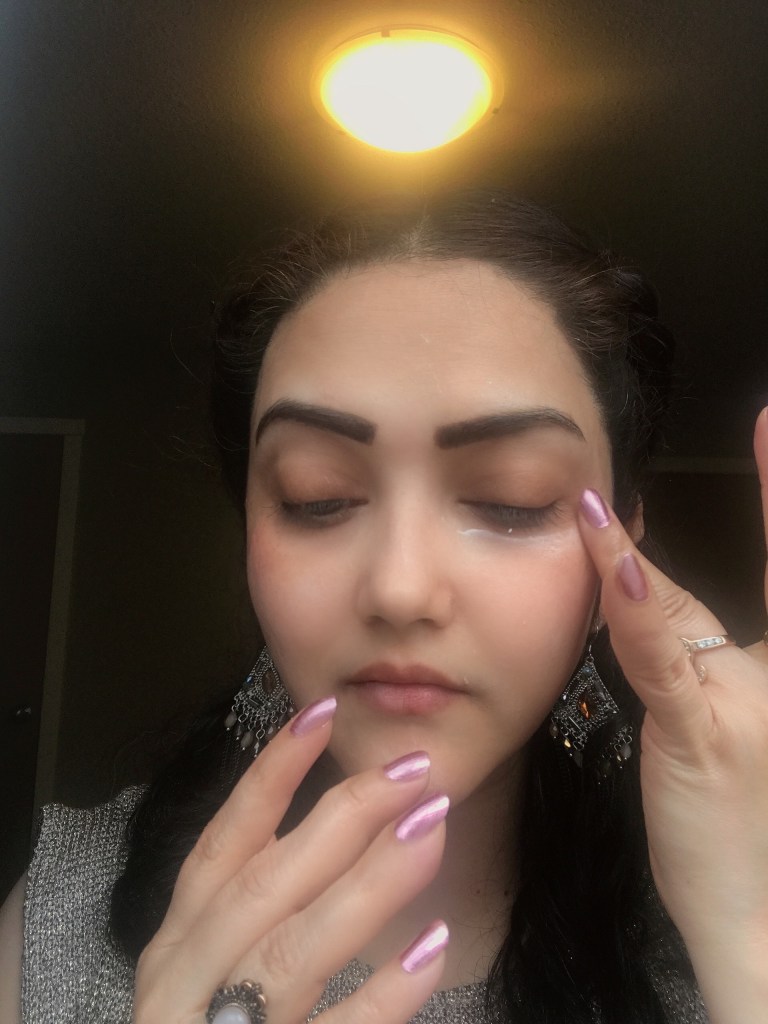
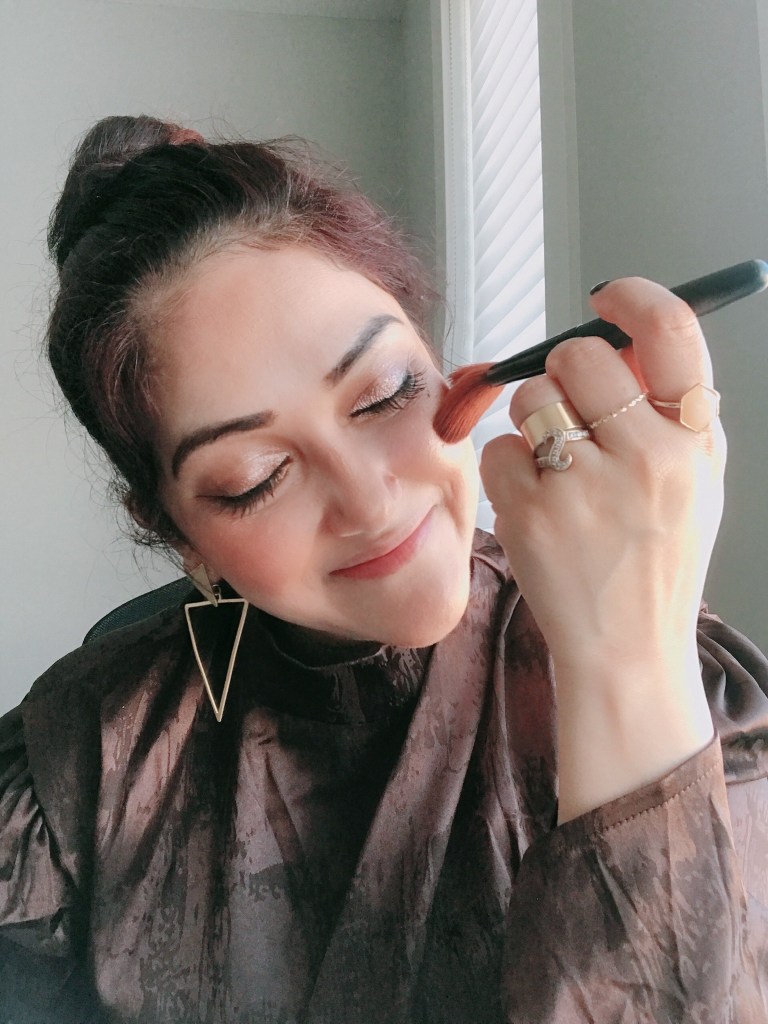
CHEEKS
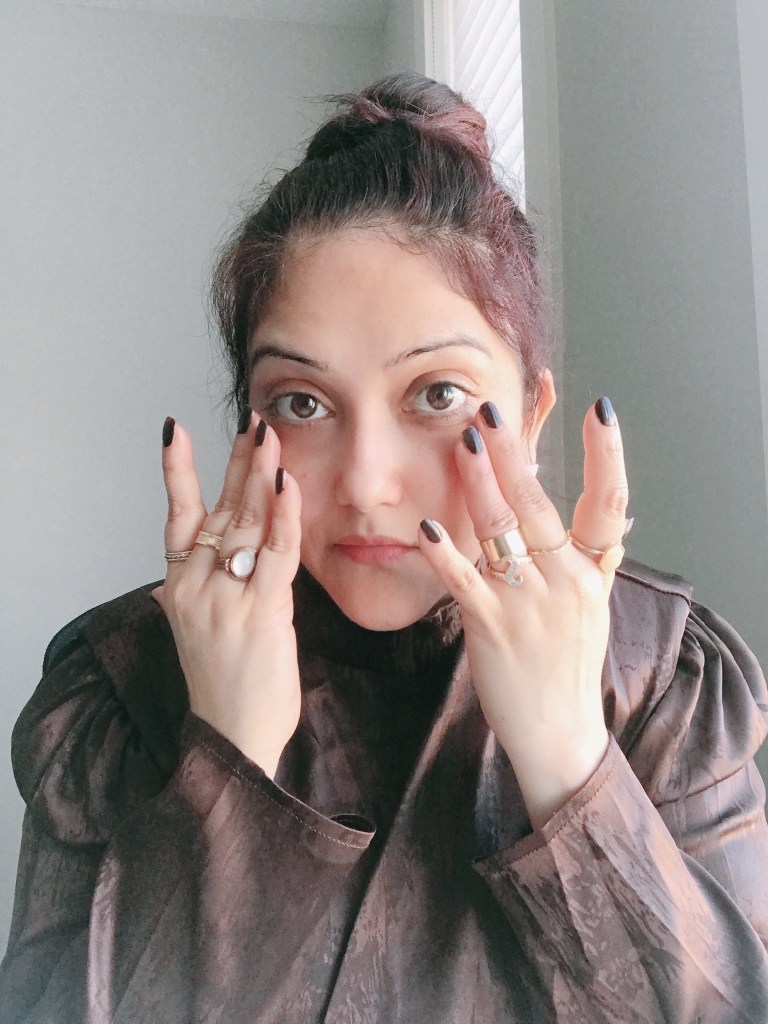
- Moisturise your skin, I used Aveeno Moisturiser the best suitable for any skin type.
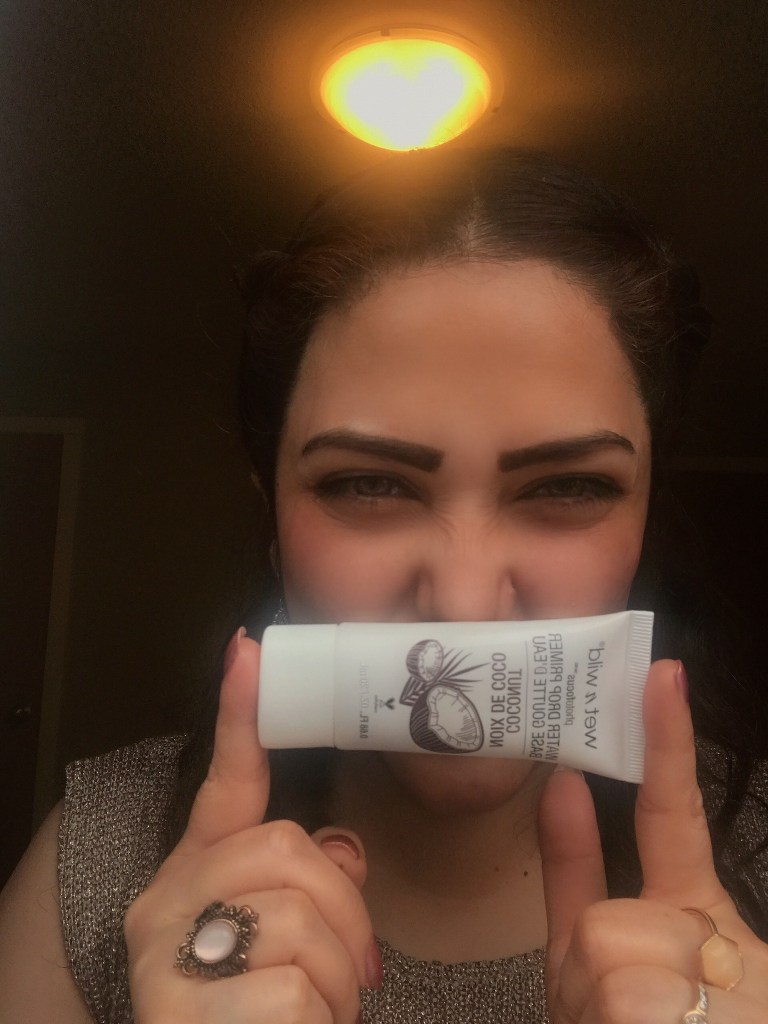
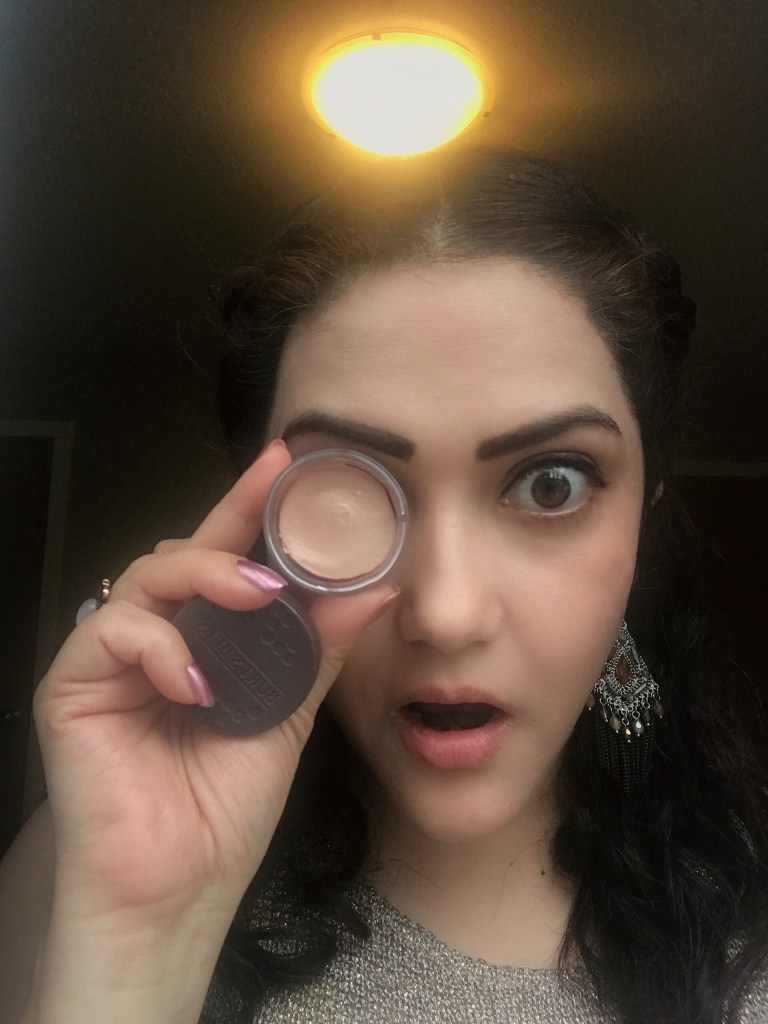
- Do a liitle Poreless primer, I used Wet and Wild Primer all over my face.
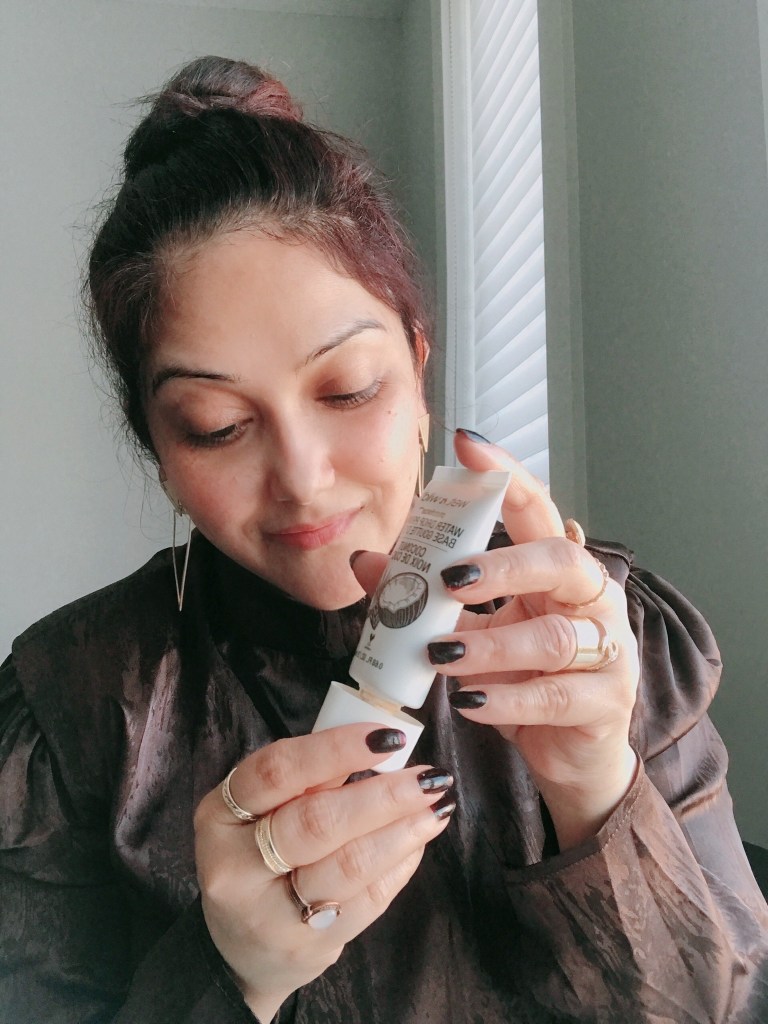
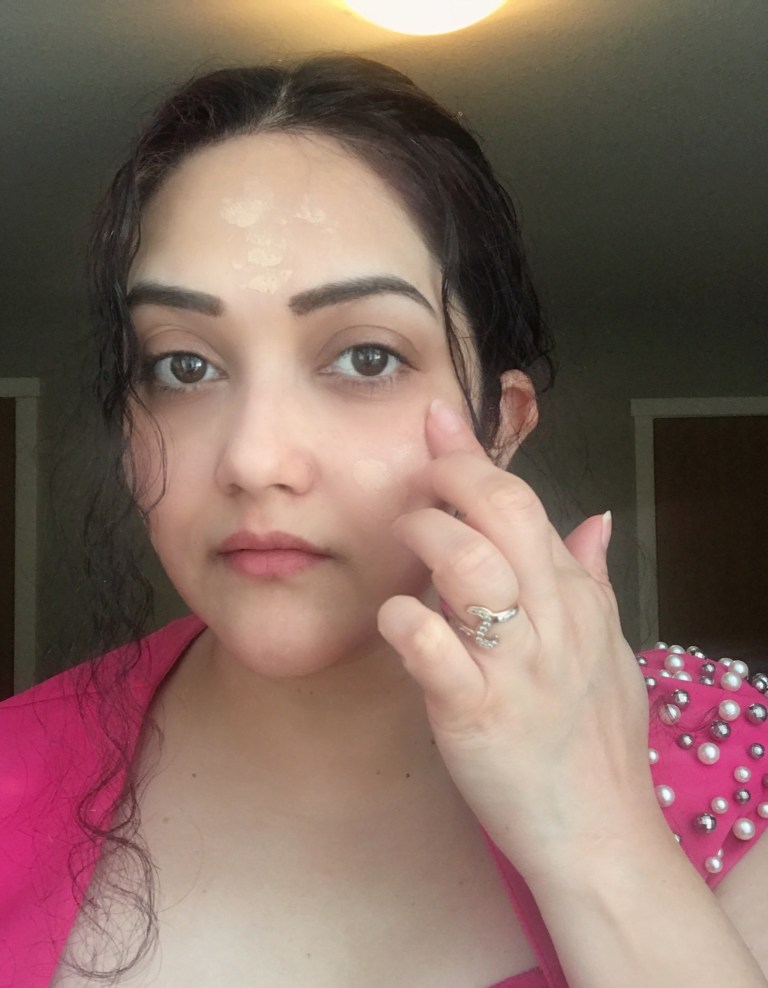
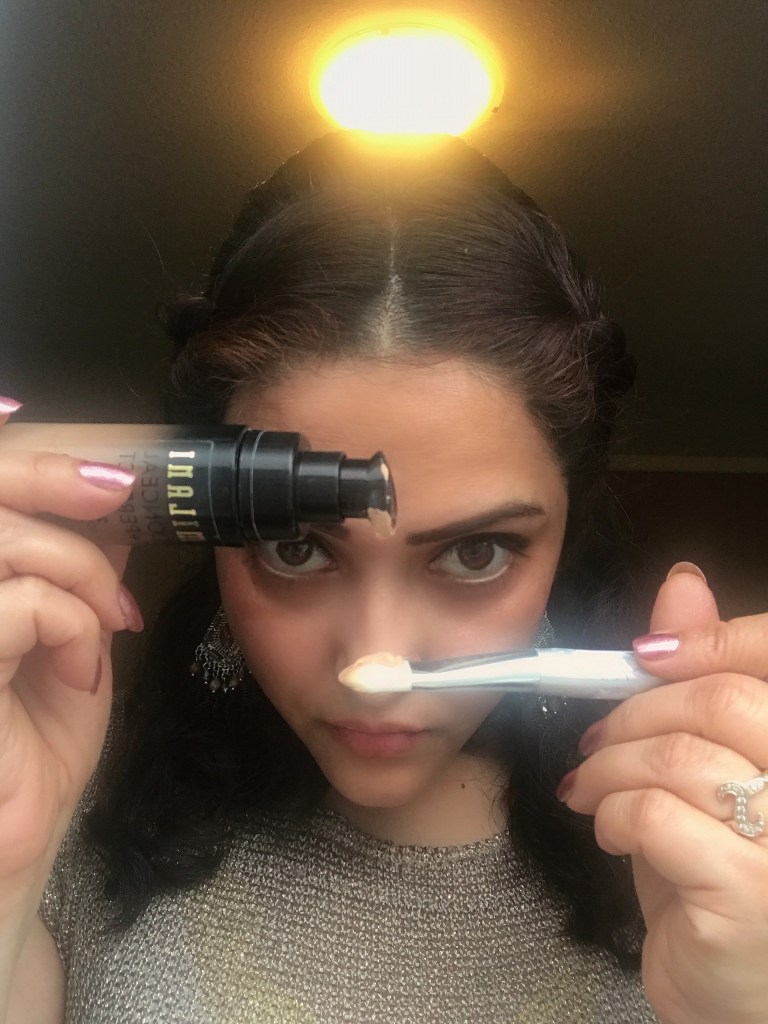
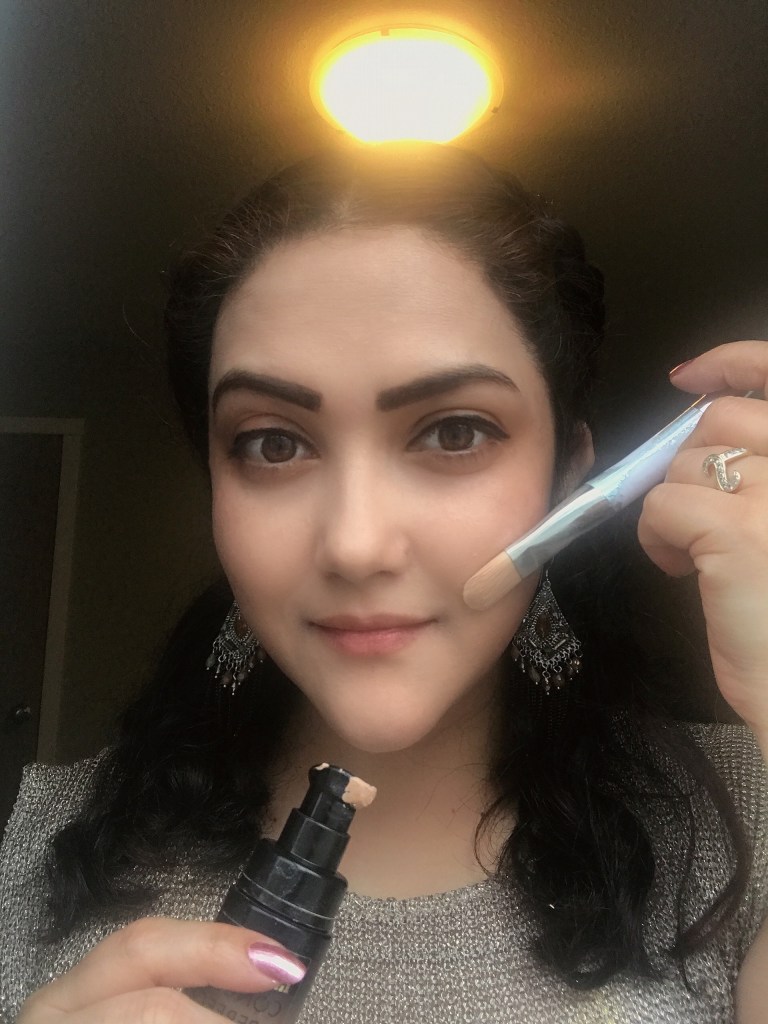
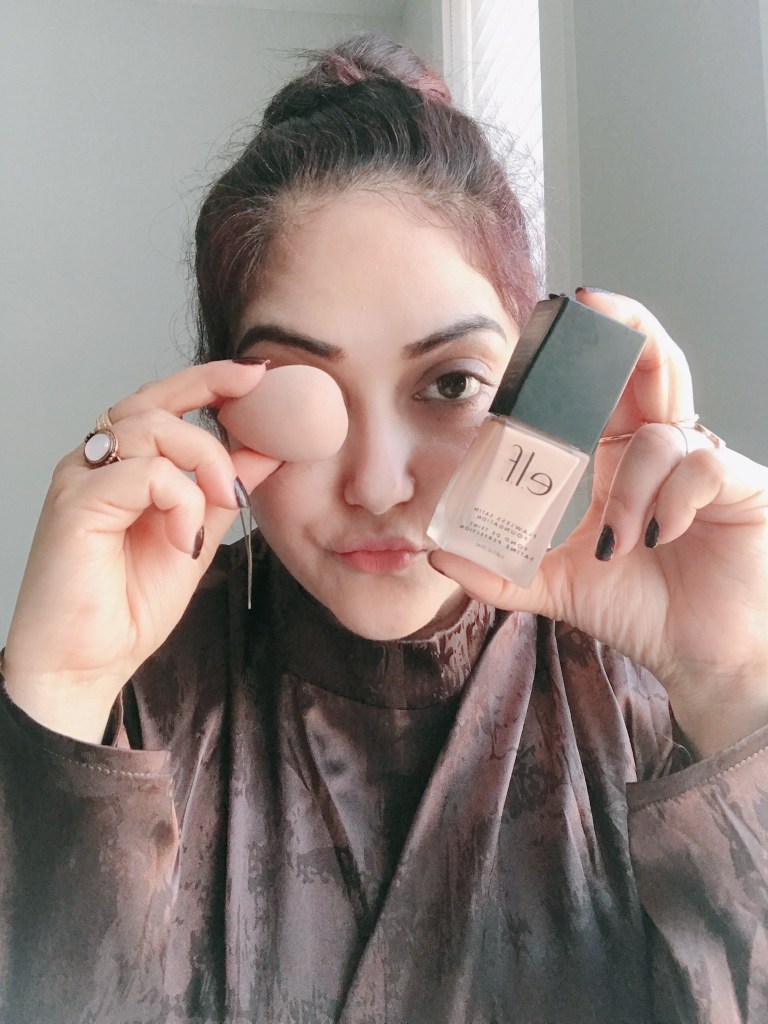
- Apply foundation and dab it evenly. I used Elf Flawless Finish Foundation.
- Will use bronzer in the end, not now.
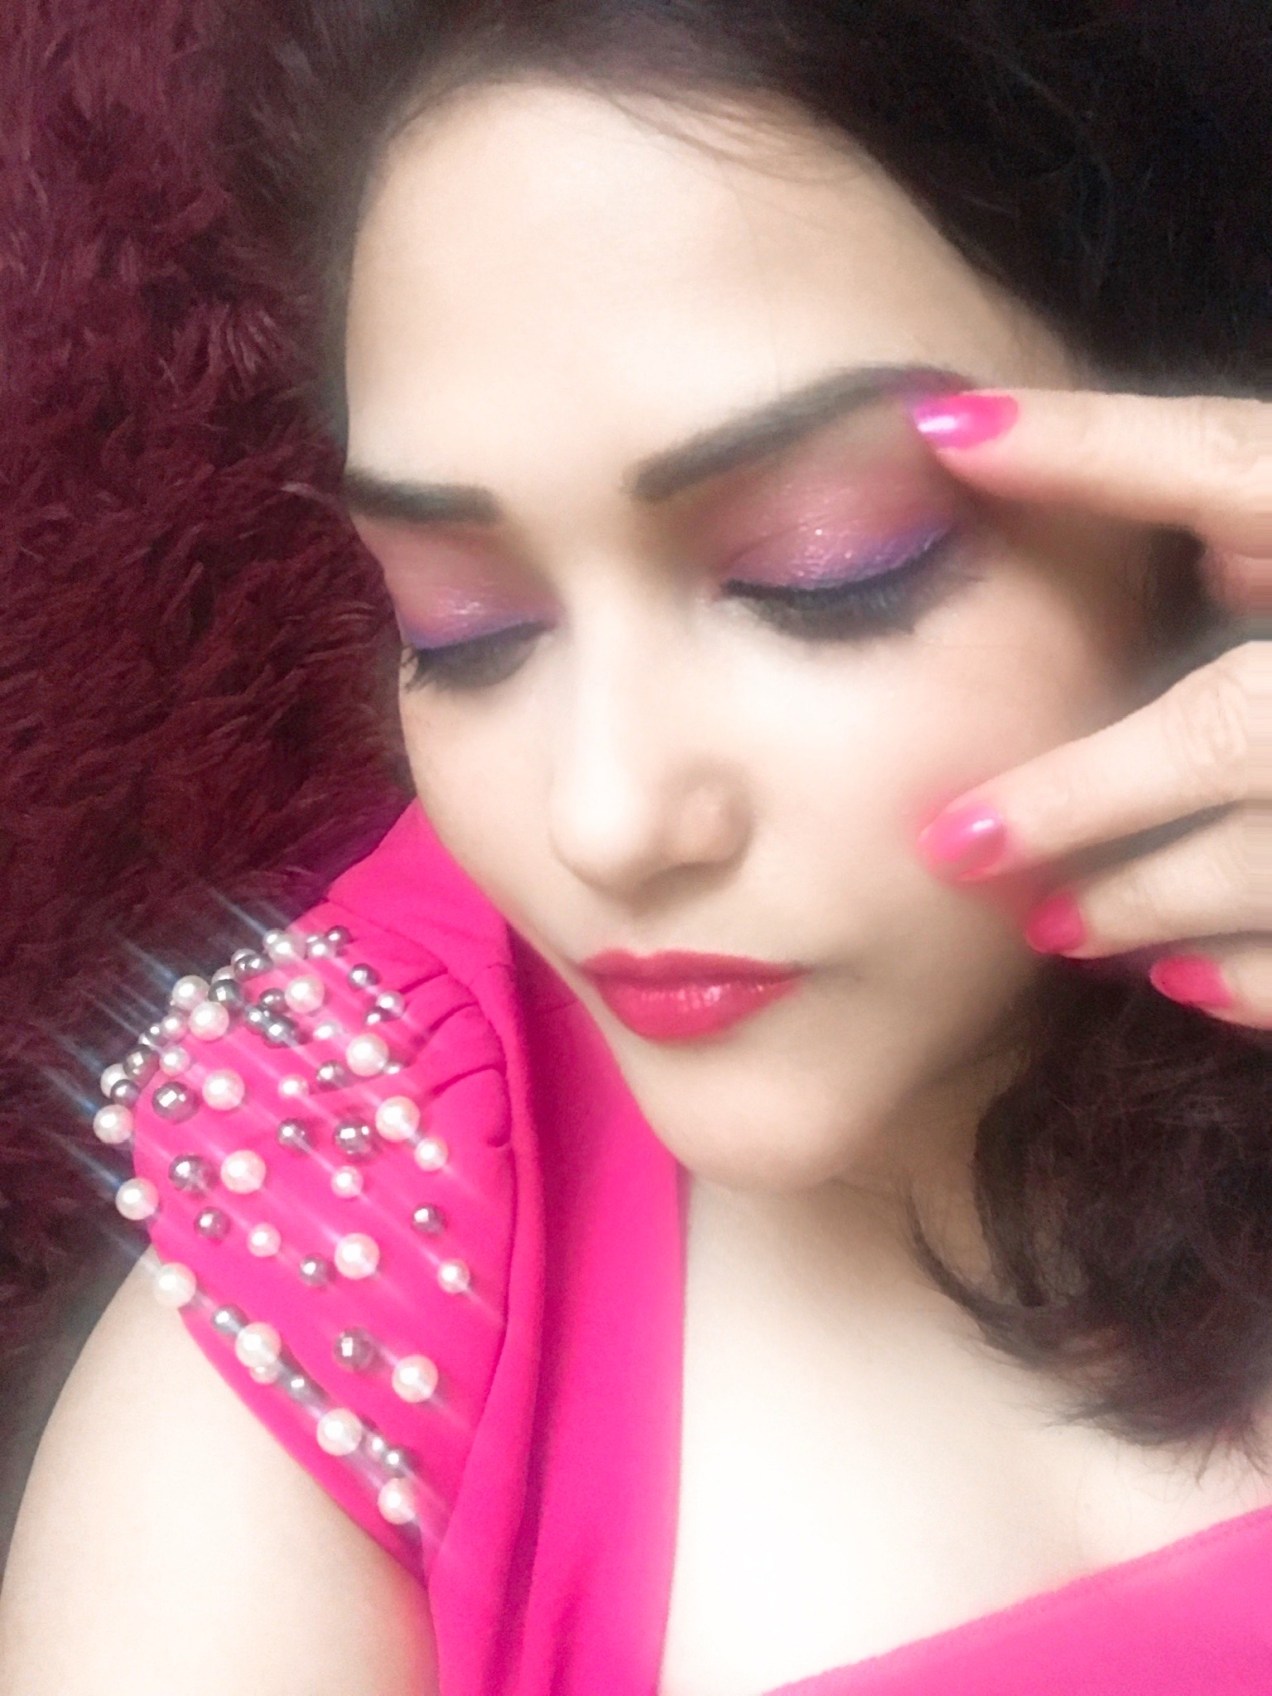
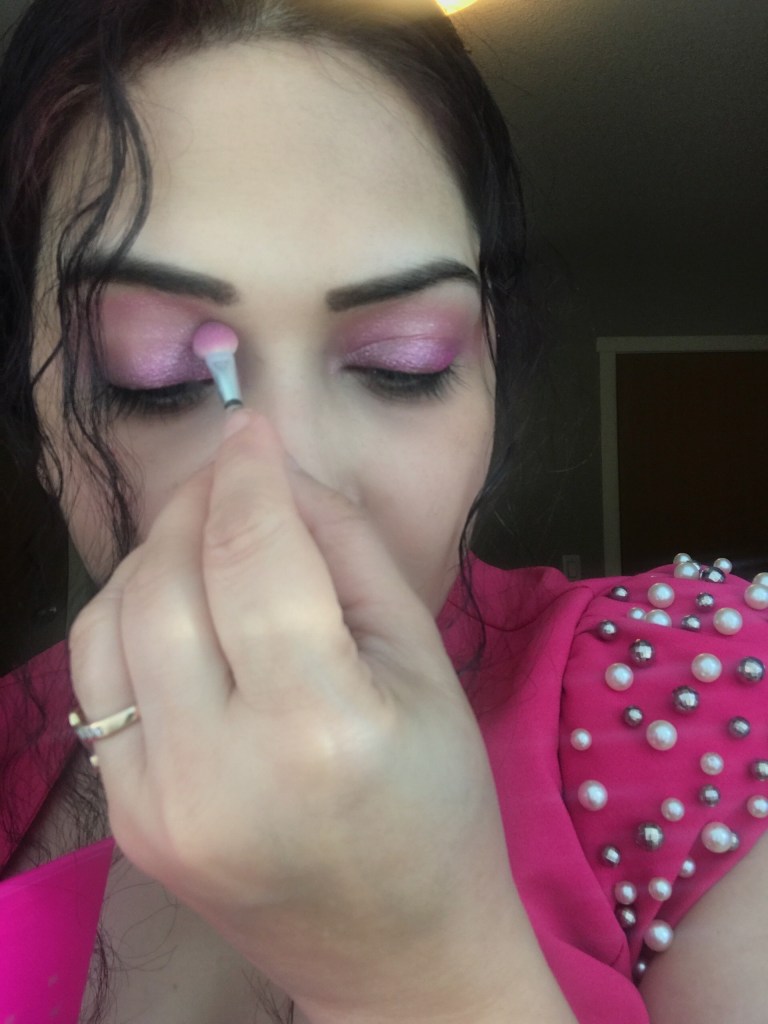
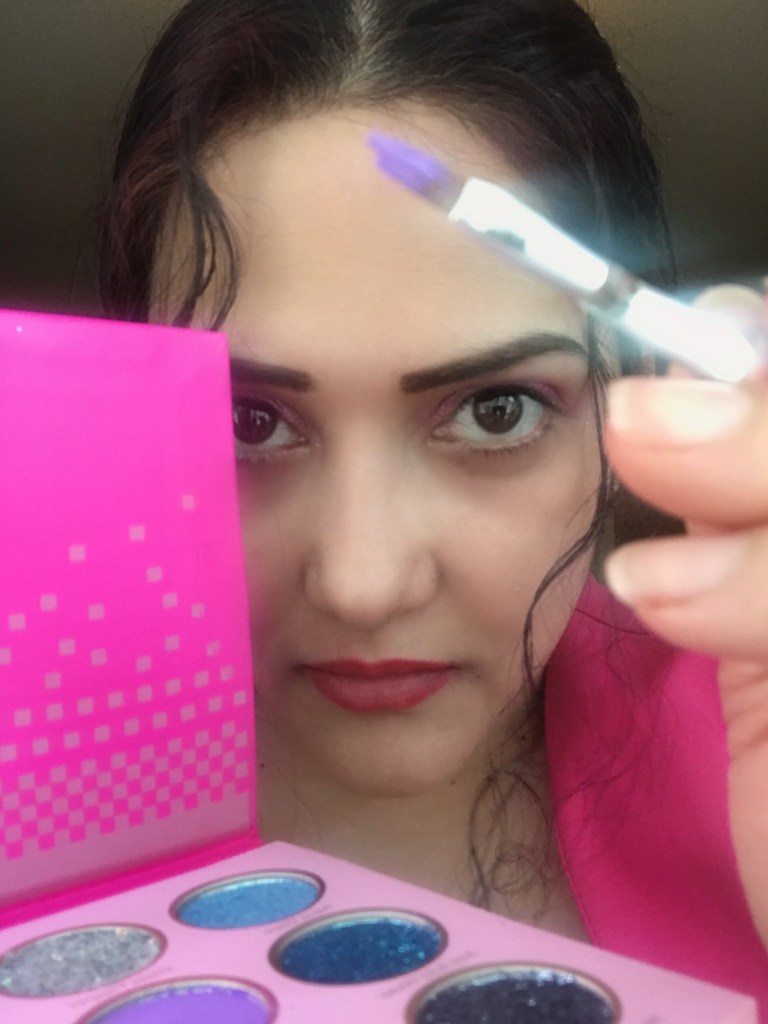
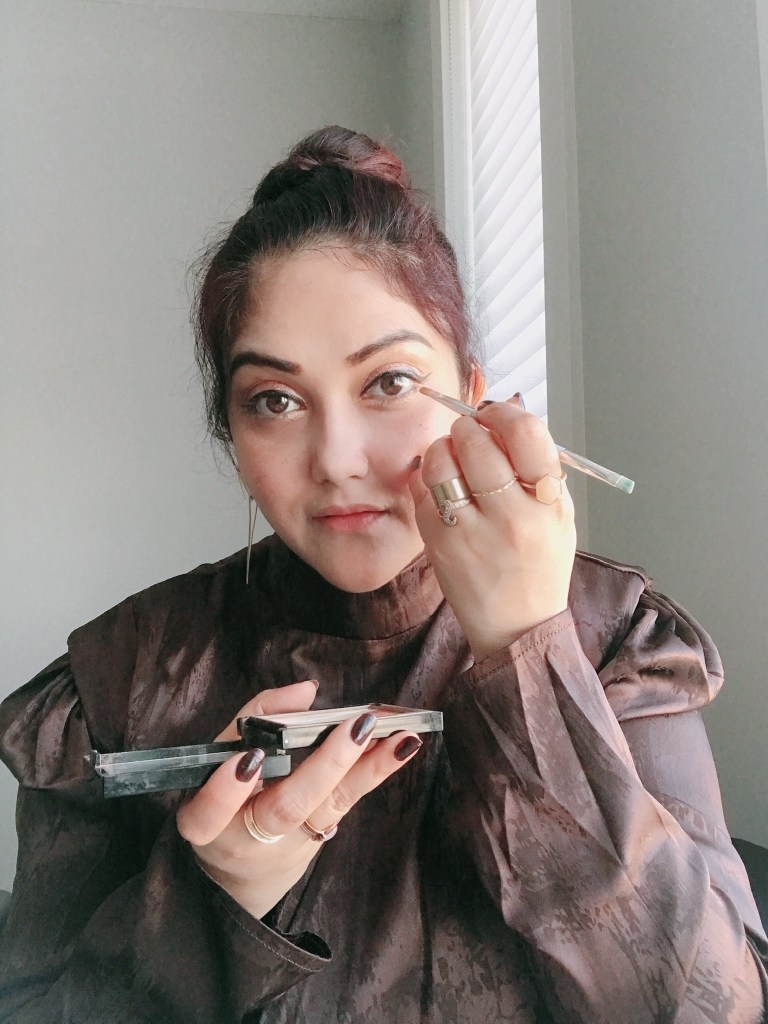
EYES
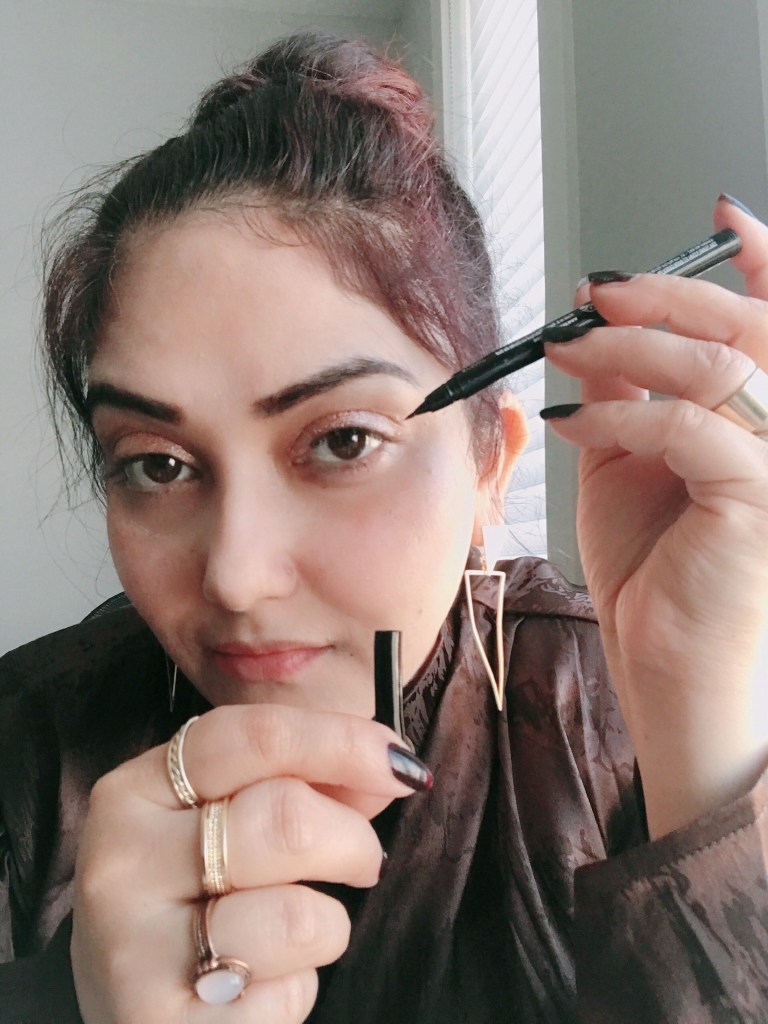
- Choose an ordinary eyliner, I used Nyx Eyeliner make it winged liner to enhance the look.
- Well shaped Eyebrows is a bonus feature to add with this.
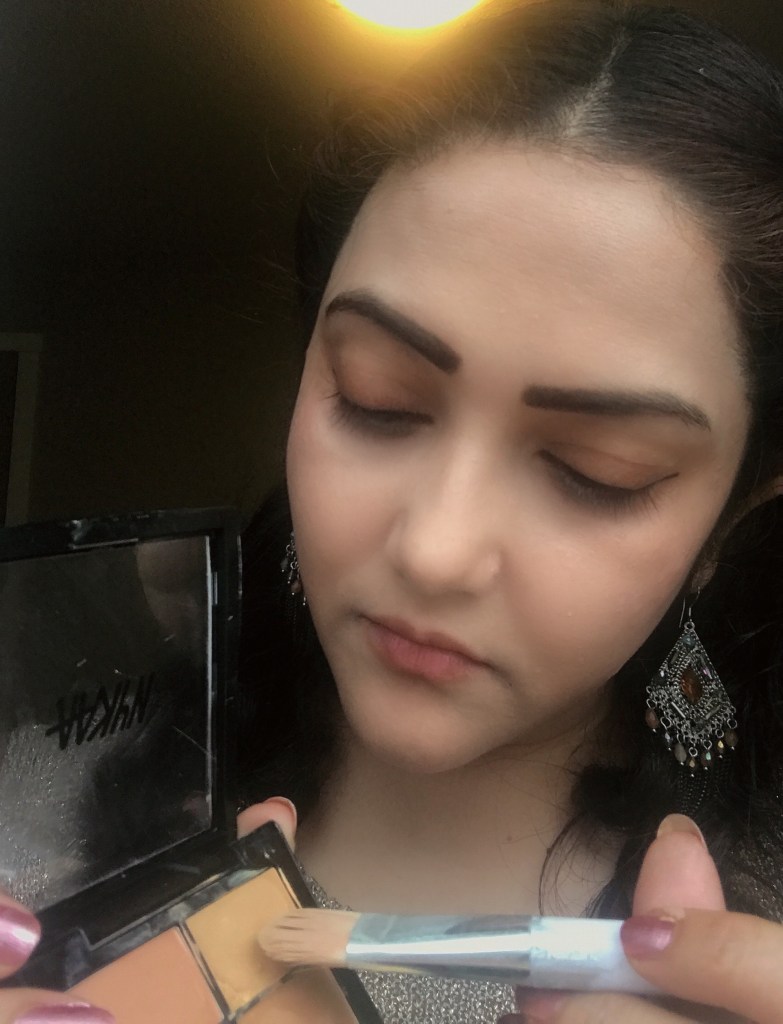
- Glam it up with gold or bronze accents.
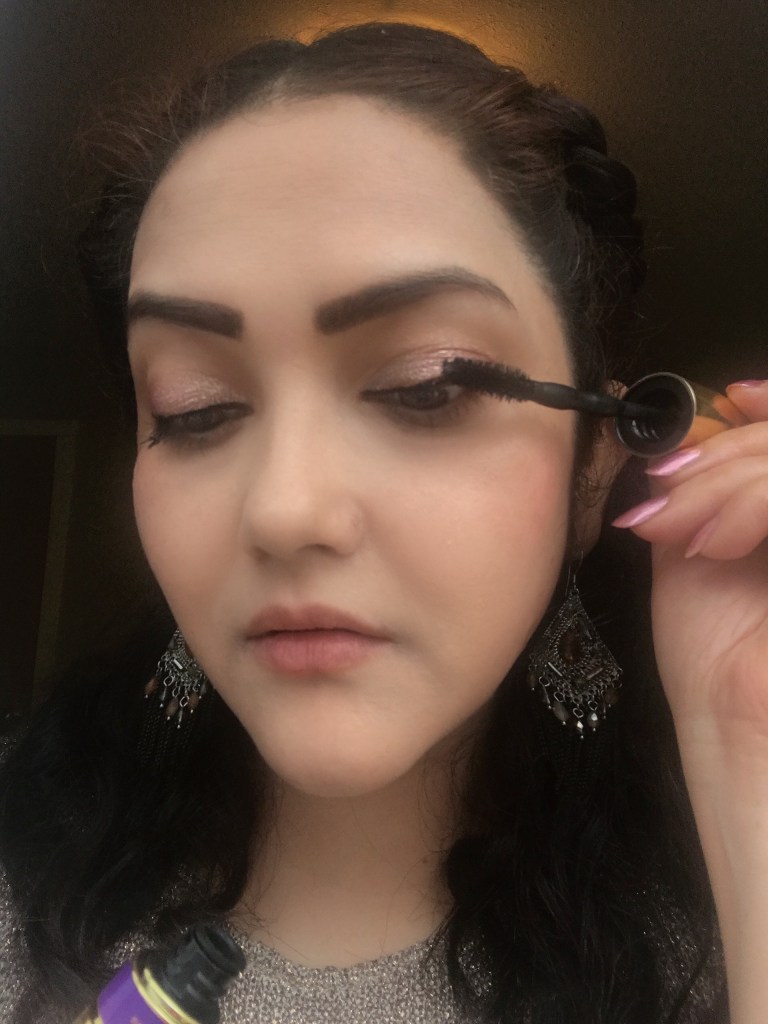
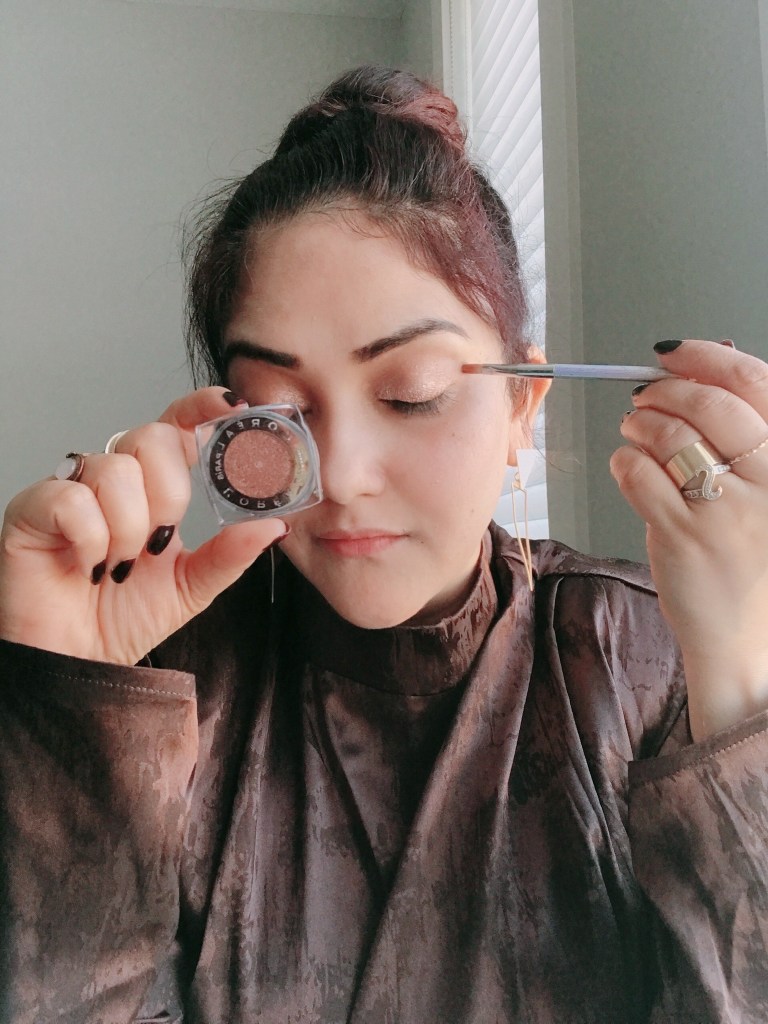
- This eye makeup involves a warm metallic earthy shade for an eyeshadow as per your skin tone, I used L’oreal Infalliable Eyeshadow.
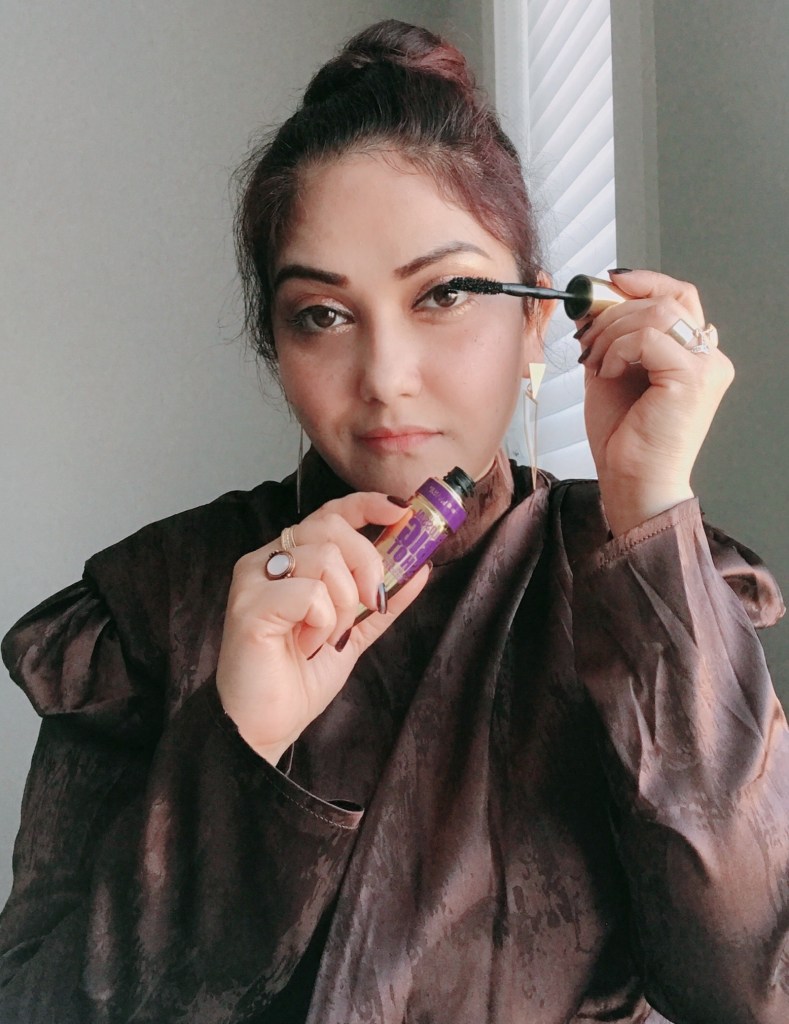
- Swipe up the mascara to amp up the look.
- You can slightly play with the eyes by giving hint of metallic dab to inner and outer corners.
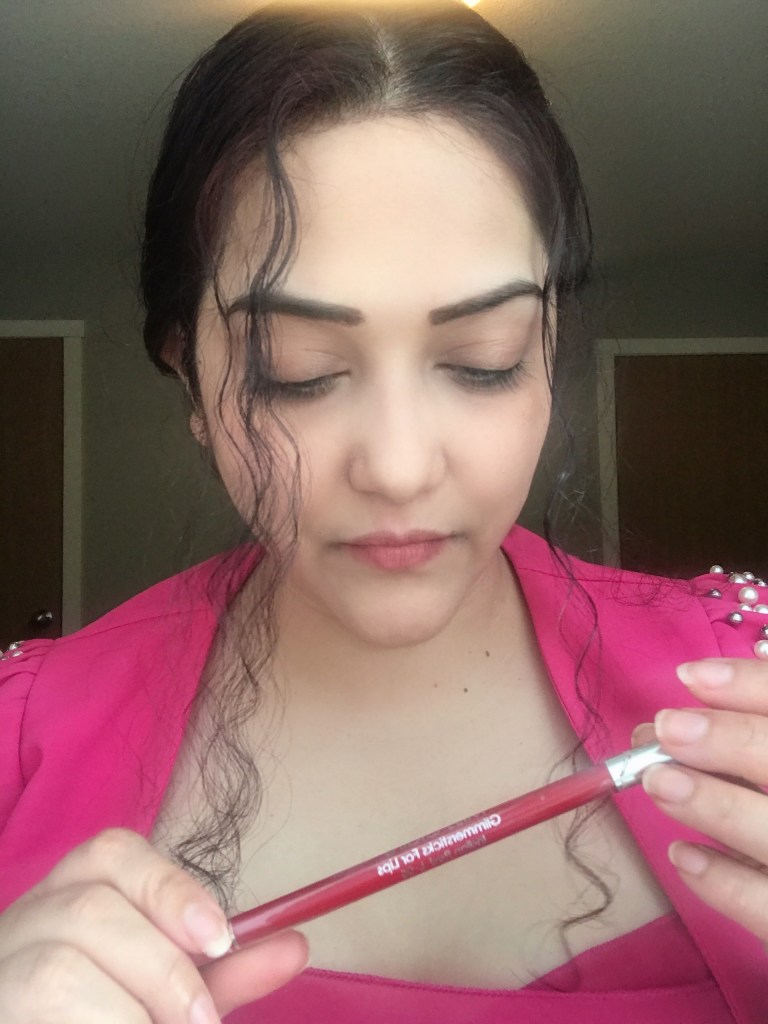
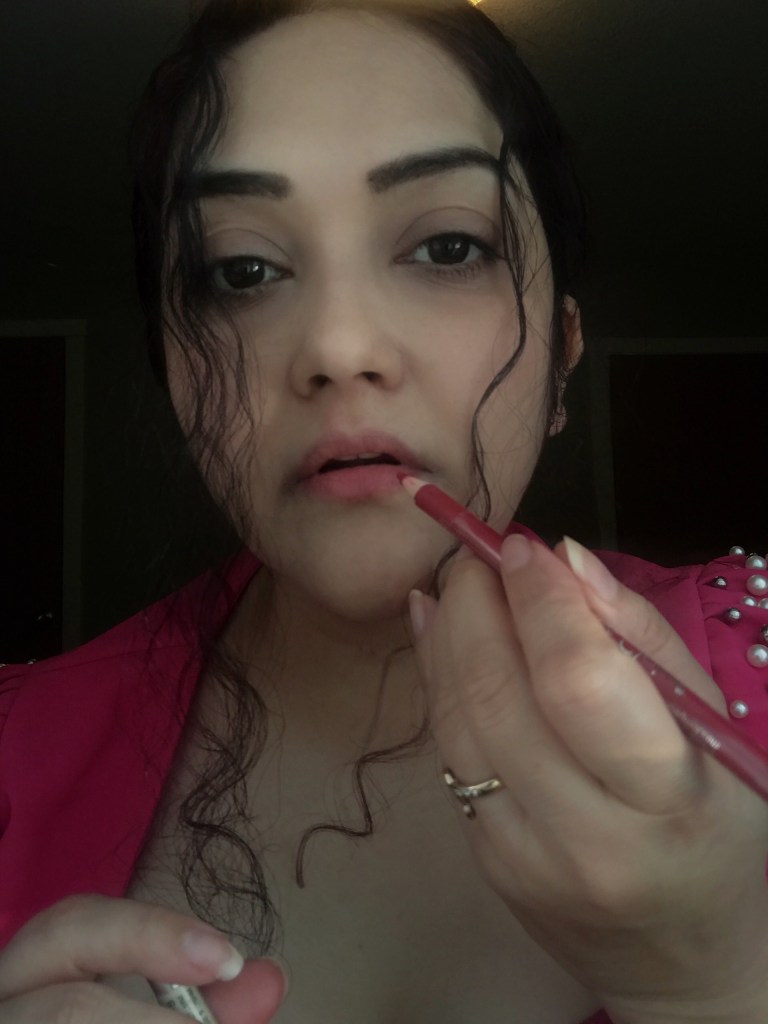
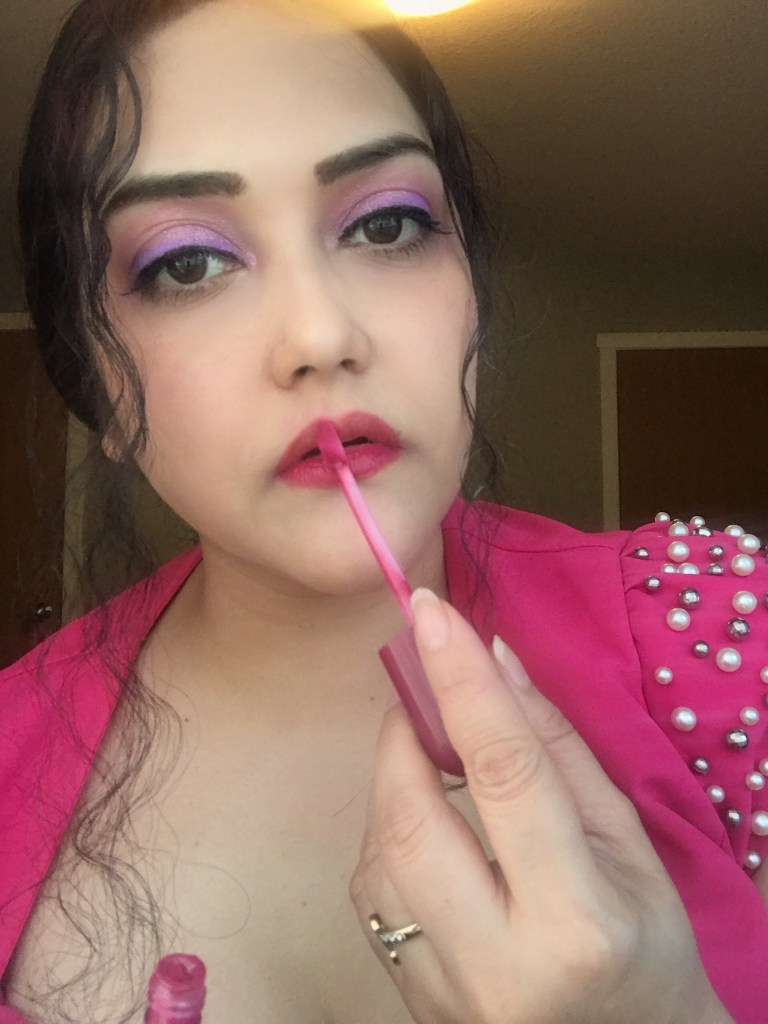
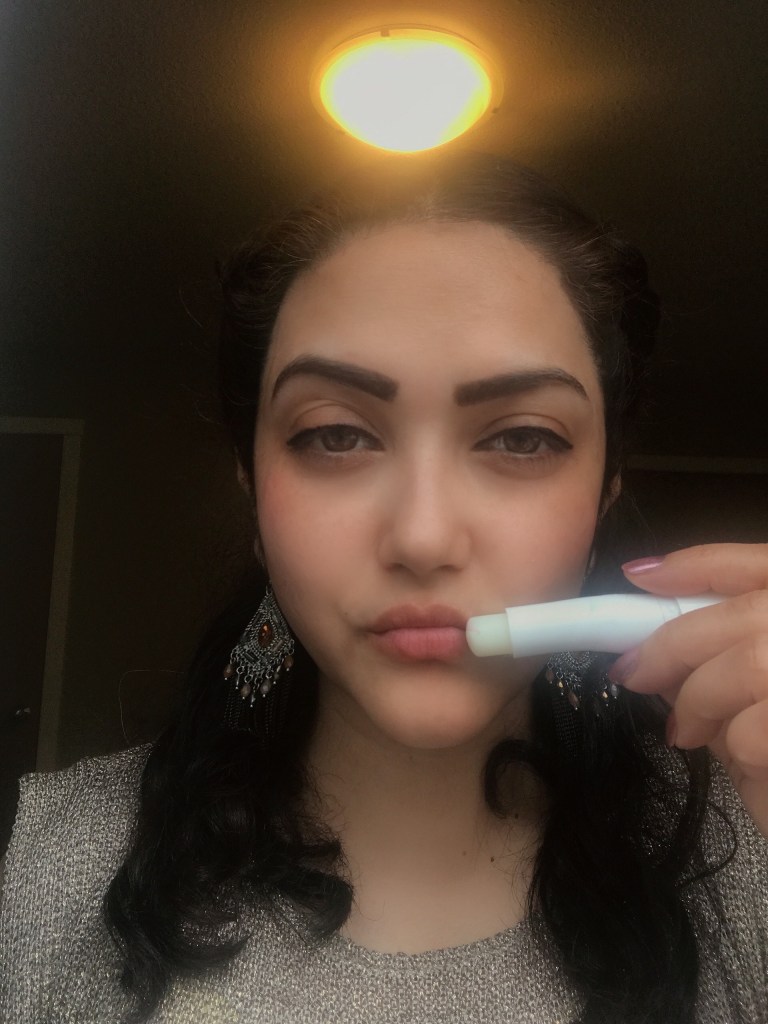
LIPS
- This look demands something ingenious to go with.
- Just a hint of nude gloss lipstick, I used L’oreal Pro Gloss lipstick.

- Yes, you are right! not a right time to wear statement lips as we are looking for overall earthy look for a face. So nothing works best then Nudes.
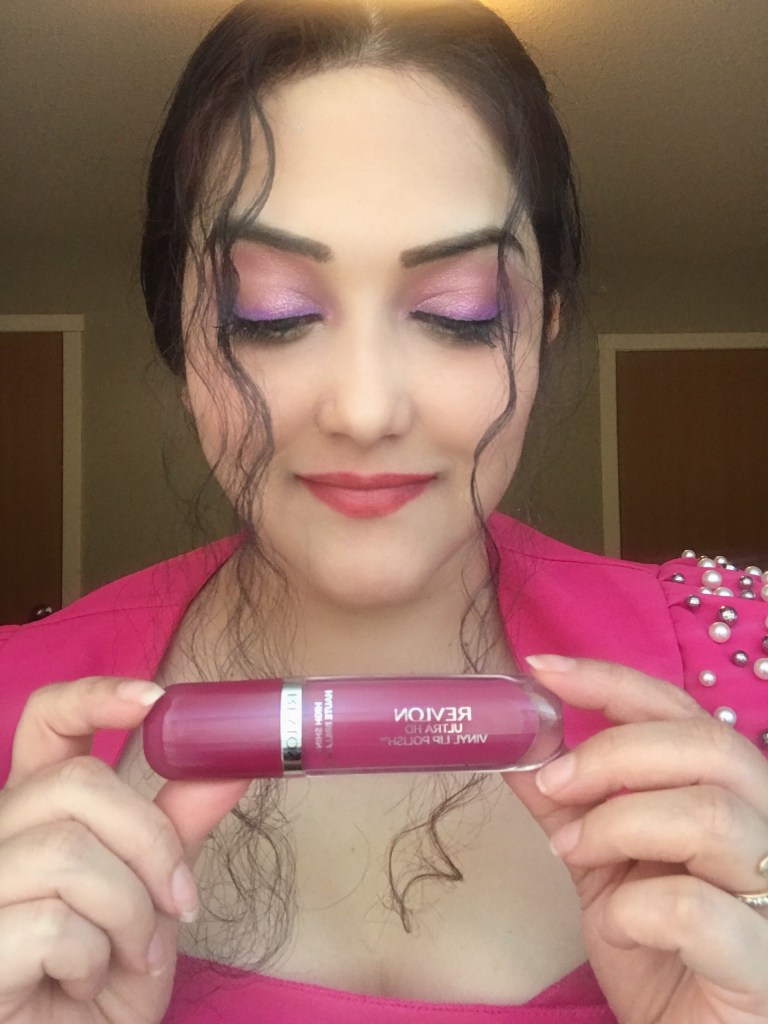
Finally, give a hint of bronzer to the cheeks which belong to an earthy colour palette for finishing!
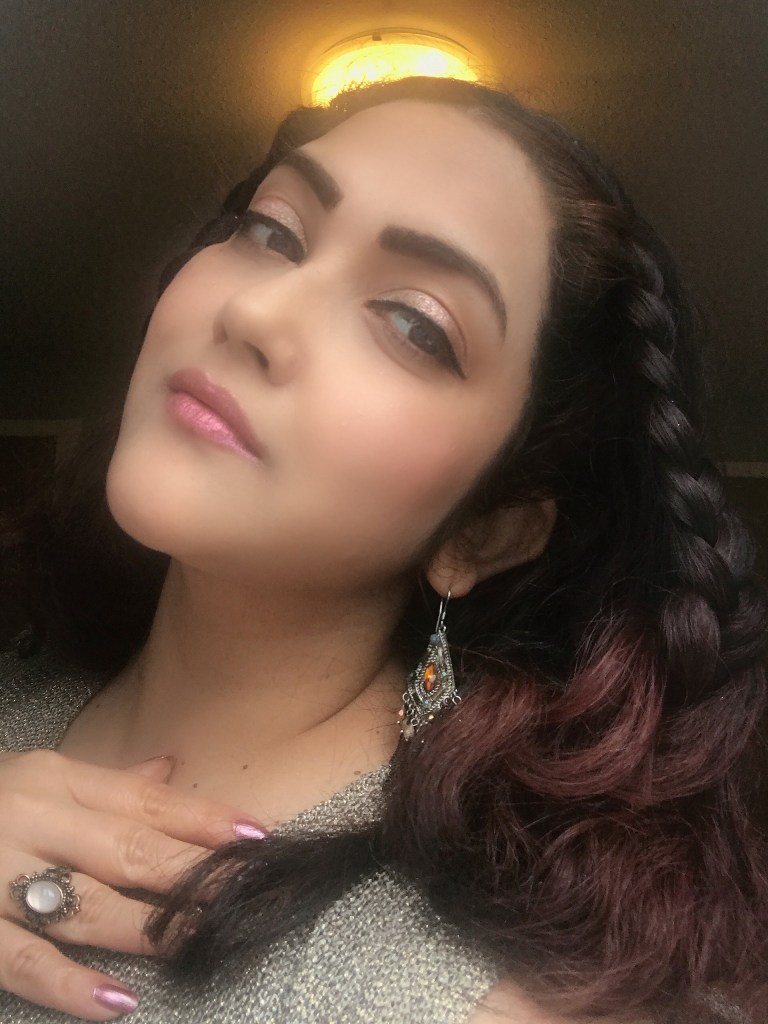
Not to mention, to augment the whole look I opted for a voluminous top knot with geometrical earrings.
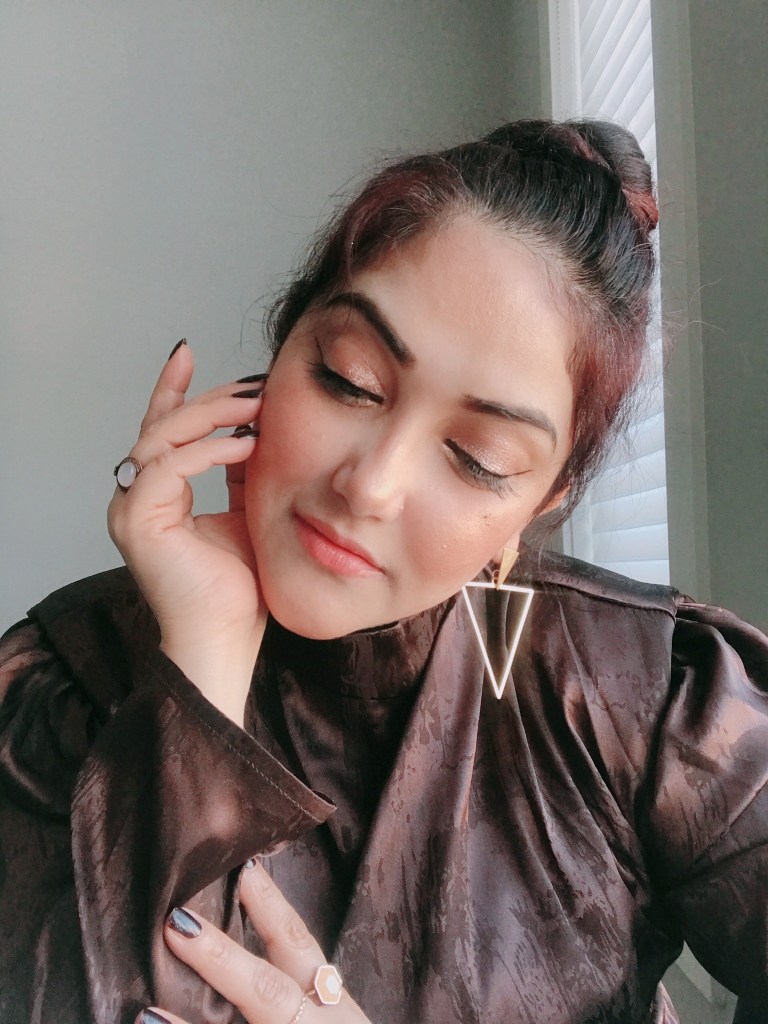
Everything on the face feels so real and natural with a hint of metallic glam but still ethereal and that’s the whole beauty of this makeup do! I hope you guys like it and give it a try for your next night out with family or friends.
Stay safe, Keep Smiling!
Thank you so much for reading!
Sweta”ka”
#blogpost #healthyfoods#superfoods#healthiswealth#walnuts#yogurt#darkchocolate#kale#berries#dailyroutine#healthylifestyle bathandbodyworks beautyandcare beautycare Beauty Craft behealthy boldlook curlingrod eye makeup eyes eyeshadow face fashionbloggers fashioninspiration fashionstyle fashiontips featured foundation freshbeauty haircare haircurls hairdo hairdryer hair fixing spray hairserum hairstyle hairvibes hair volumiser HEALTH Health and Healing health benefits healthybody honey lips loreal makeup makeup.beauty makeupandbeauty makeupbrushes makeup do makeuptools mascara Moda scrub