Almost all words do have colour and nothing is more pleasant than to utter a pink word and see someone’s eyes light up and know it is a pink word for him or her too.
Gladys Taber
So lately as I am quite preoccupied with my regular job. I lost my pace of writing blogs so frequently. But I am trying my best to get it right and post more and more good content.
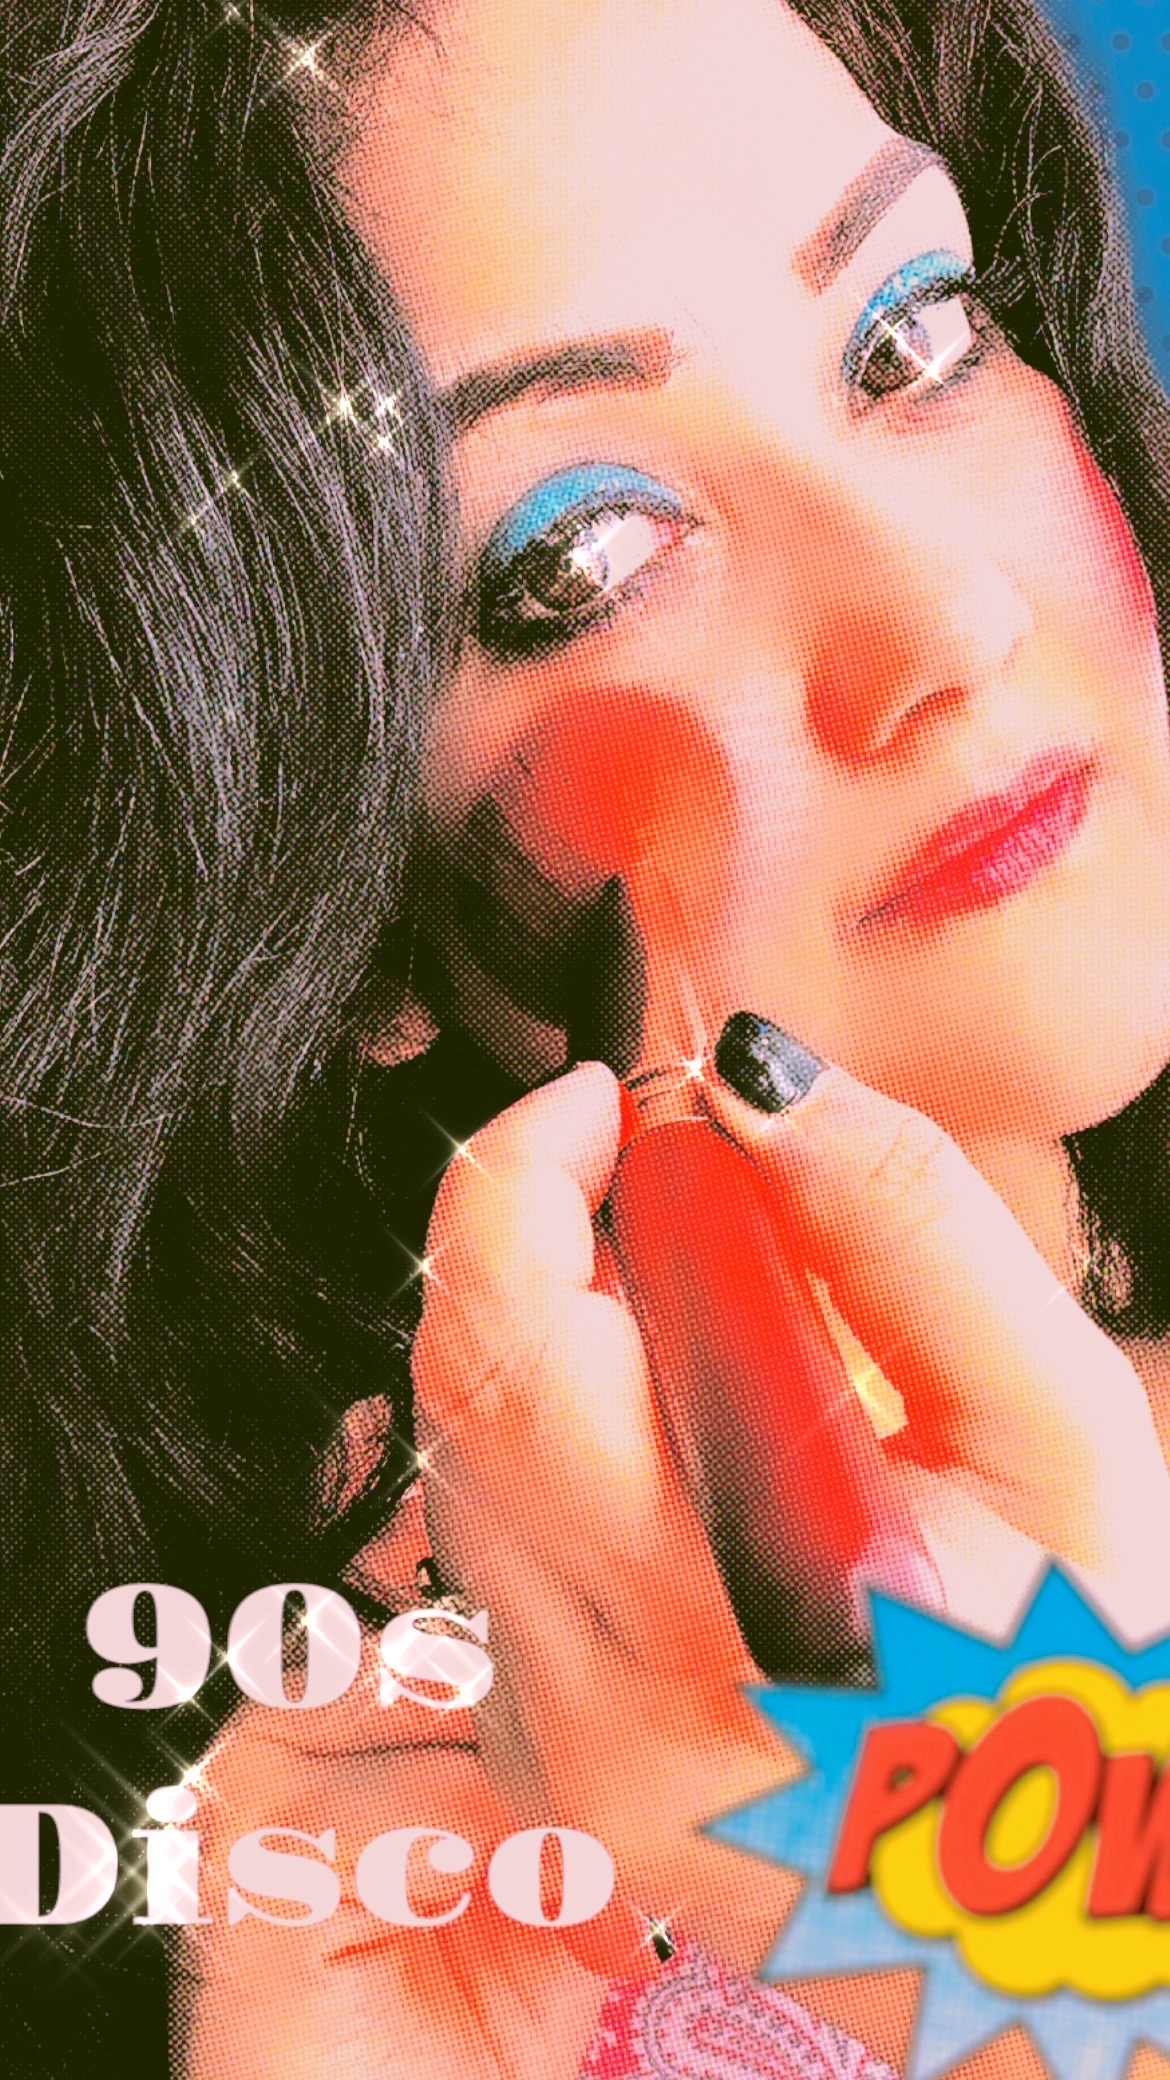
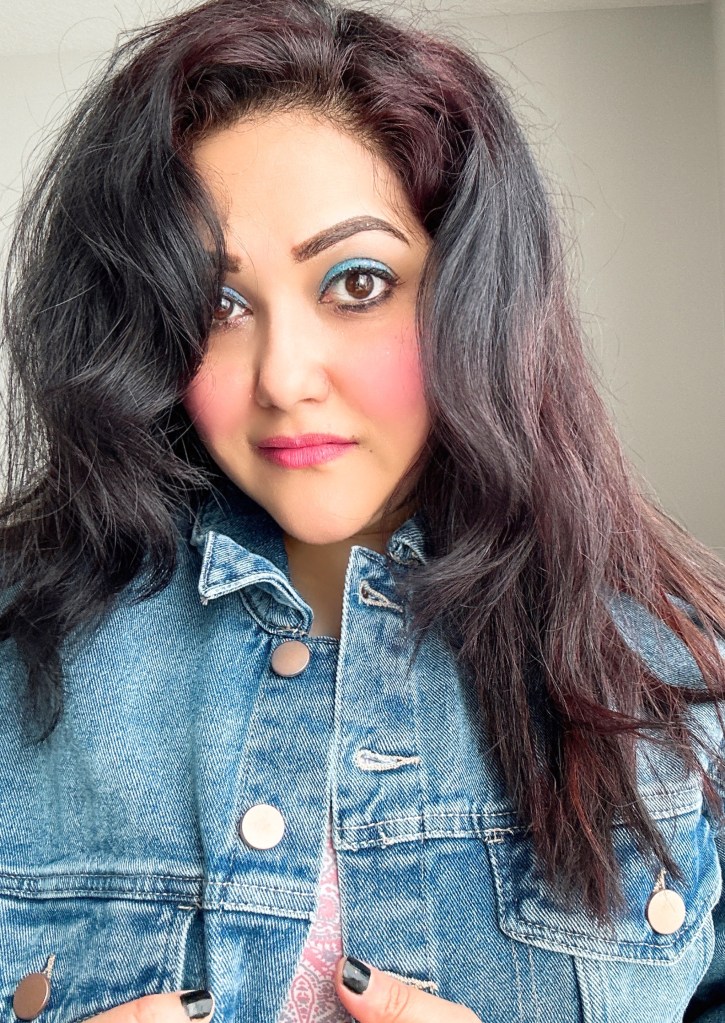
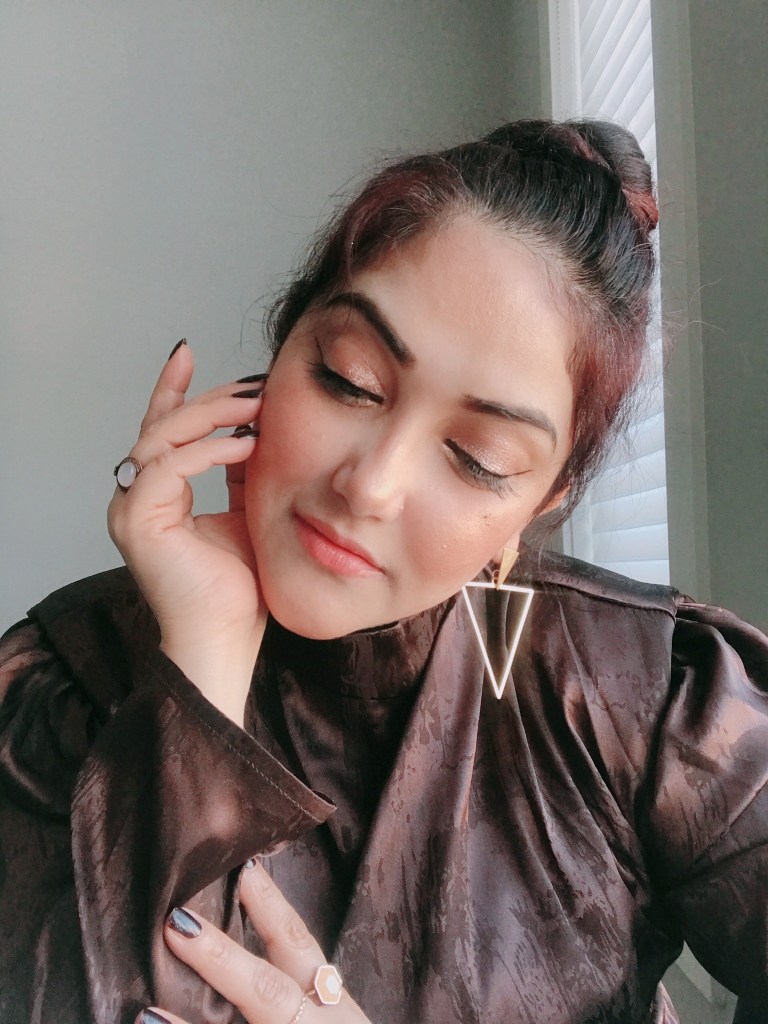
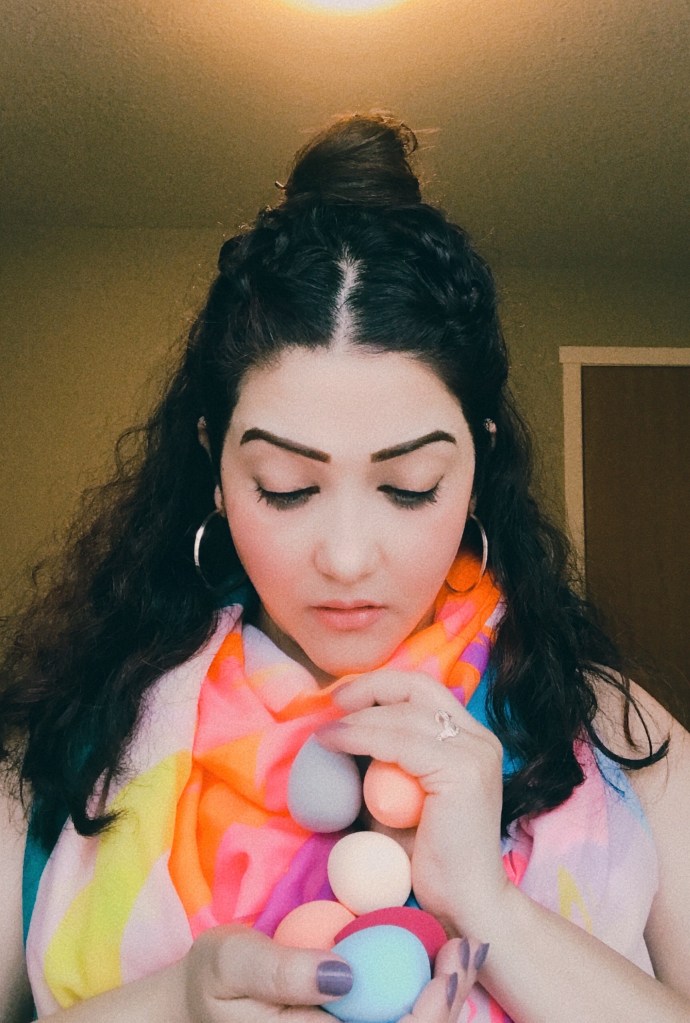
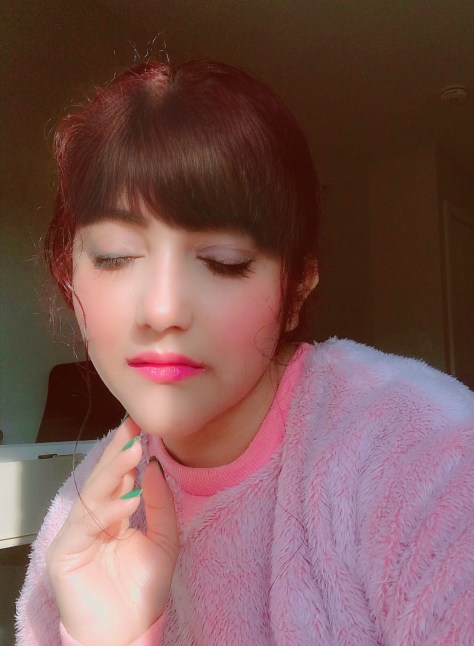
My last blog was all punk, bold, and audacious. It was dark and goth. But this time I am going to experiment with an entirely different look that is not only subtle but also blushes out the pink in itself. As we say sometimes while keeping it nominal that less is more”. So this blog post is all about minimalistic makeup that cardinally makes you a natural blusher indeed!
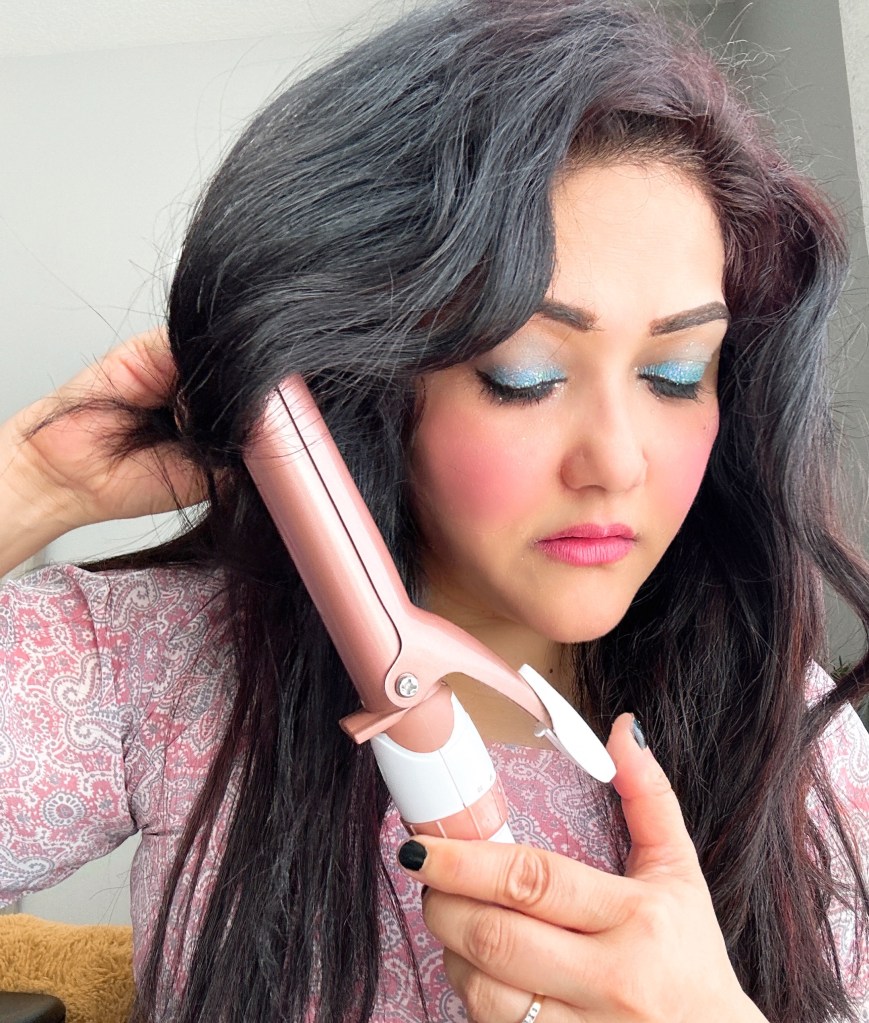
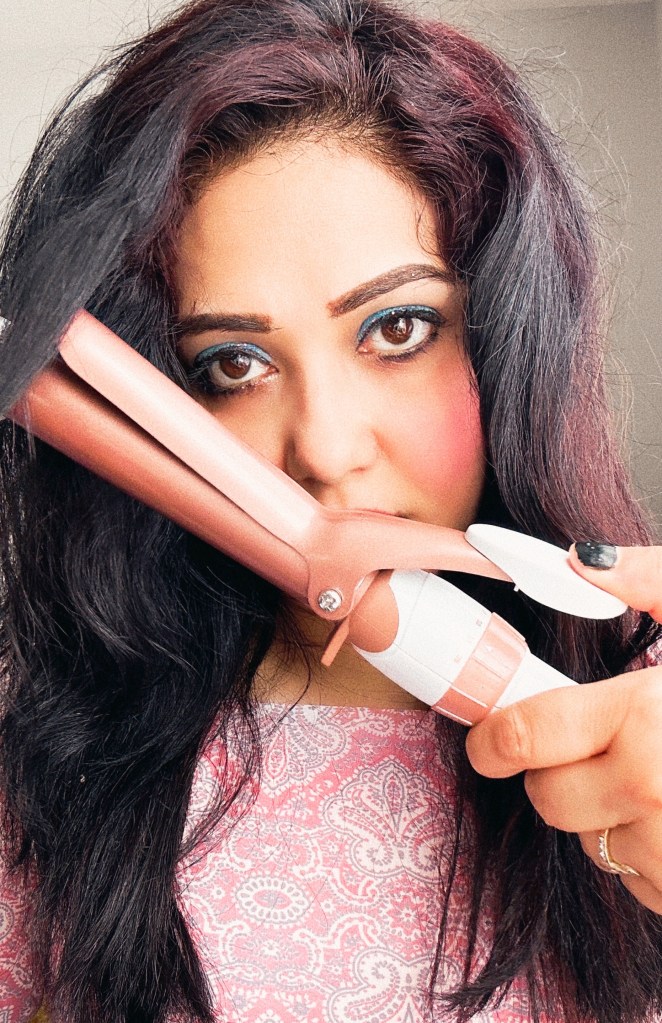
I am going to decode the utter look. So here comes another tutorial post hope you love it!
So the whole look is divided into four parts:
Let’s start with:
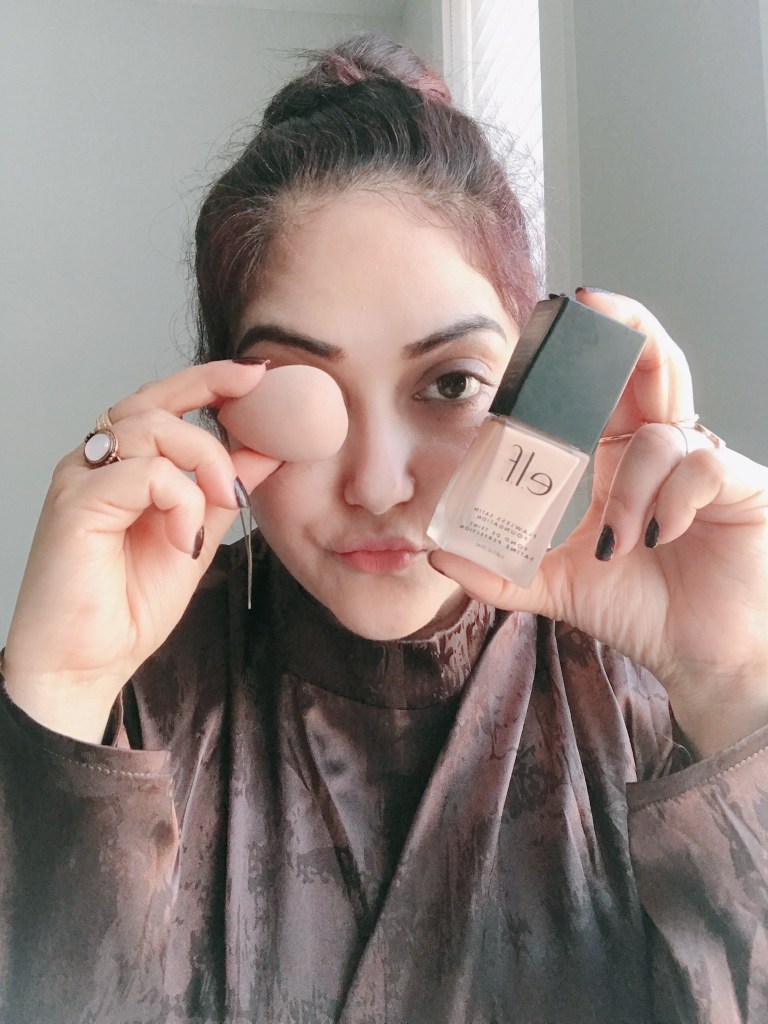
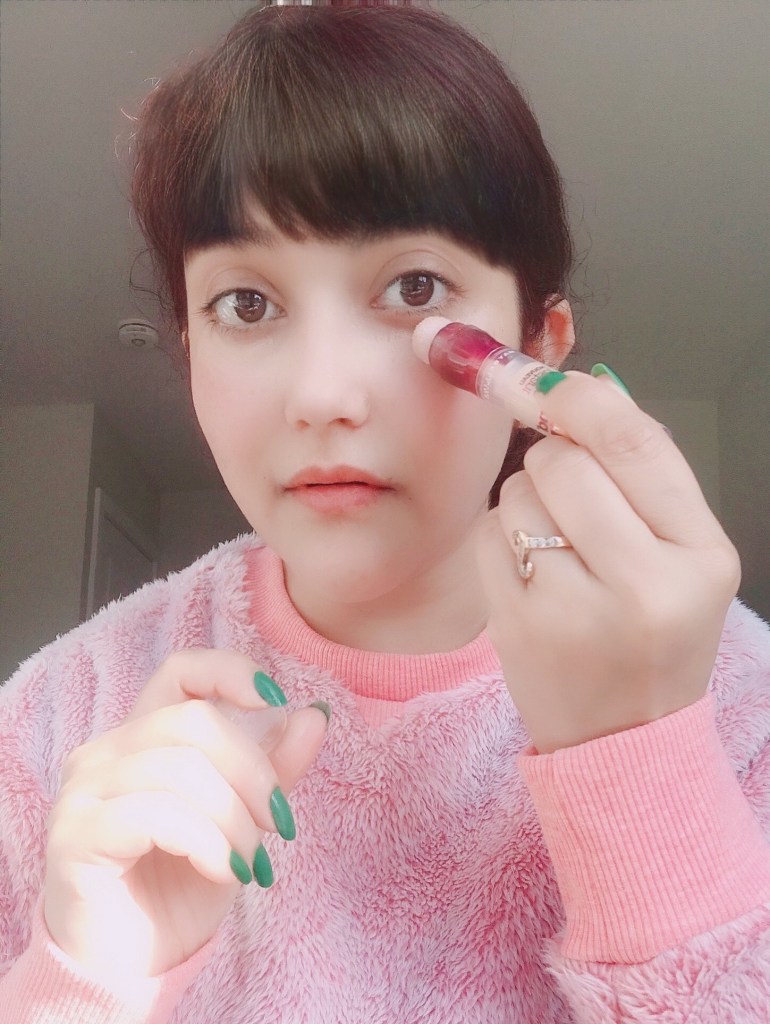
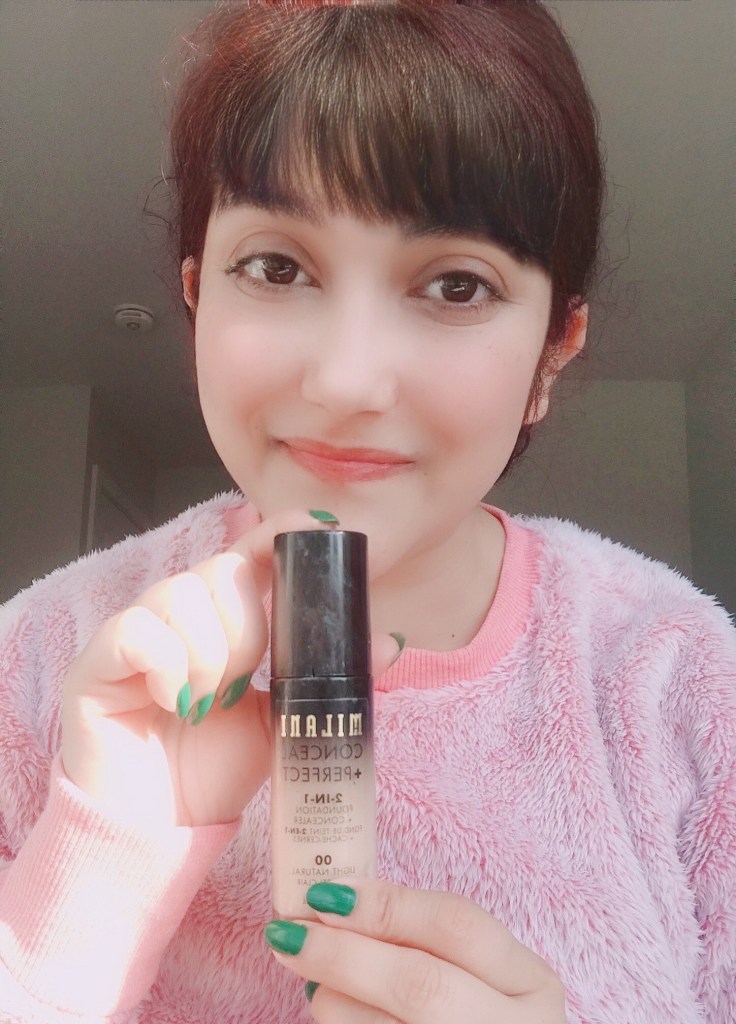
FACE
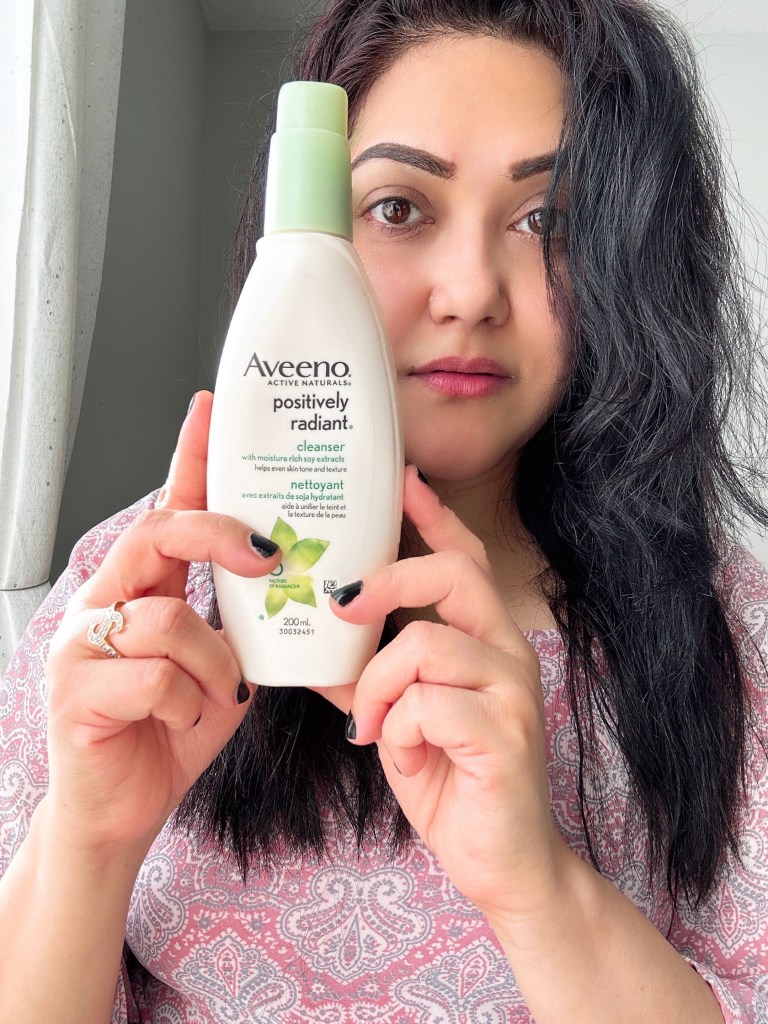
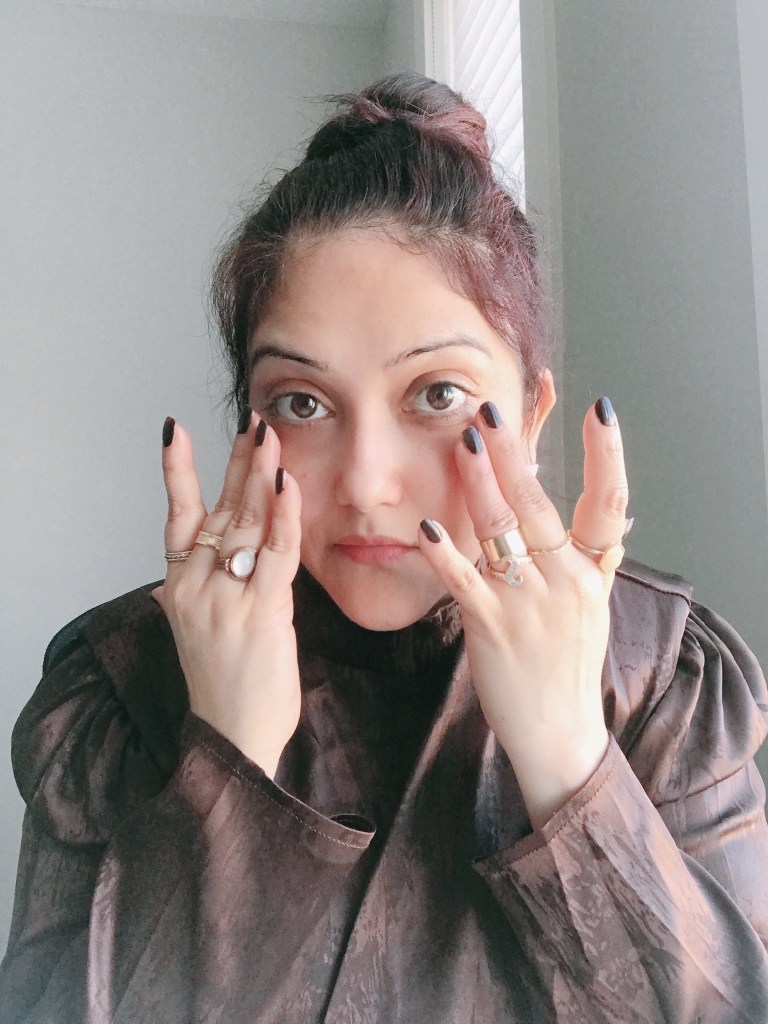
Au Naturale beauty is all about great skin. For that, you have to eat extremely healthily and should increase your water intake.
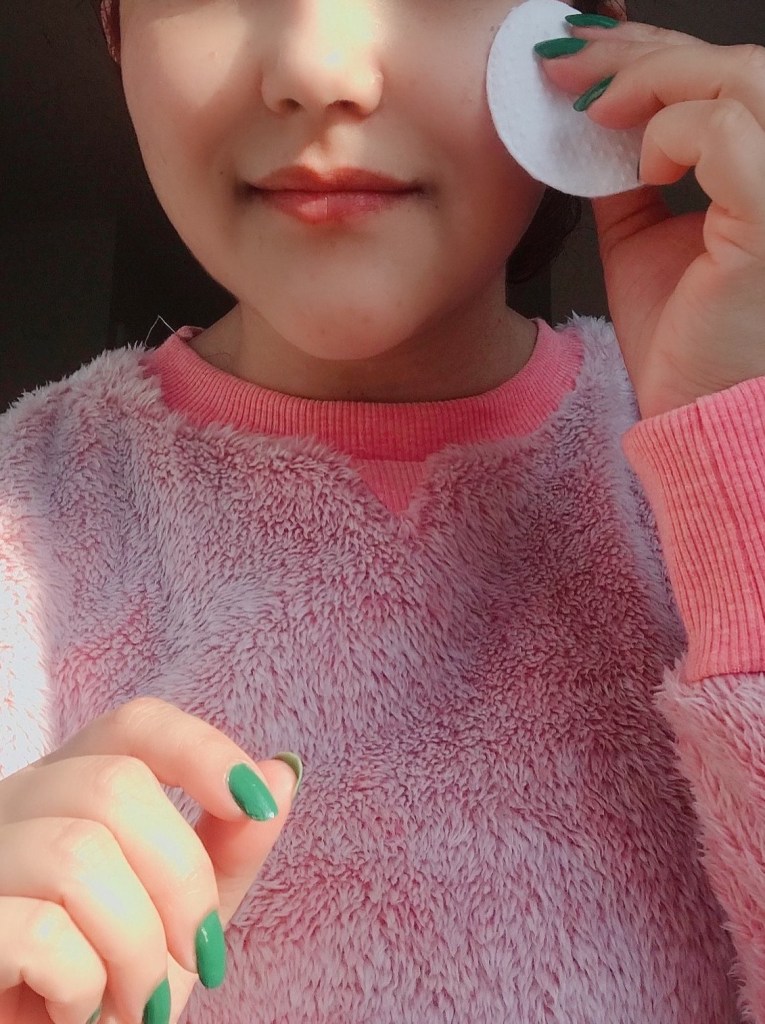
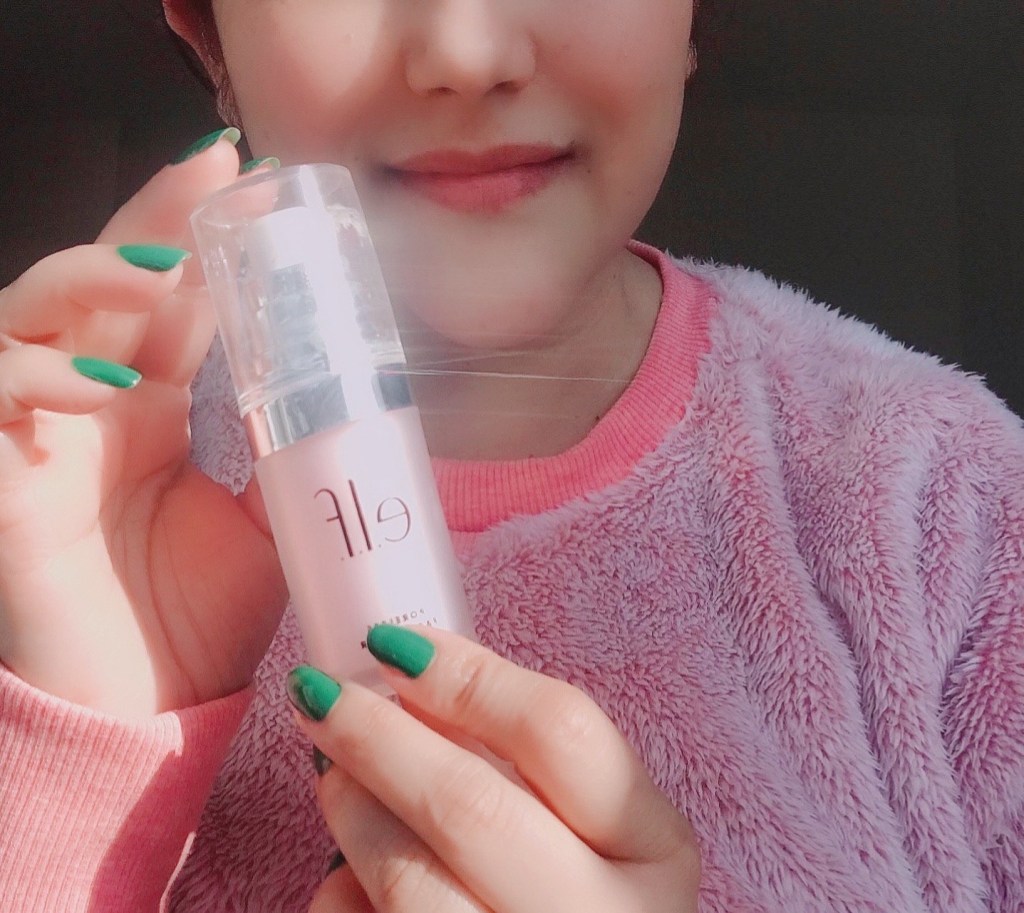
- Cleanse your face and apply a moisturizer to make sure that suits your skin type.
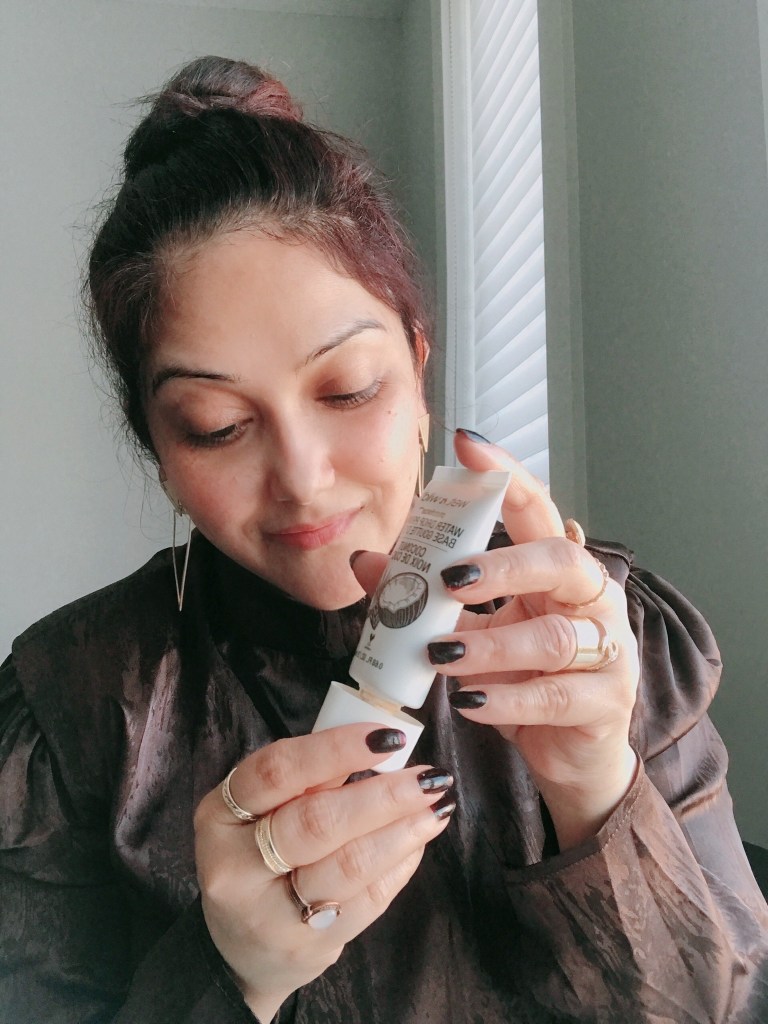
- Next, blot away excess oil and apply a primer.
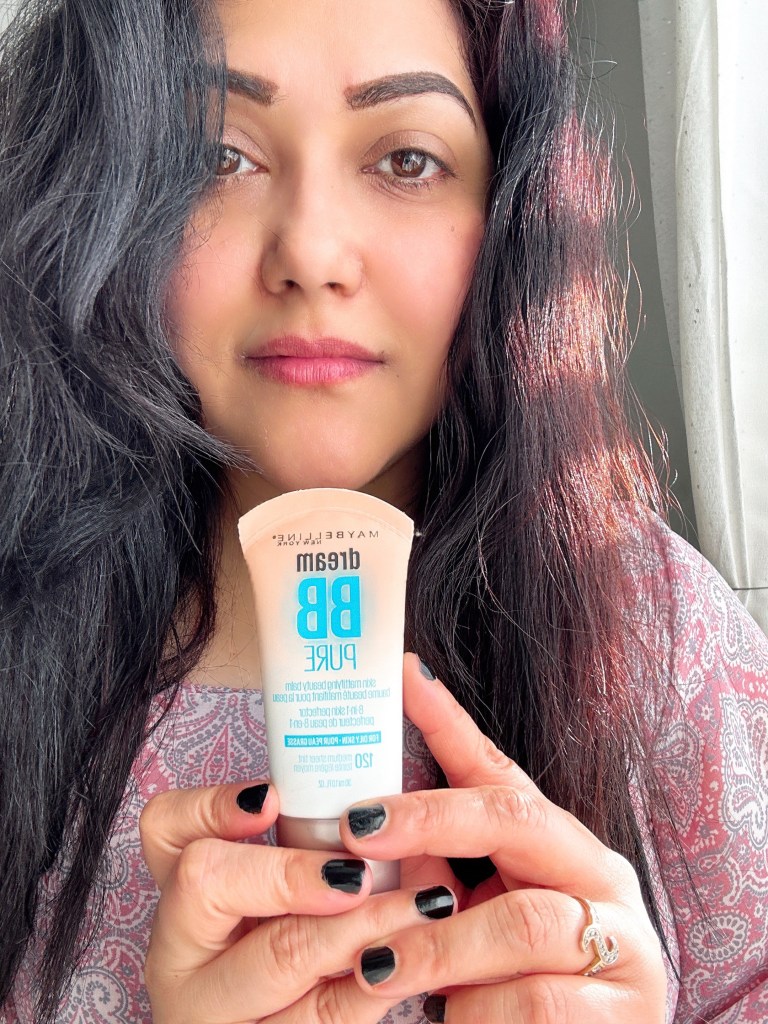
- Lightly pat concealer to even out the skin tone.
- For little more coverage, dot your face, with a pea-sized amount of foundation and blend it well.
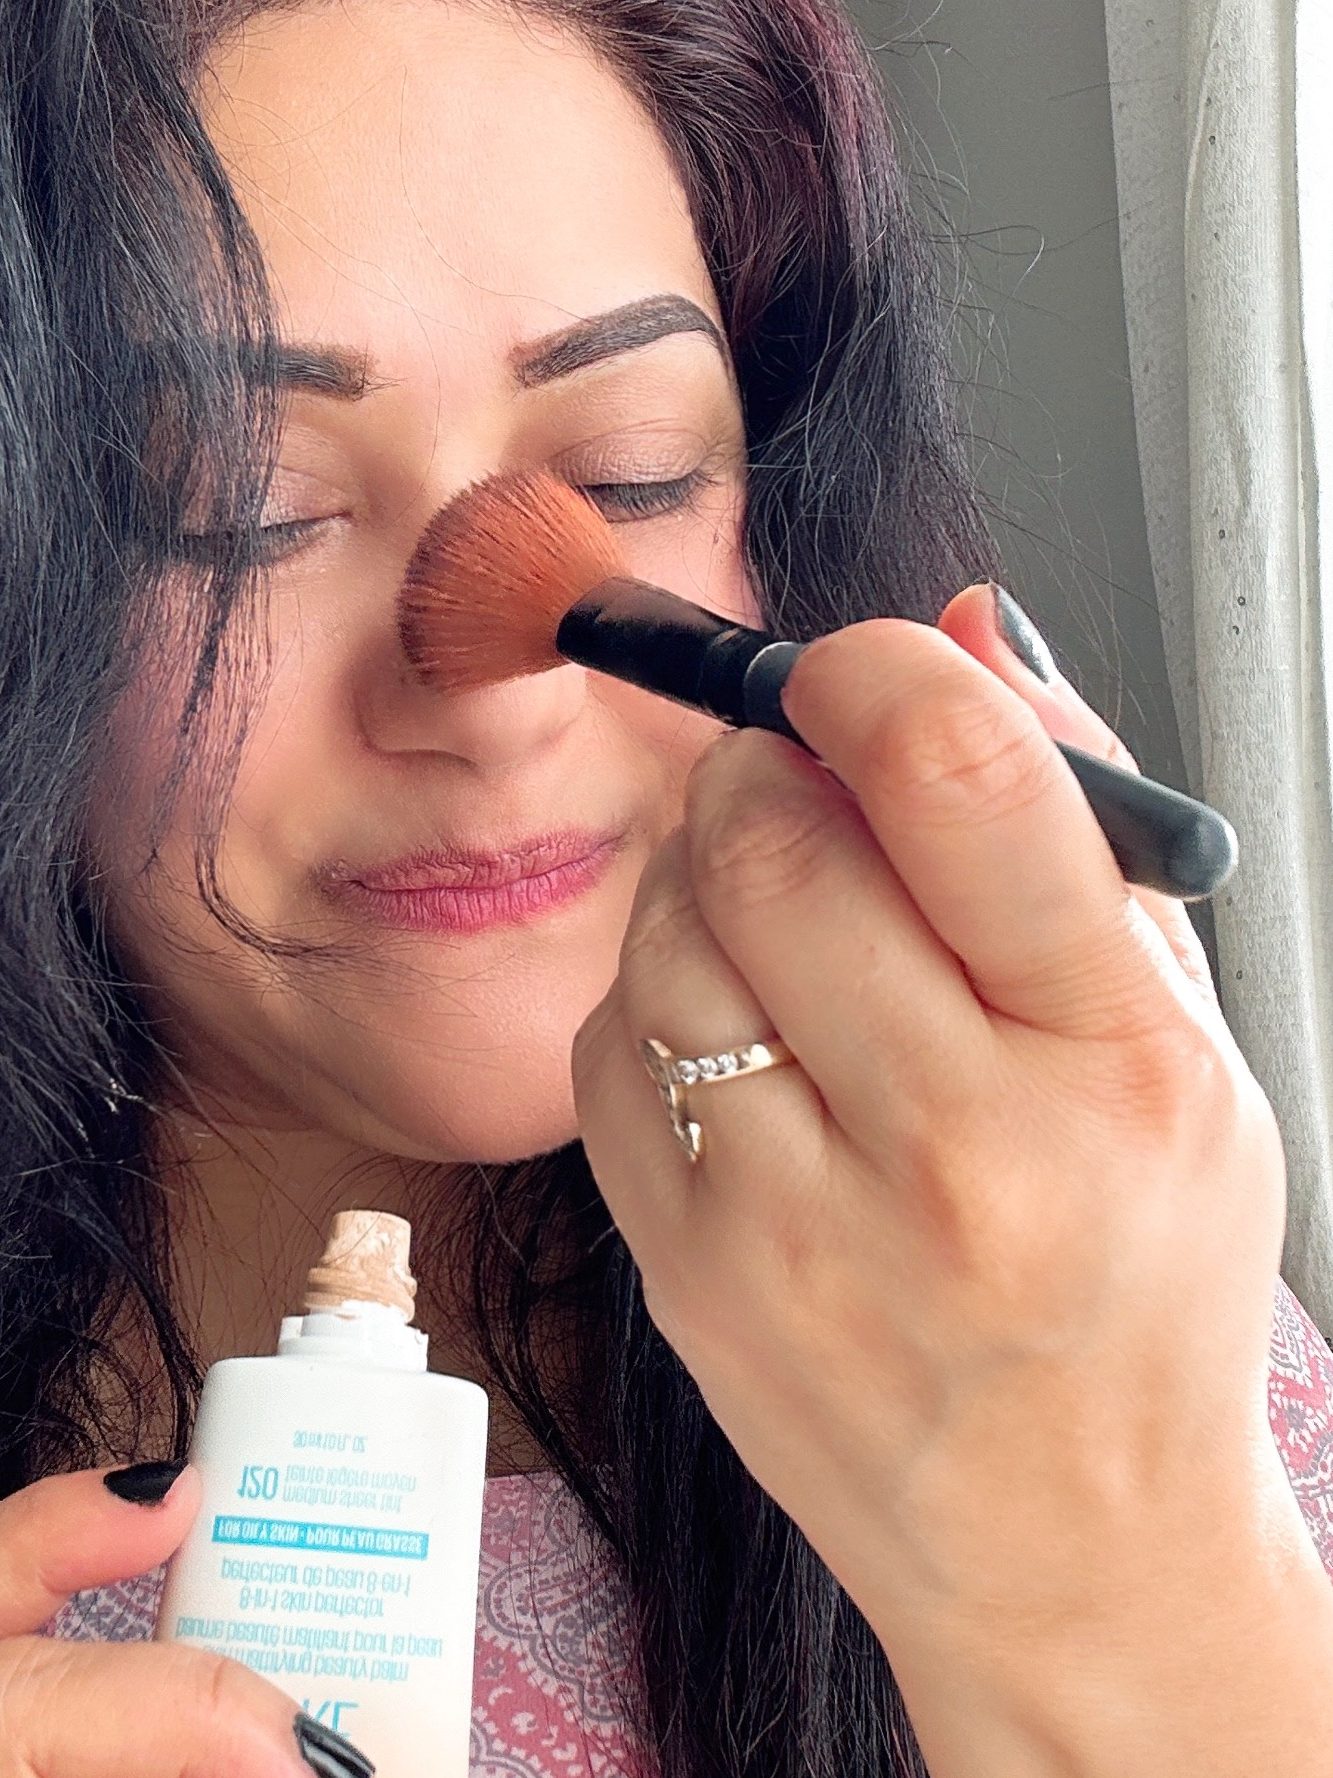
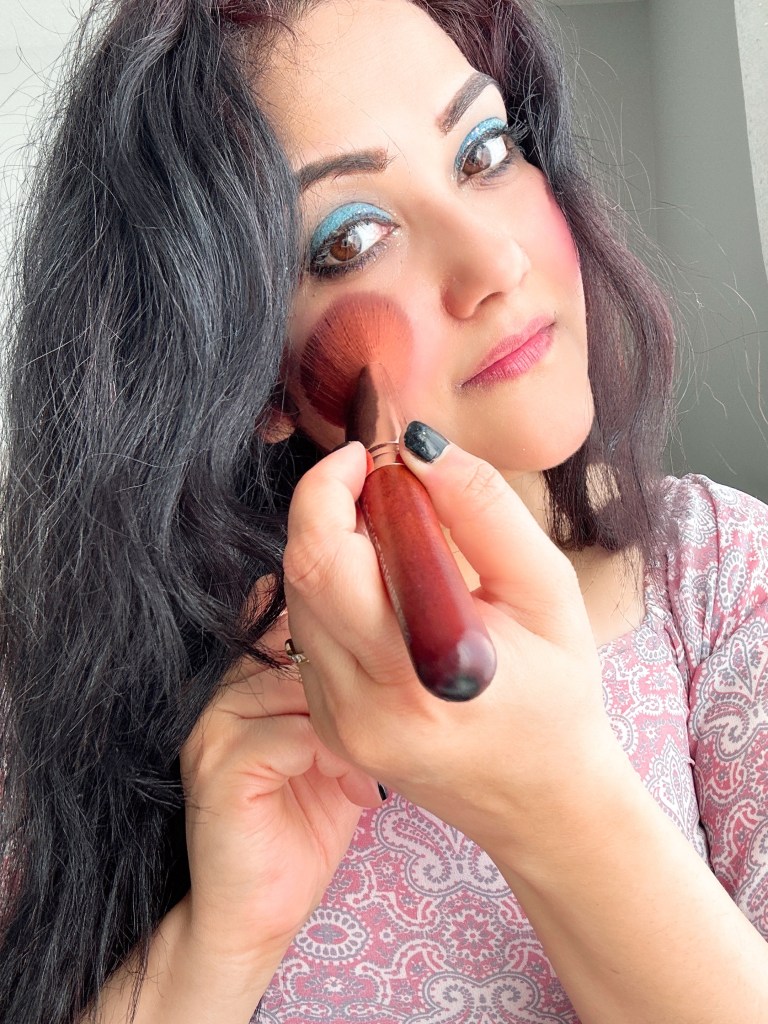
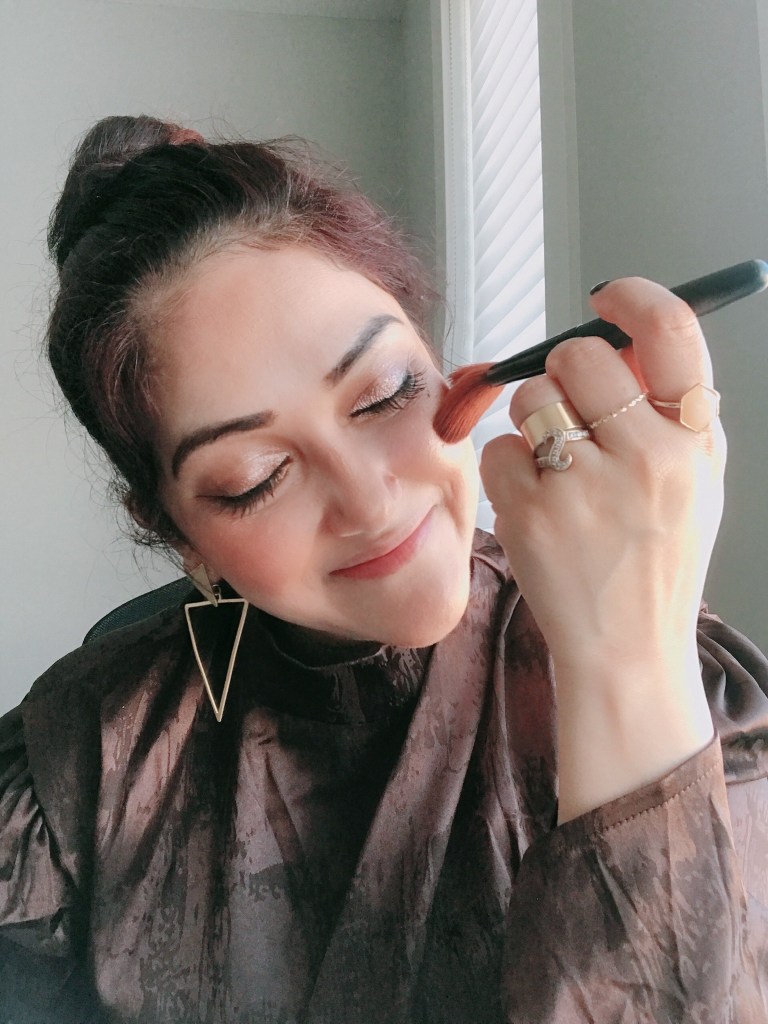
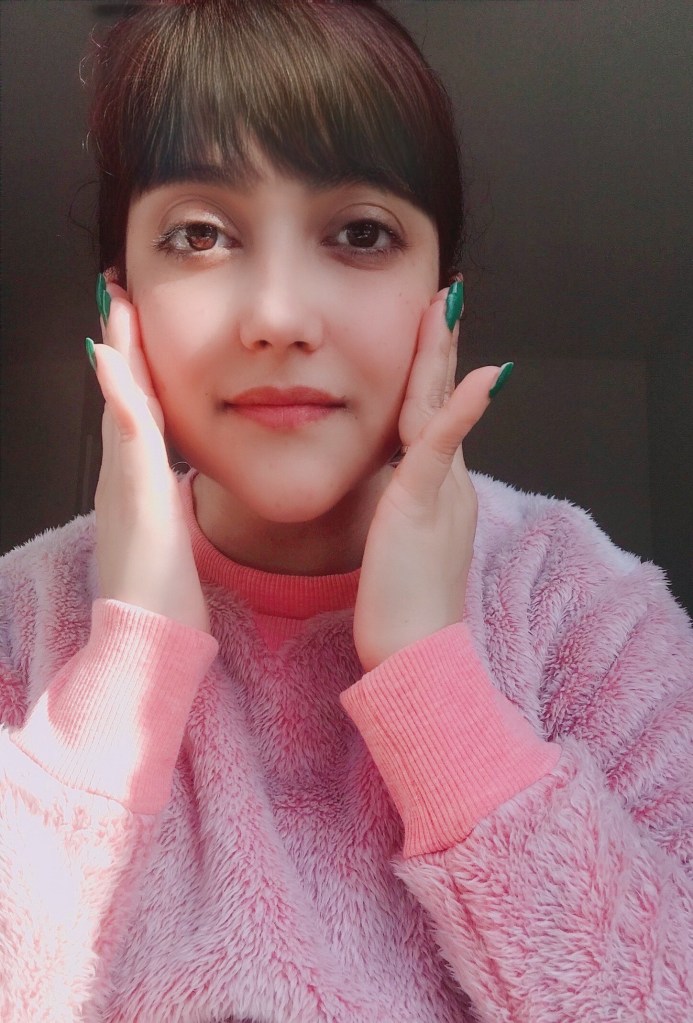
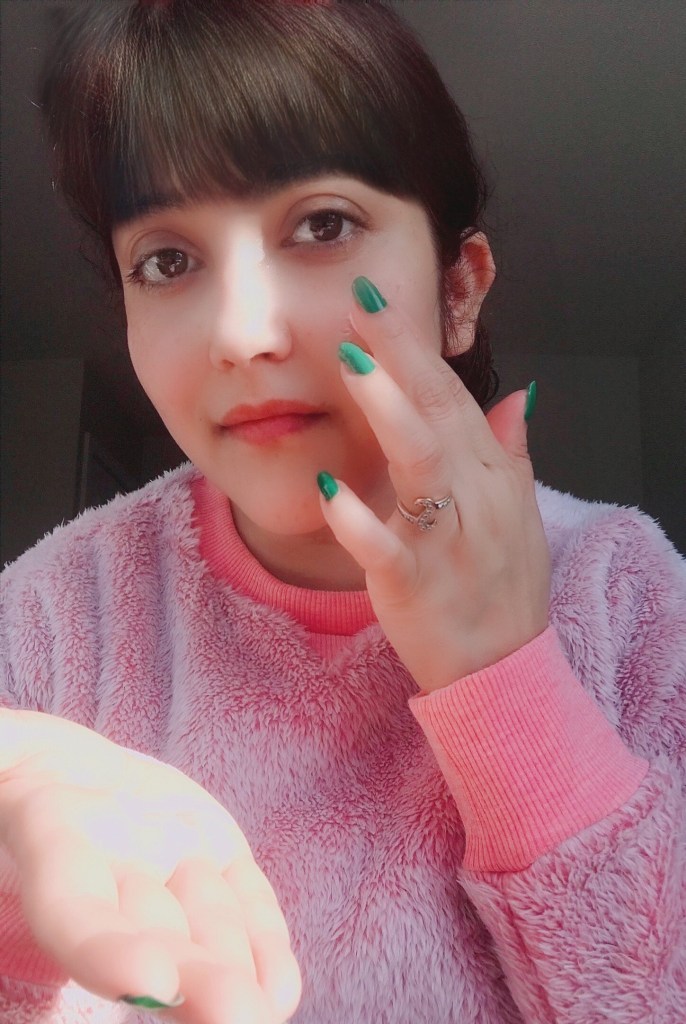
CHEEKS
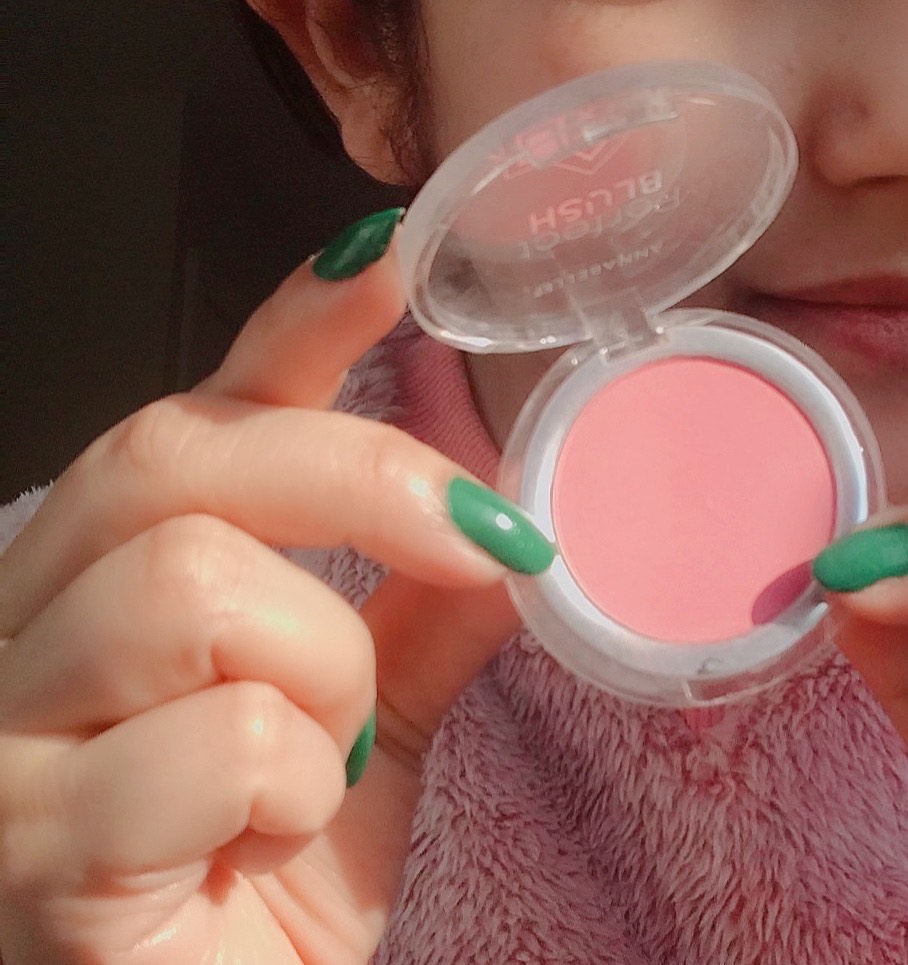
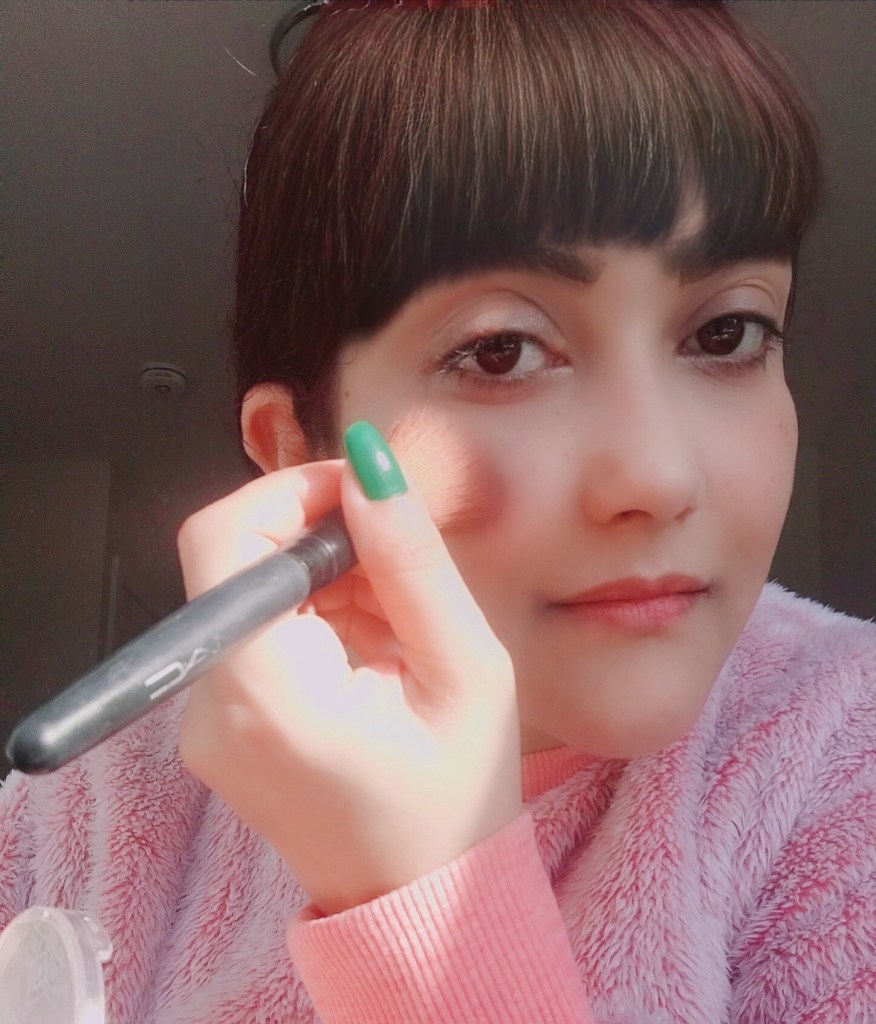
- Get a baby cream blush, and not just a little cream blush, and blend it.
- Blend it, and sweep it upwards to get a warm pink flush.
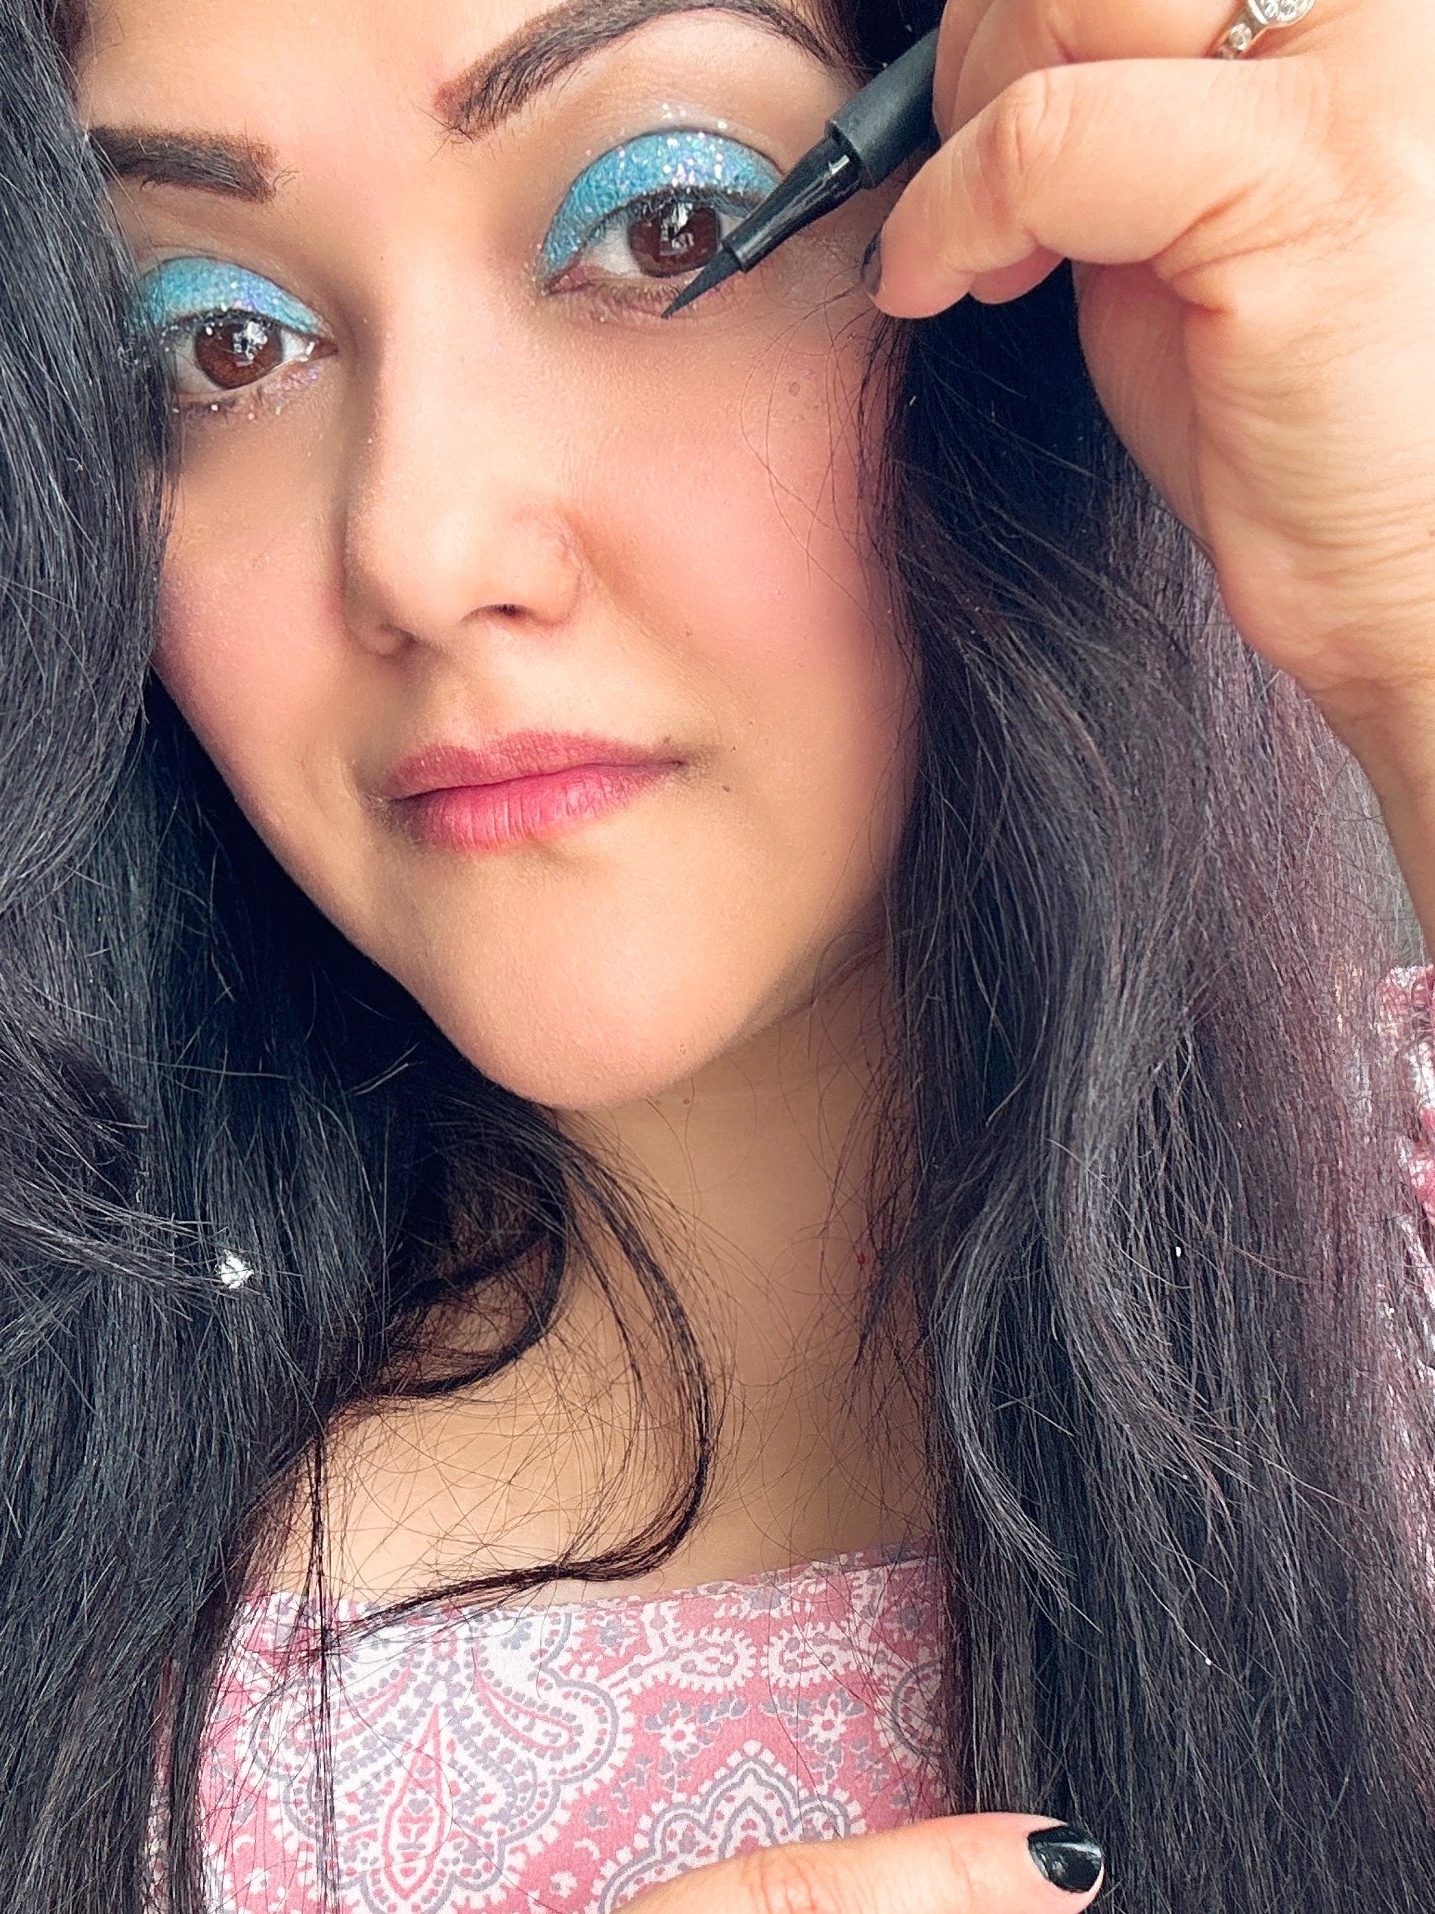
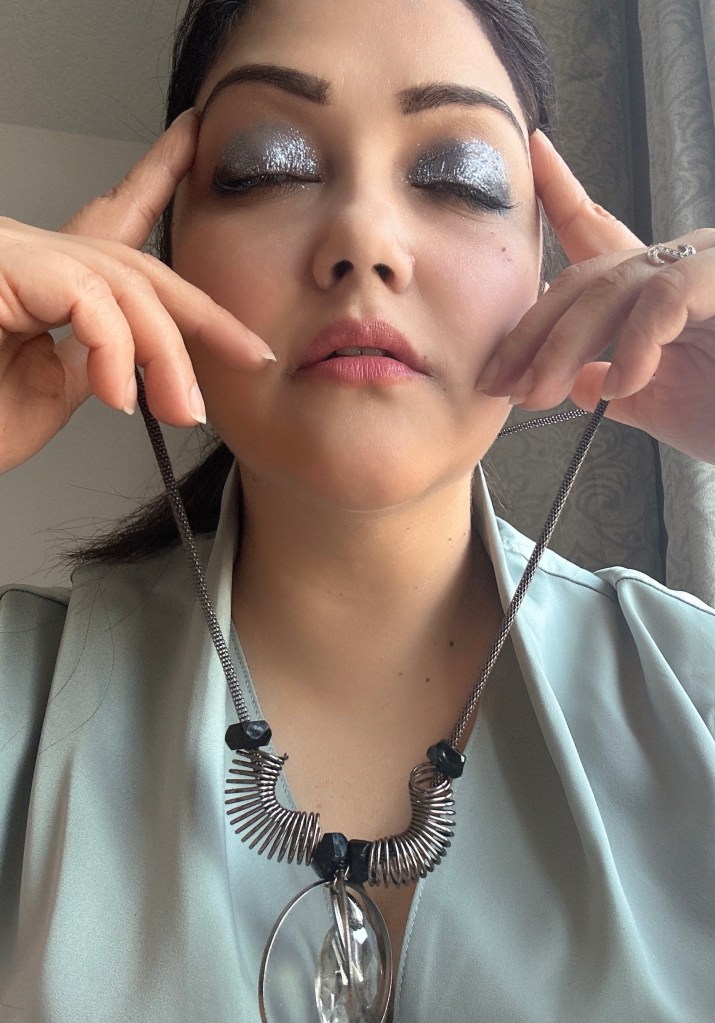
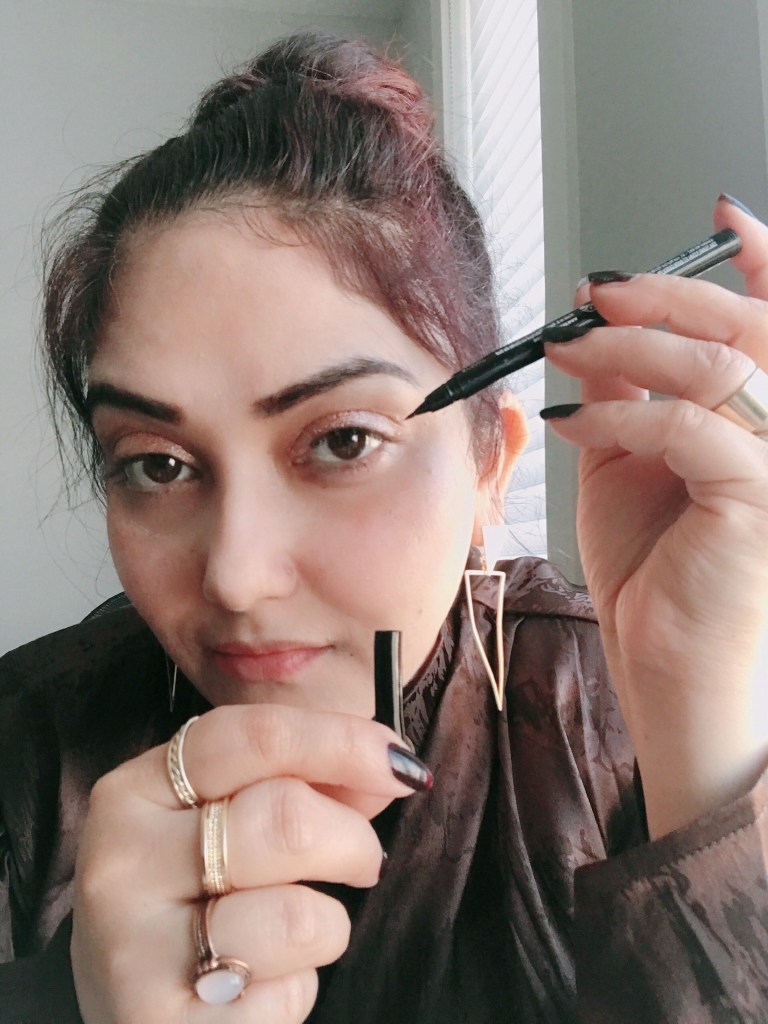
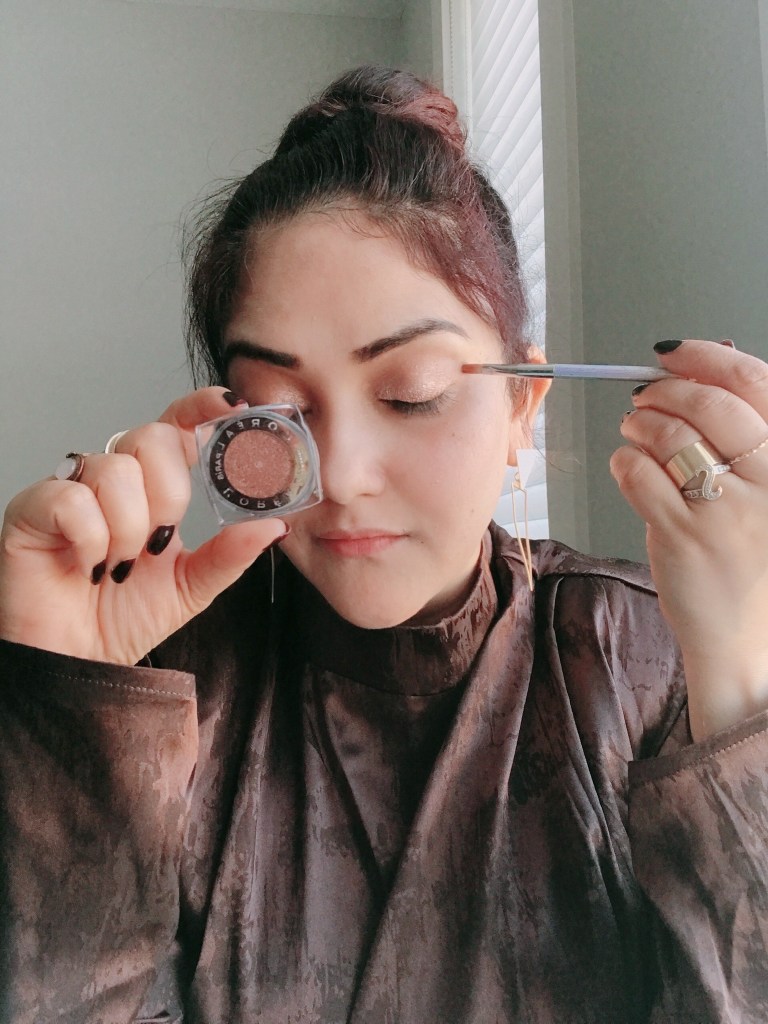
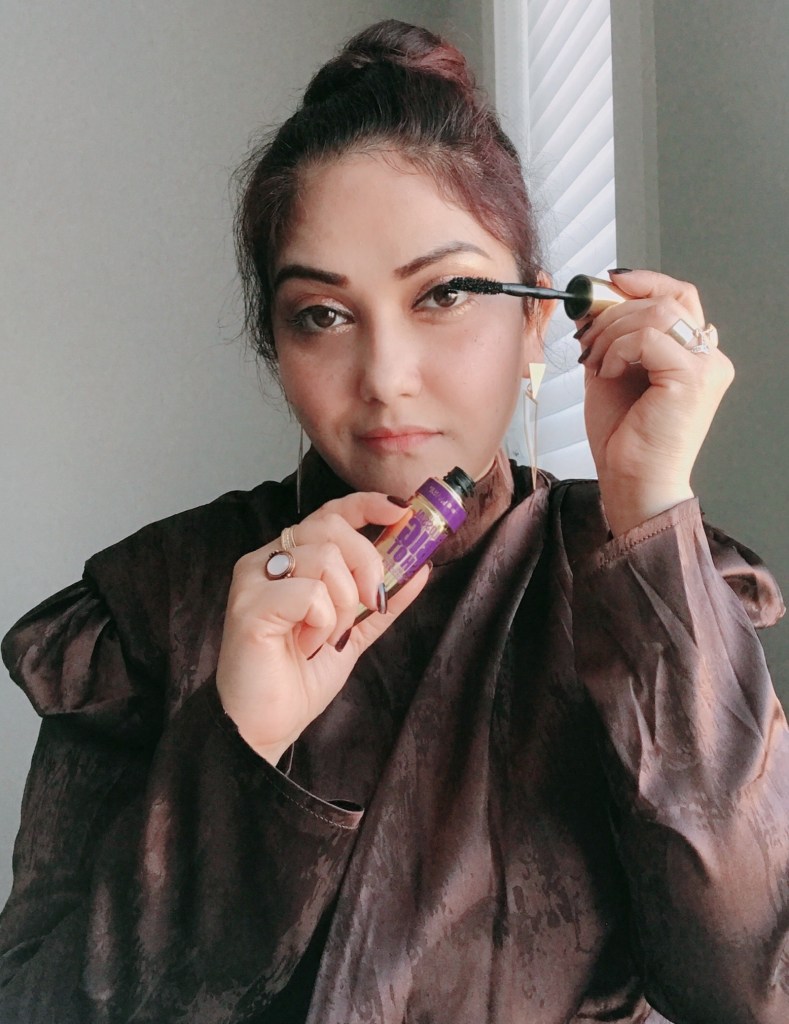
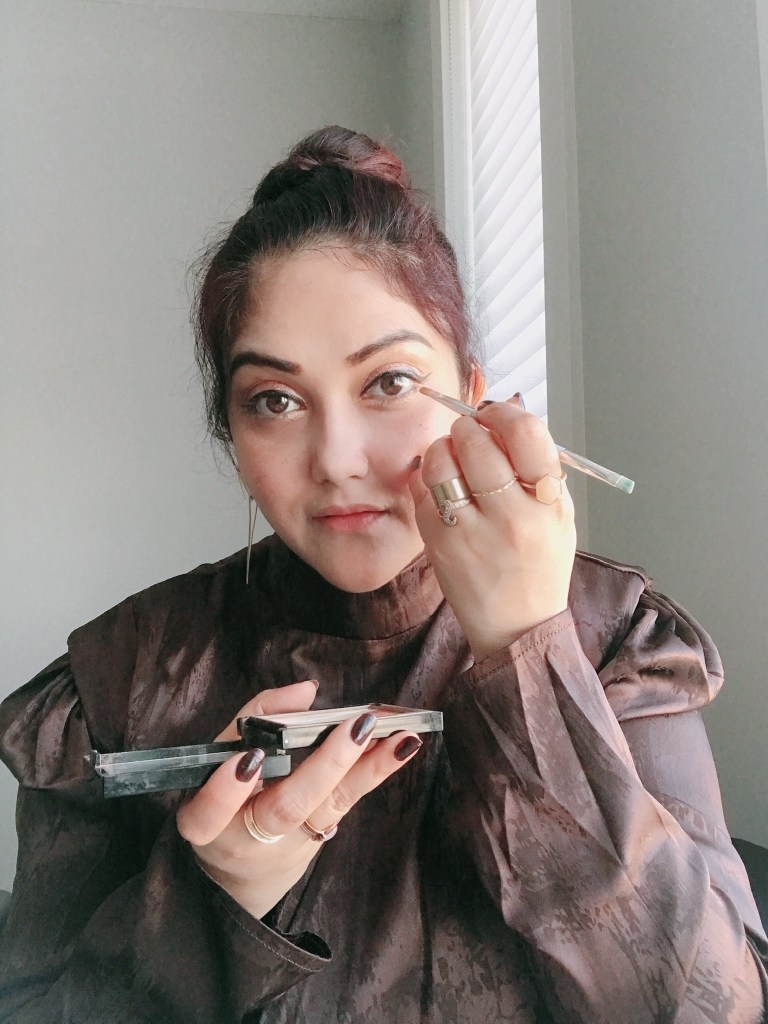
EYES
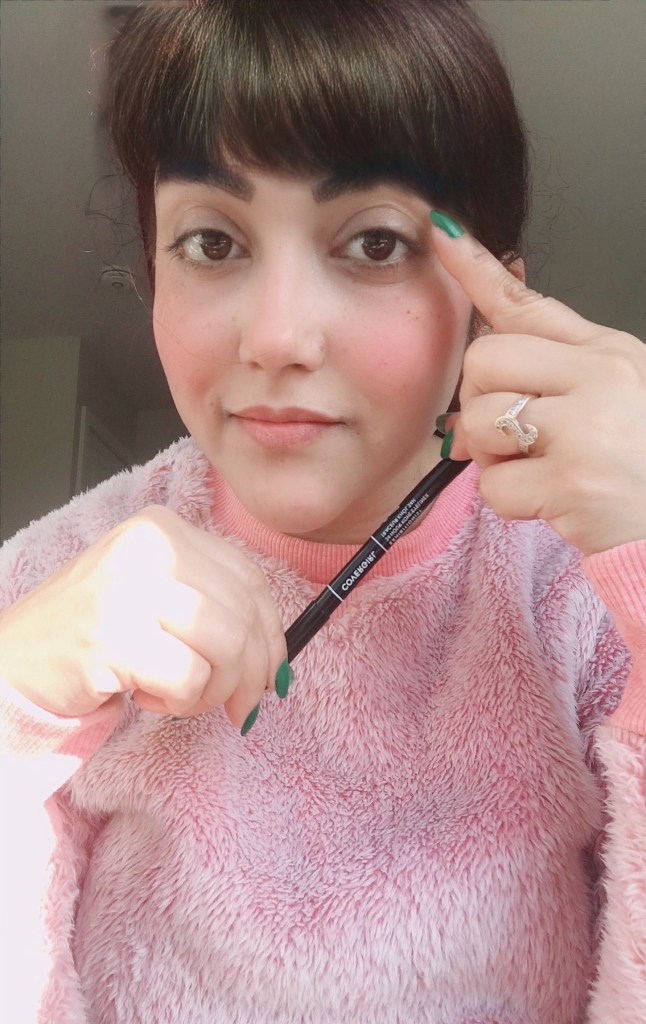
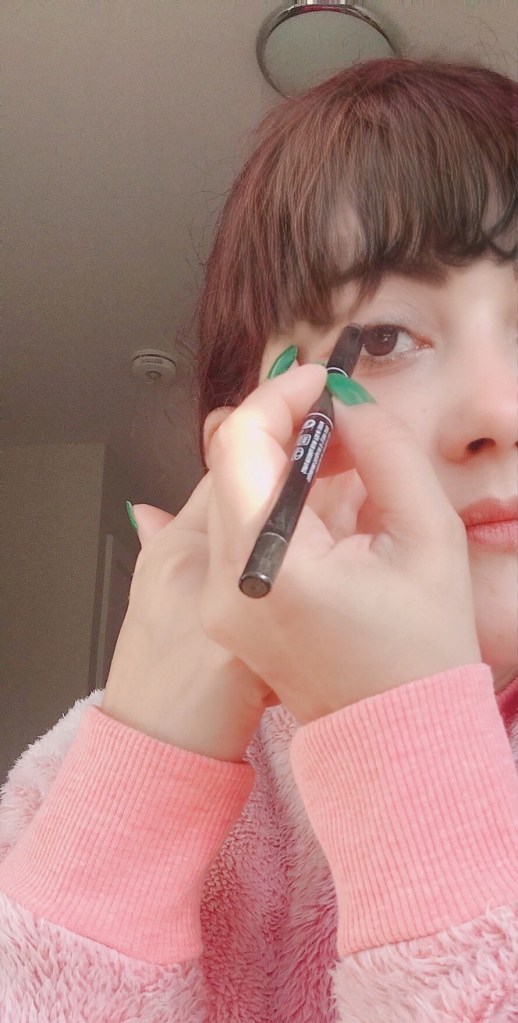
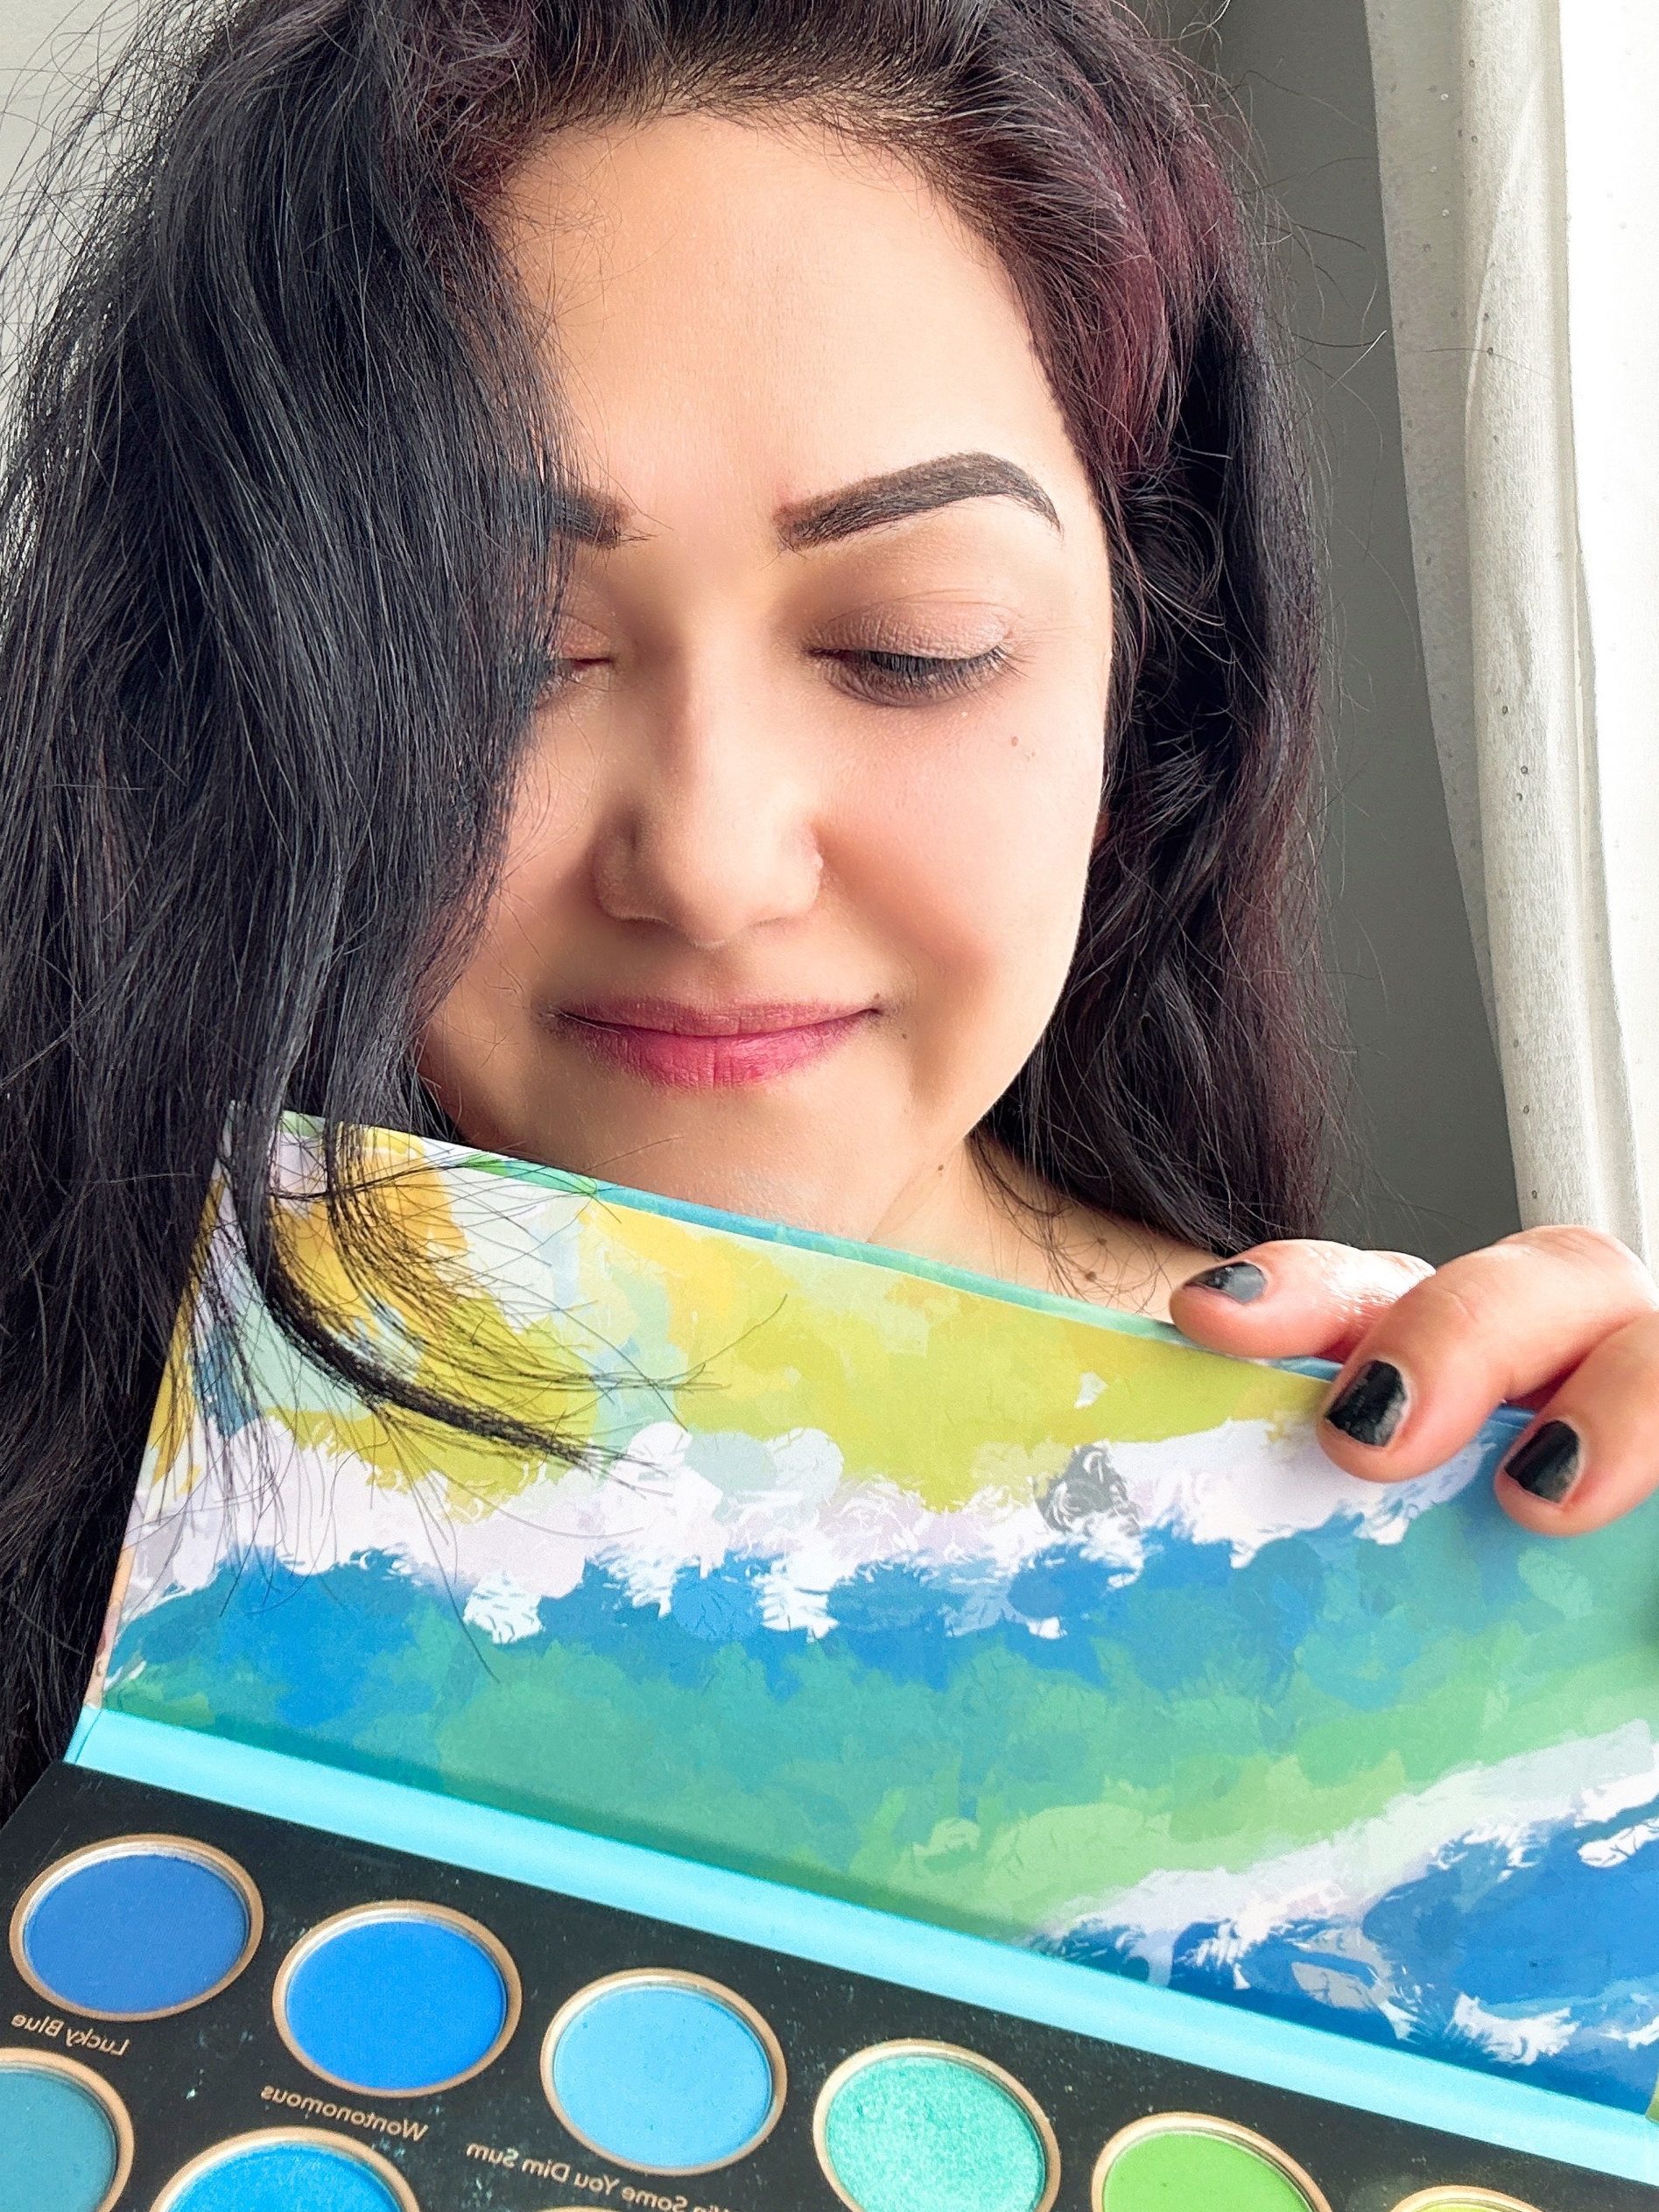
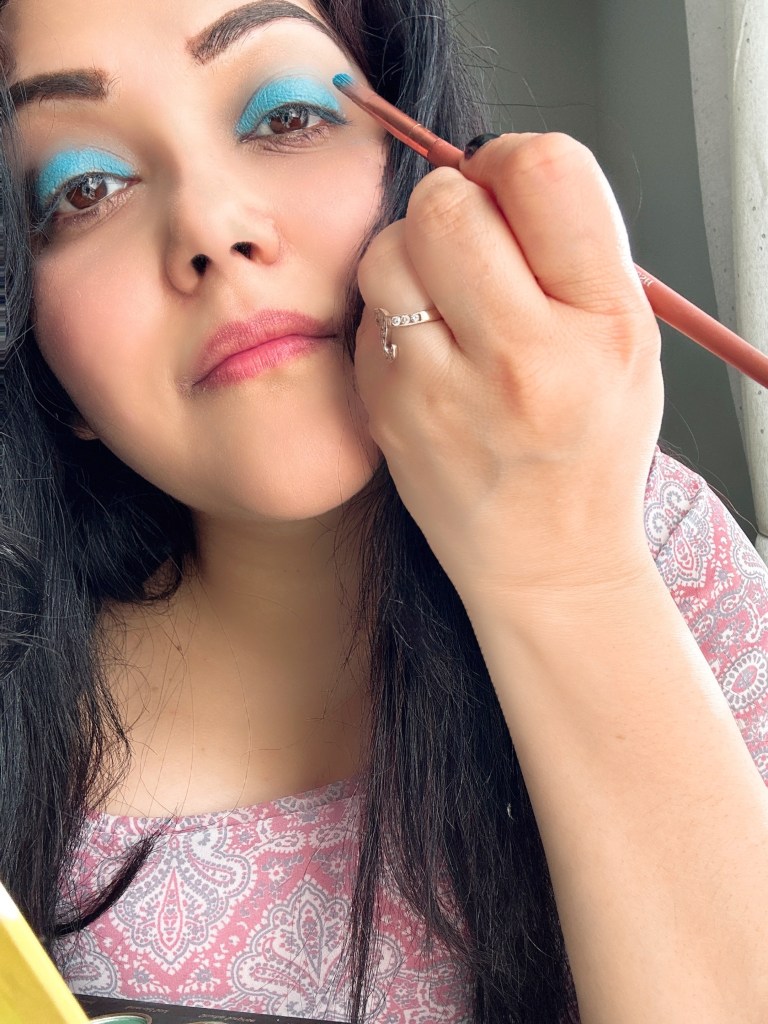
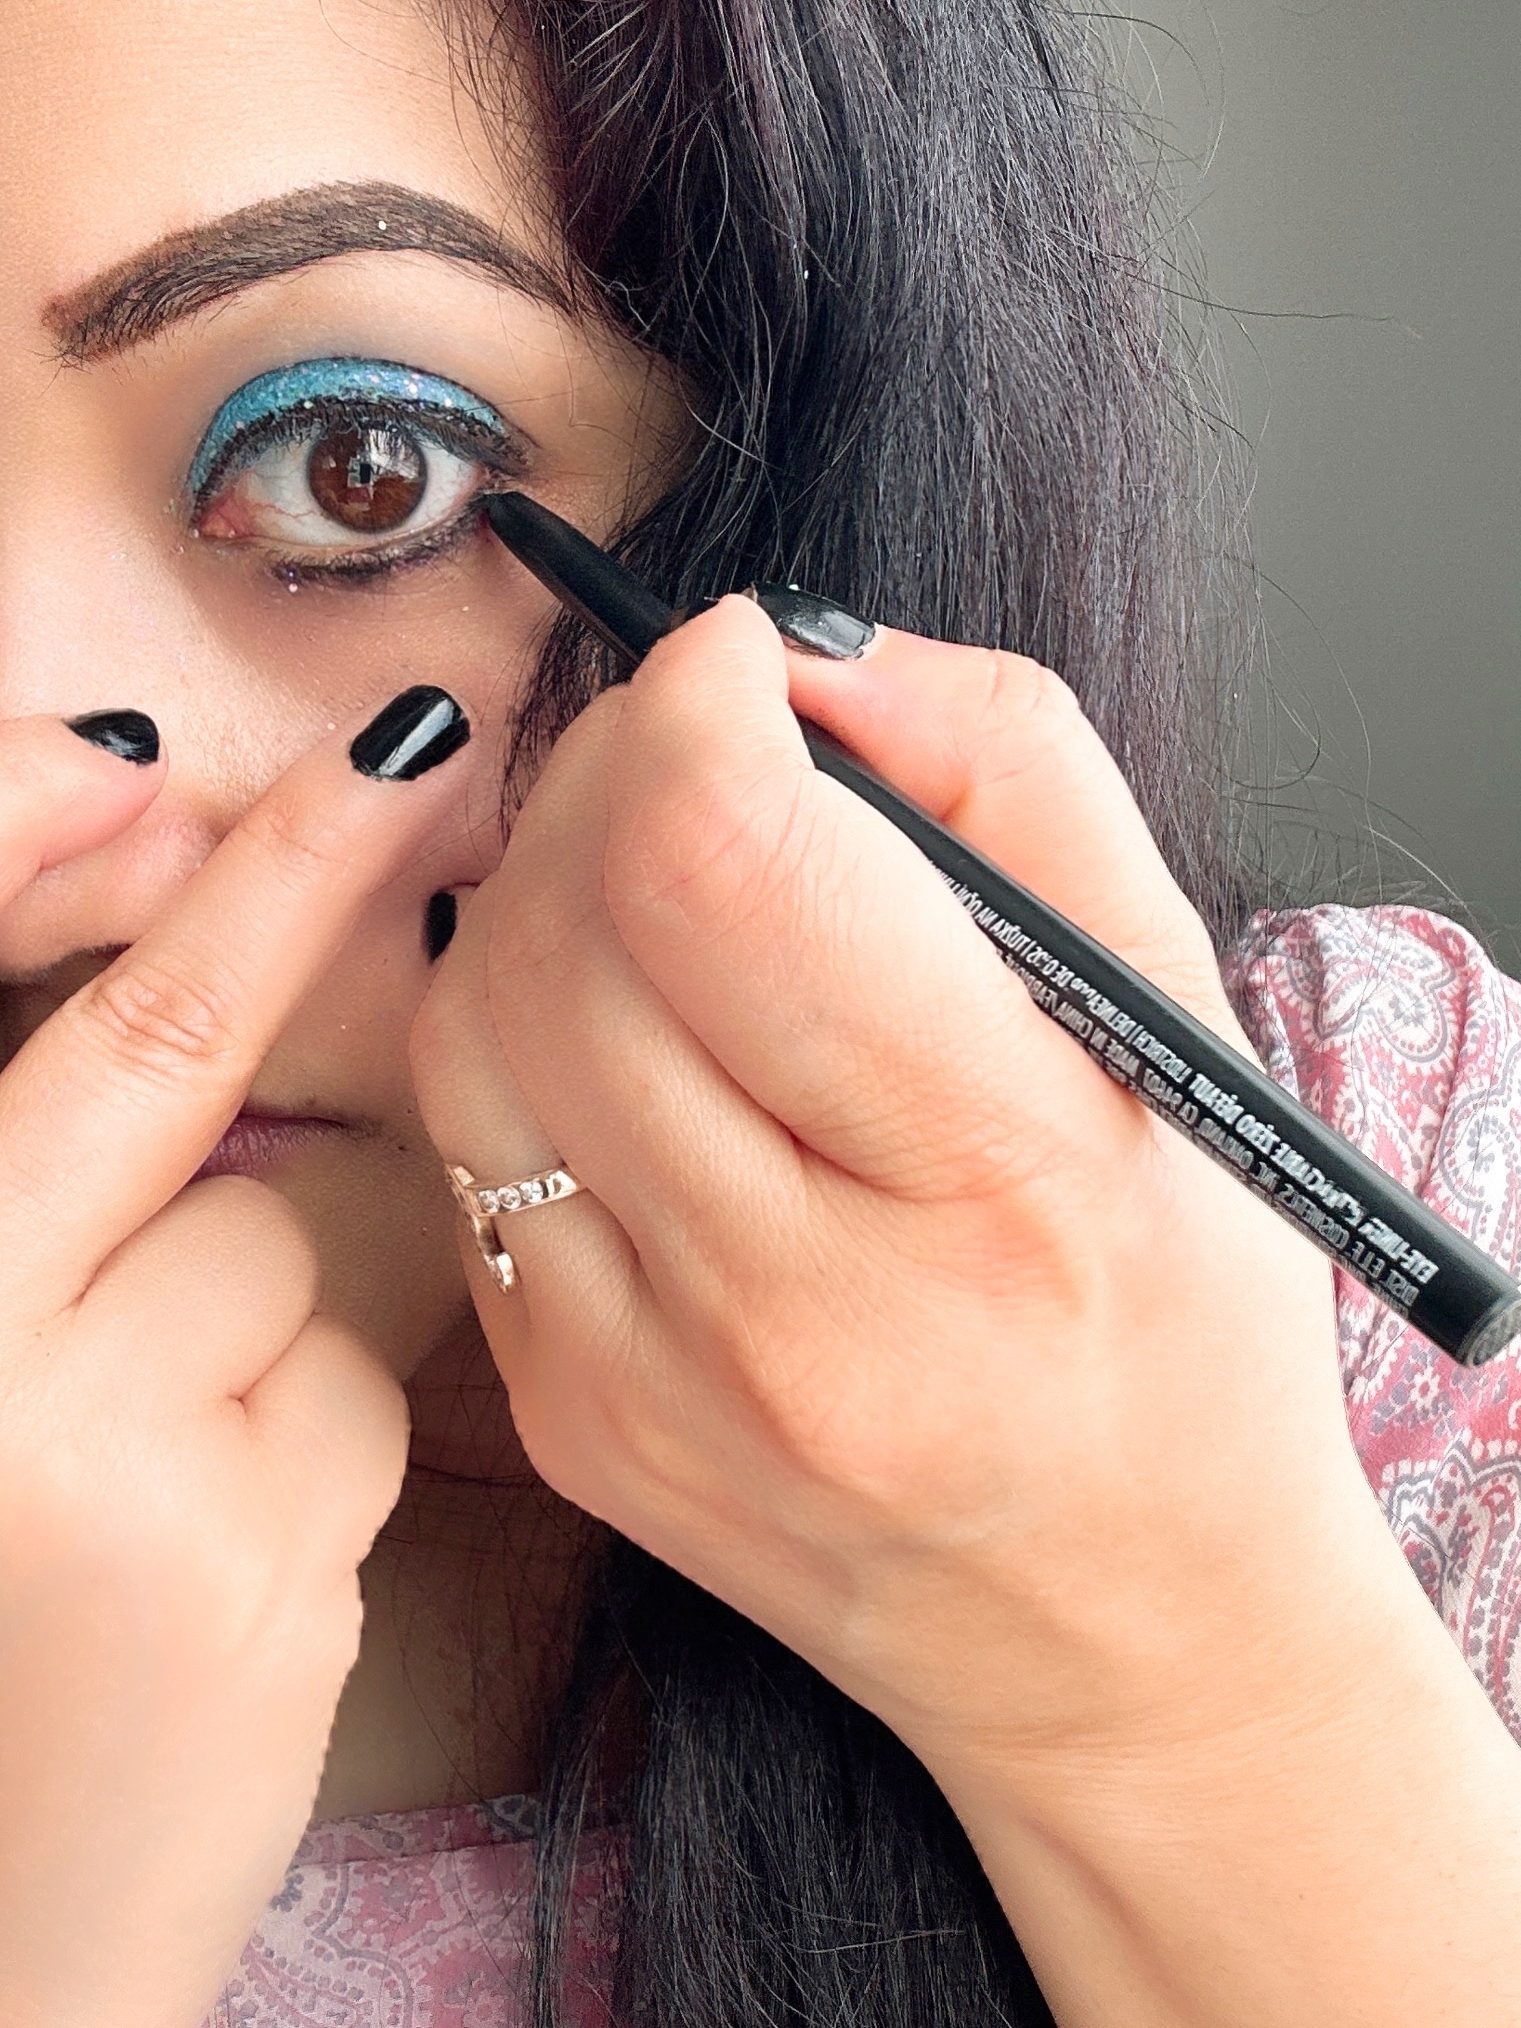
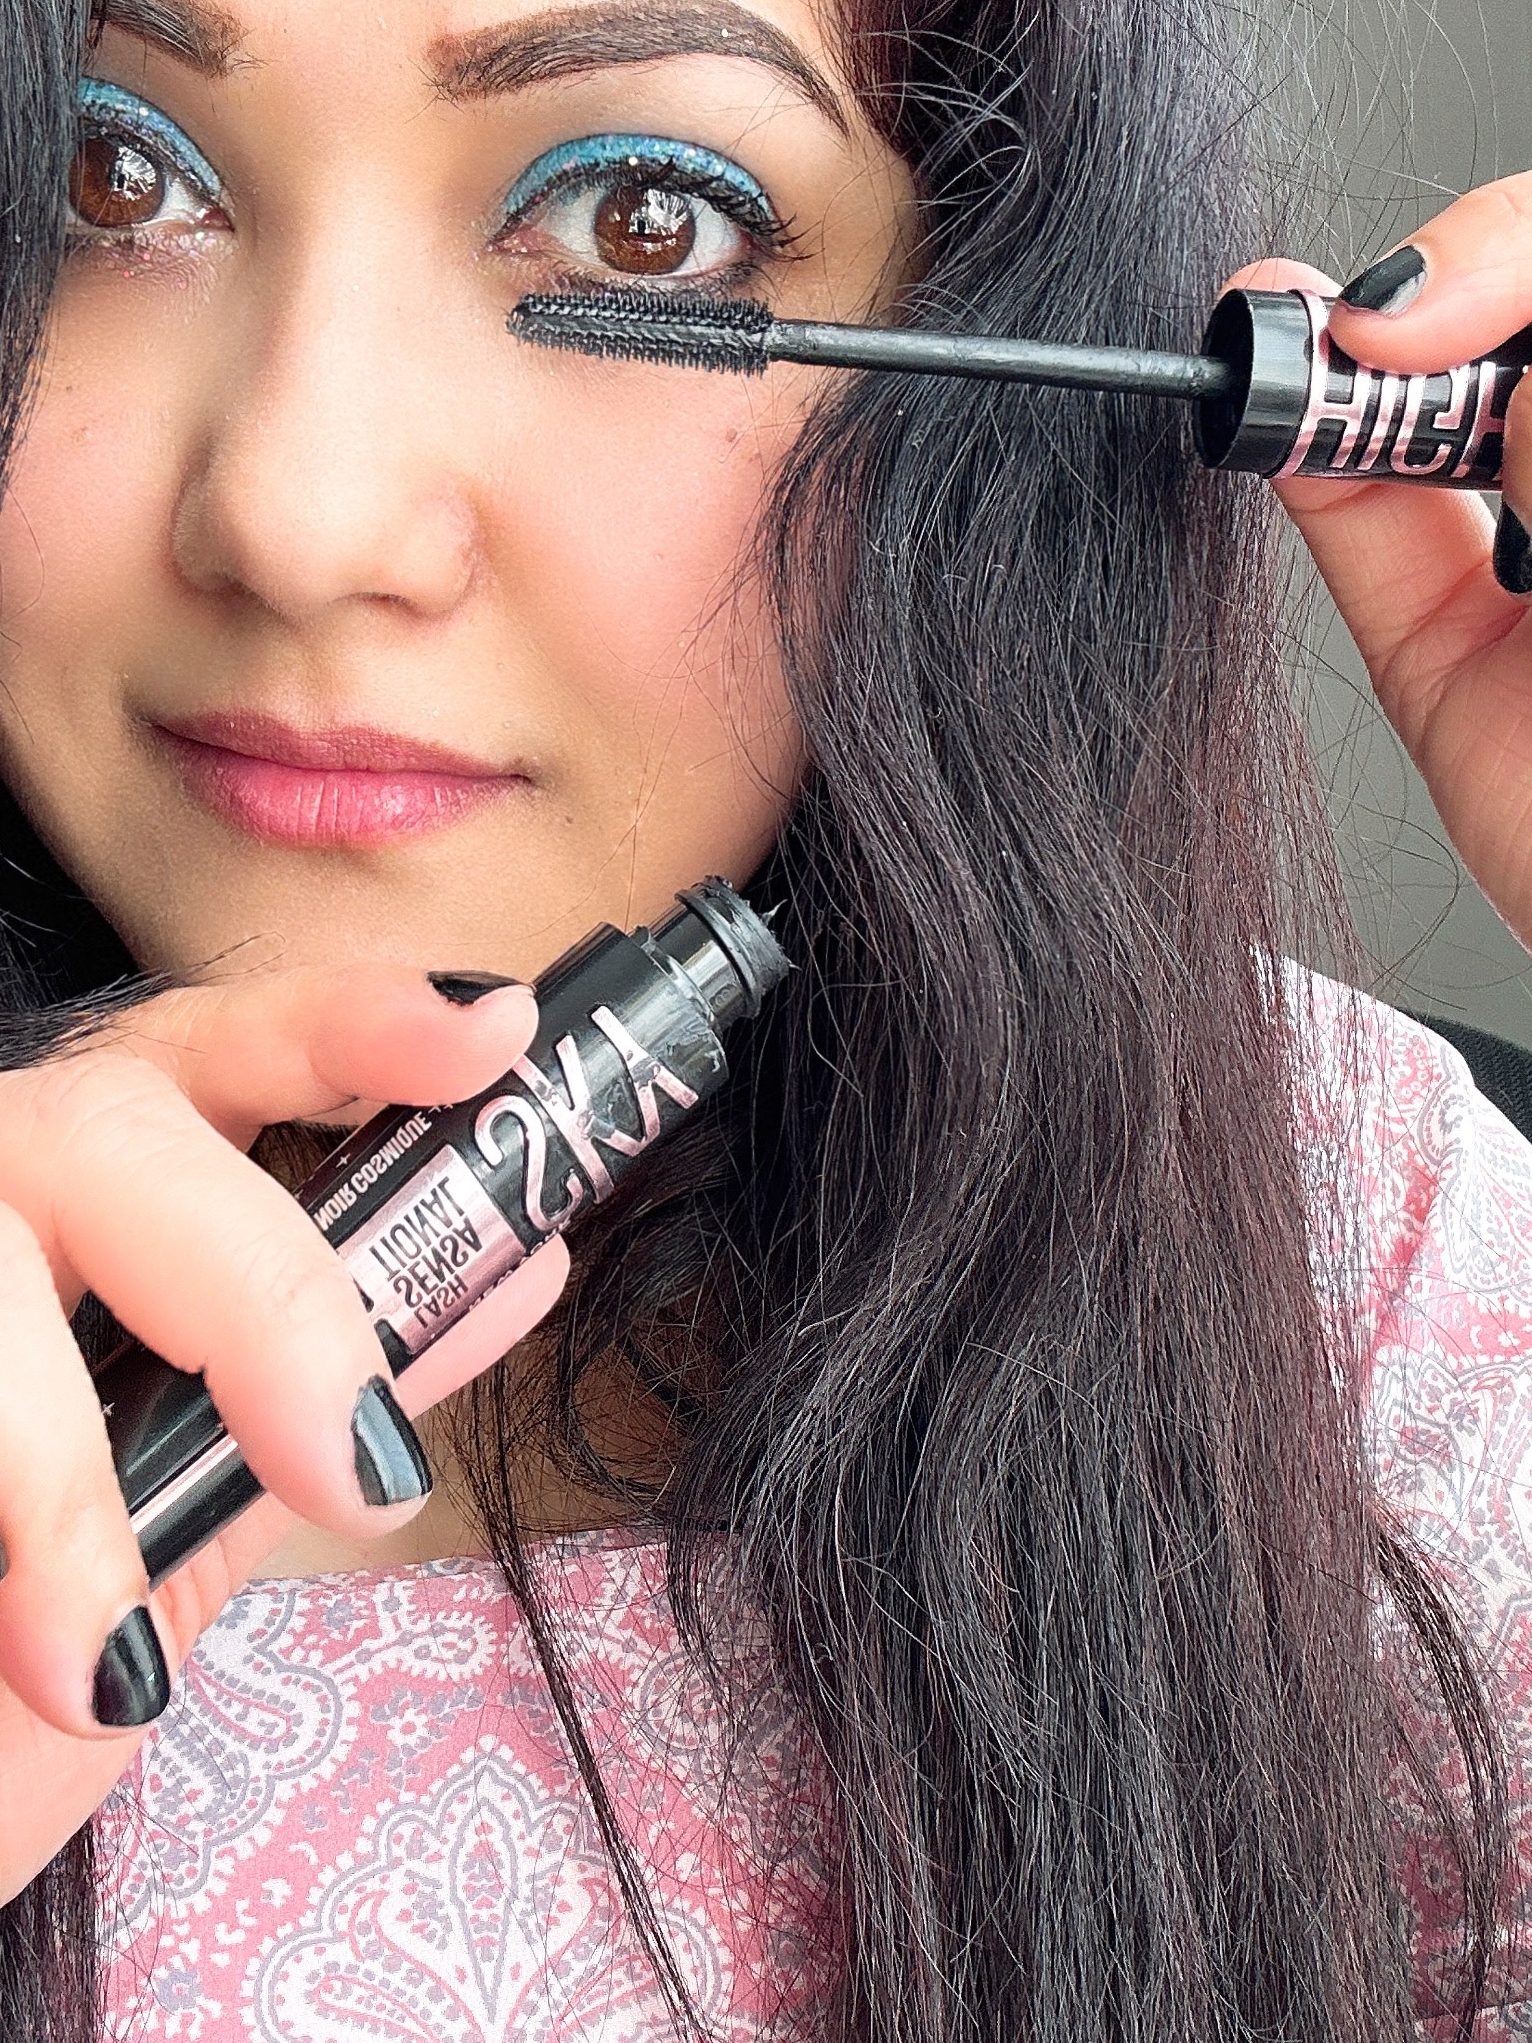
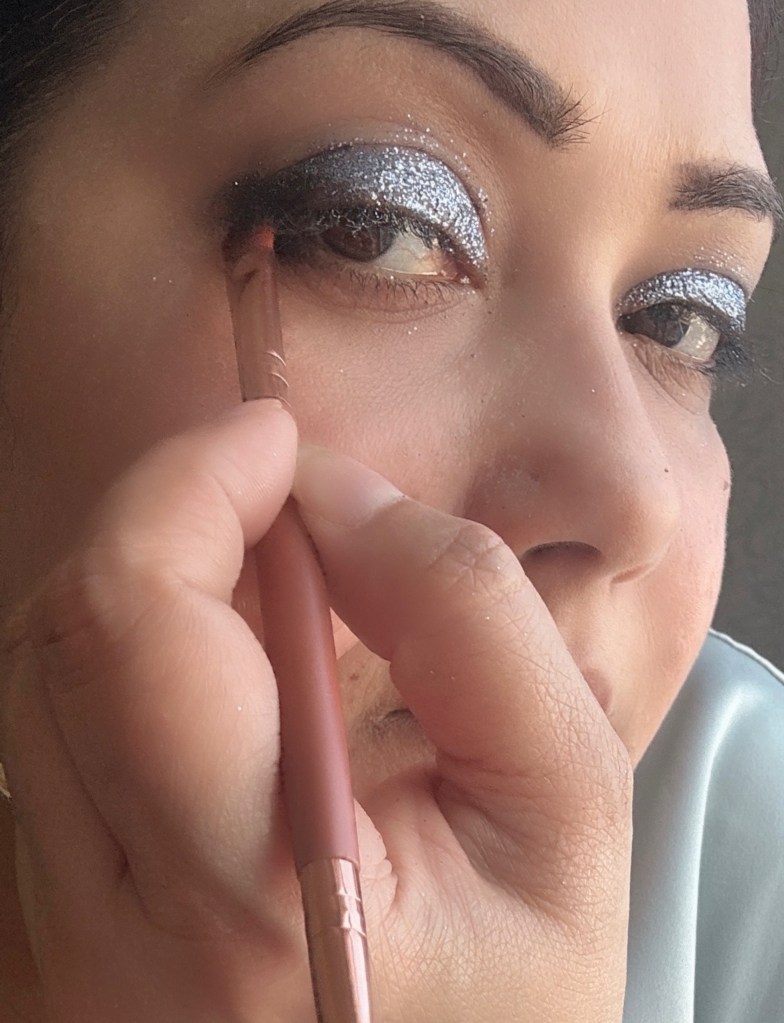
- Line your upper lash line with a thick smudge of kohl liner and smudge it a bit towards the outer corners.
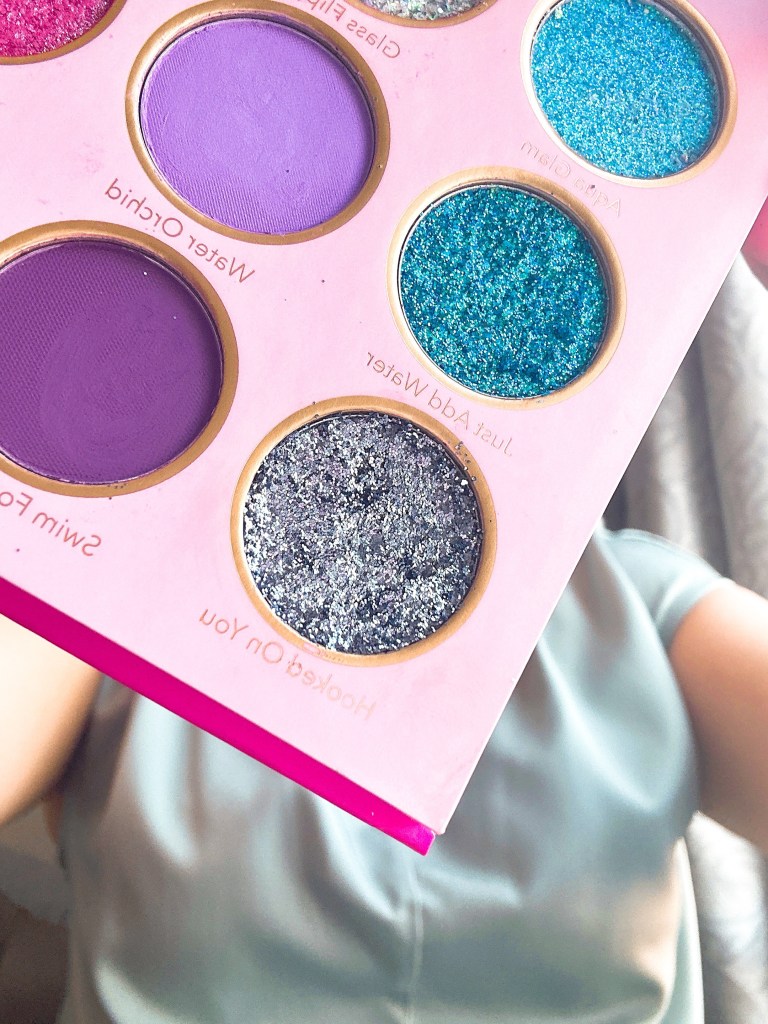
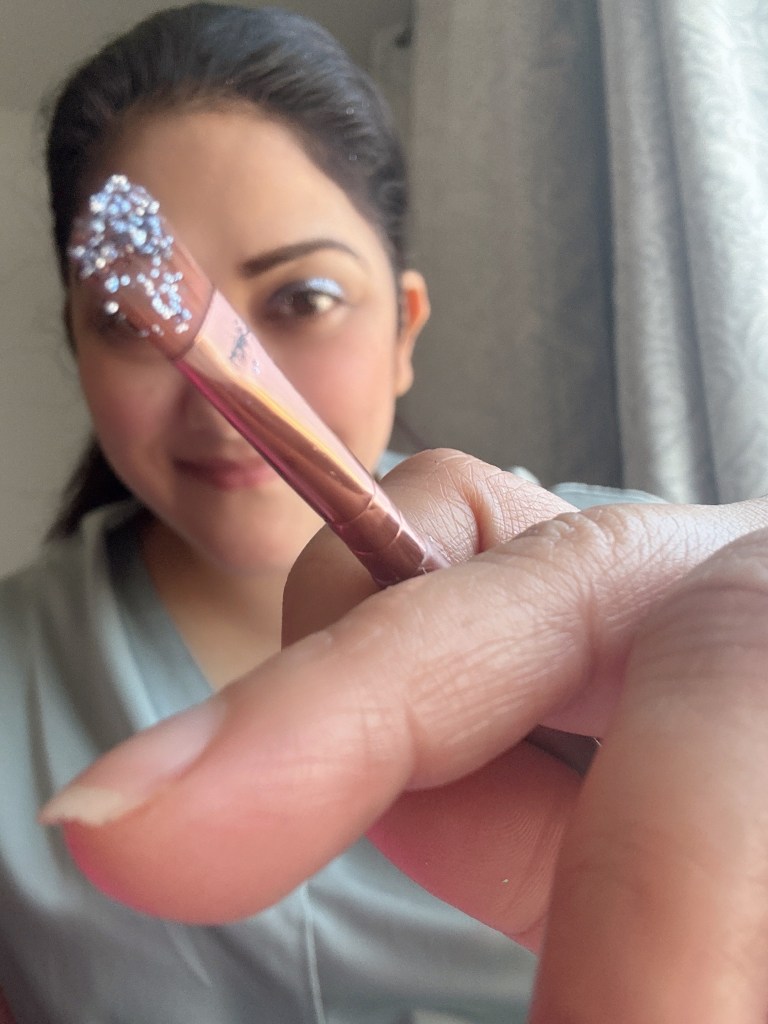
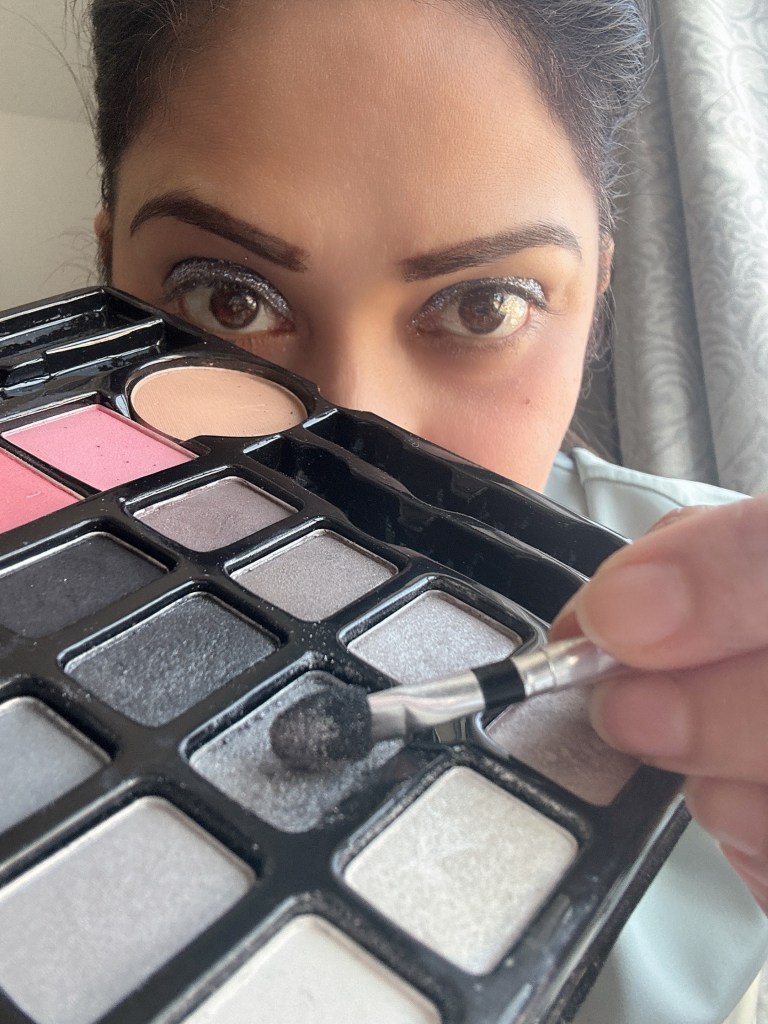
- Highlight the inner corners by dusting a shimmery eyeshadow of your choice
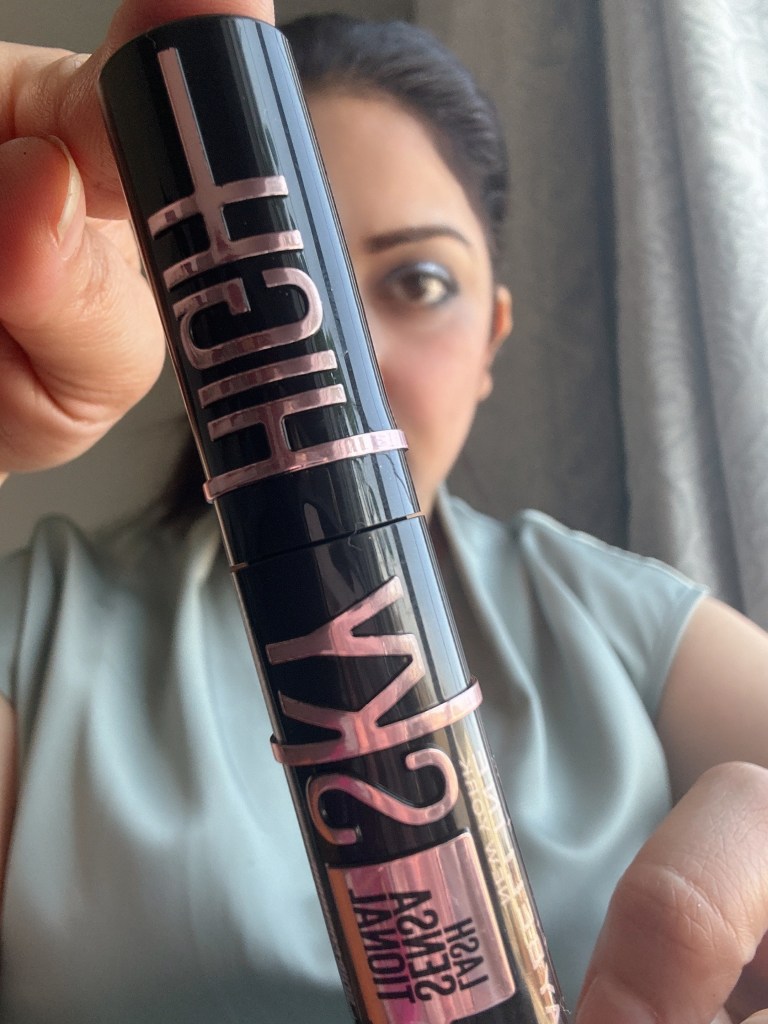
- Finish off with oodles of mascara
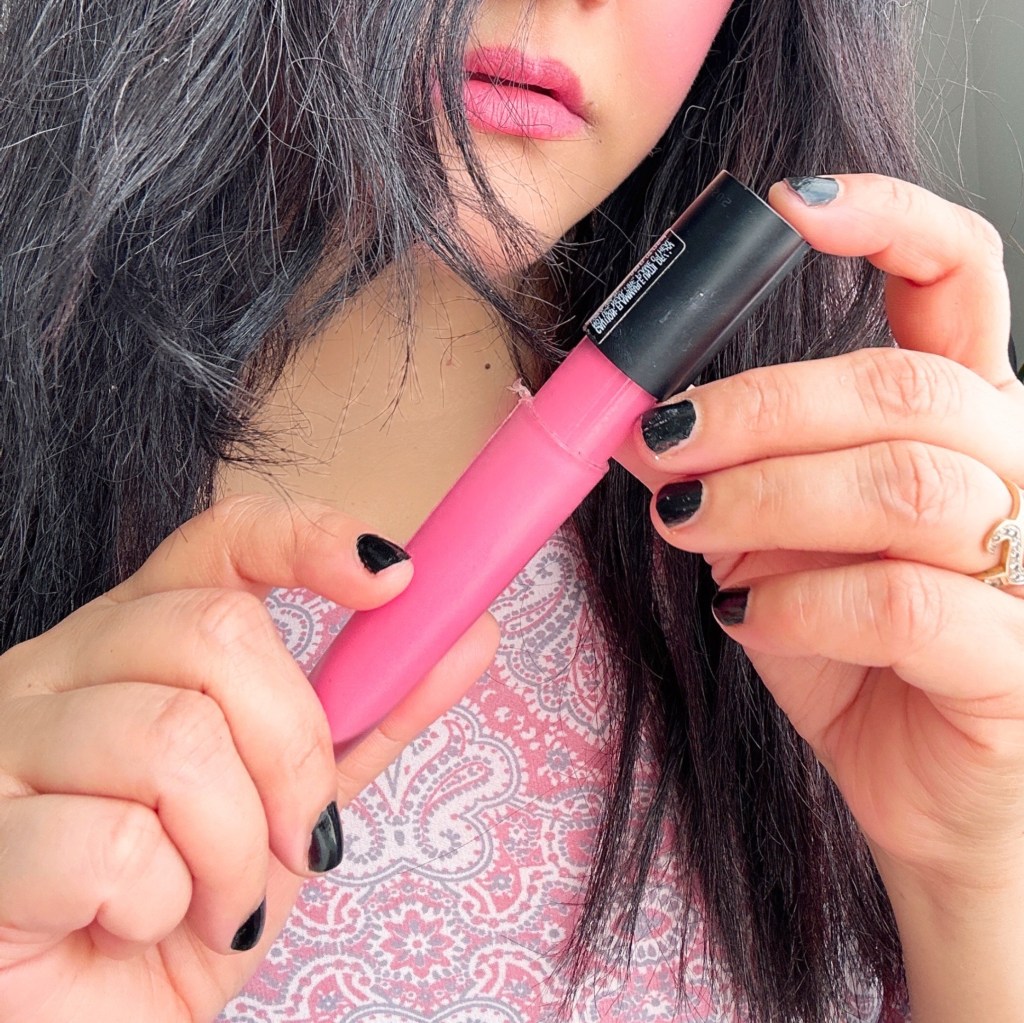
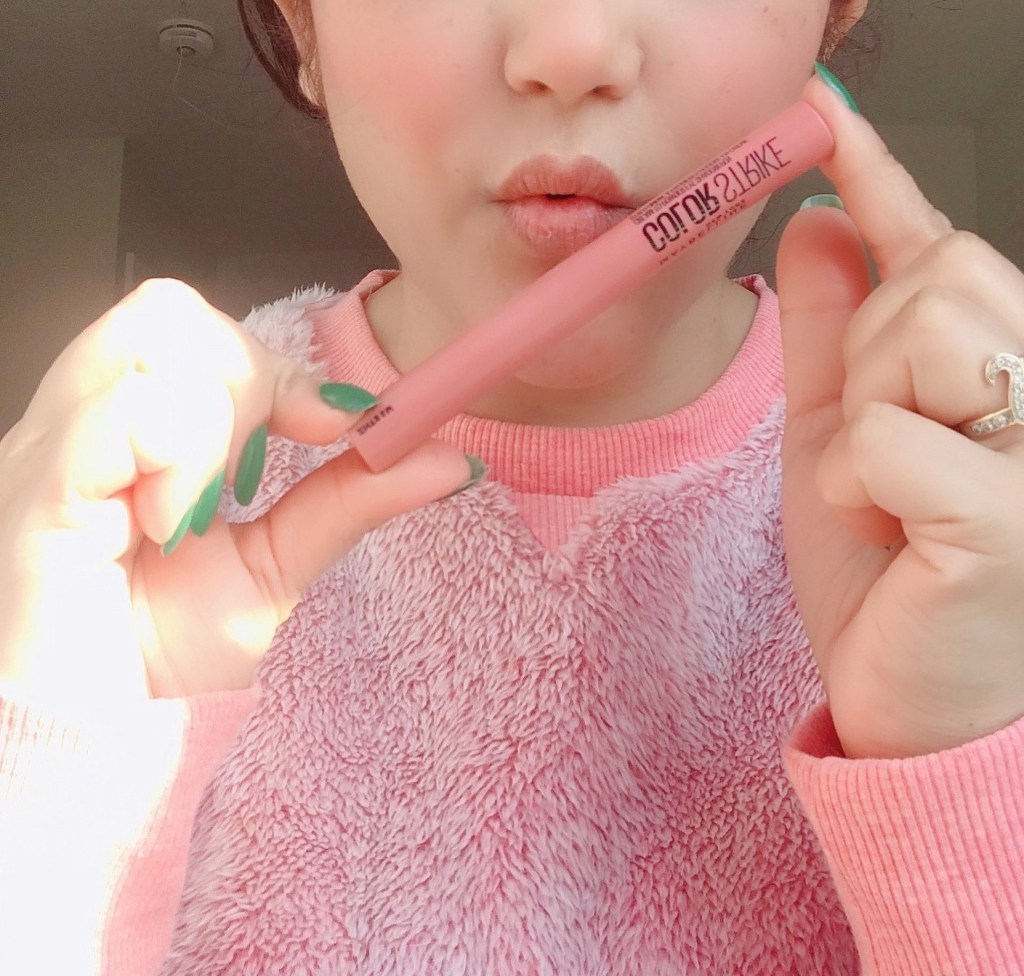
LIPS
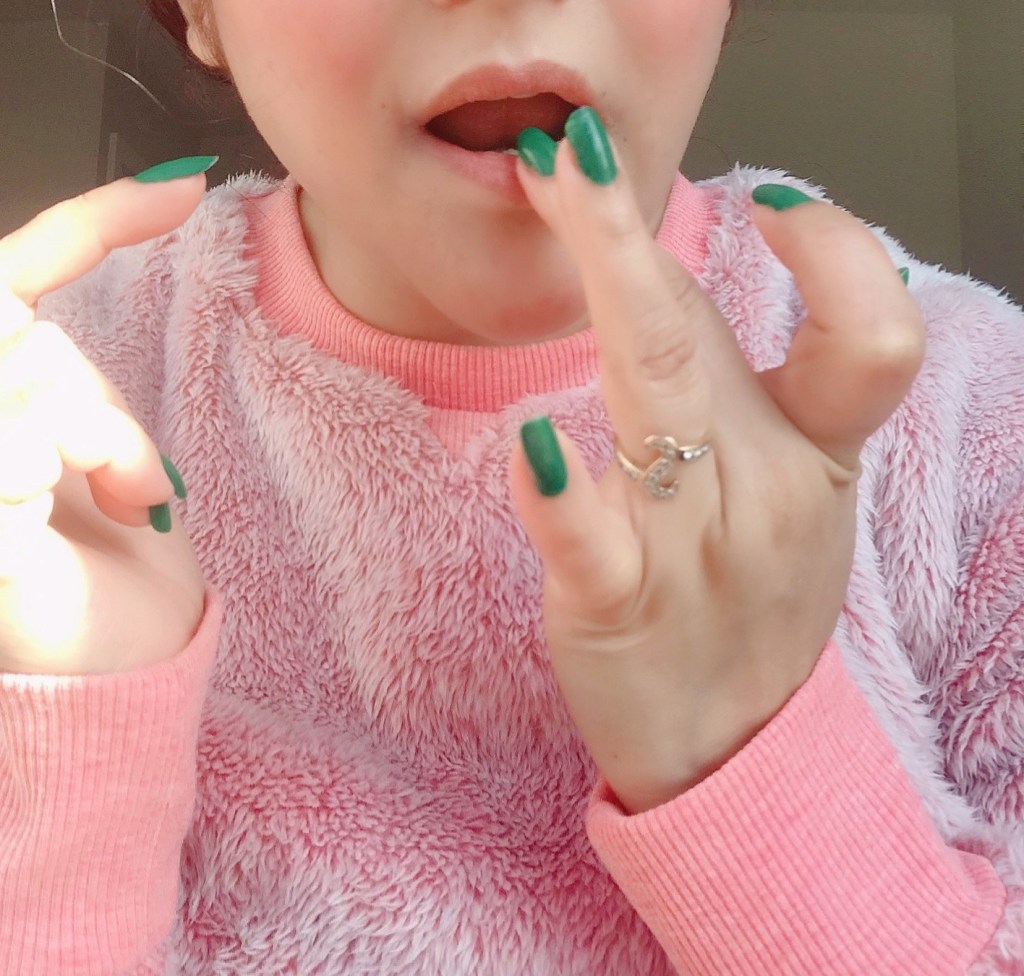
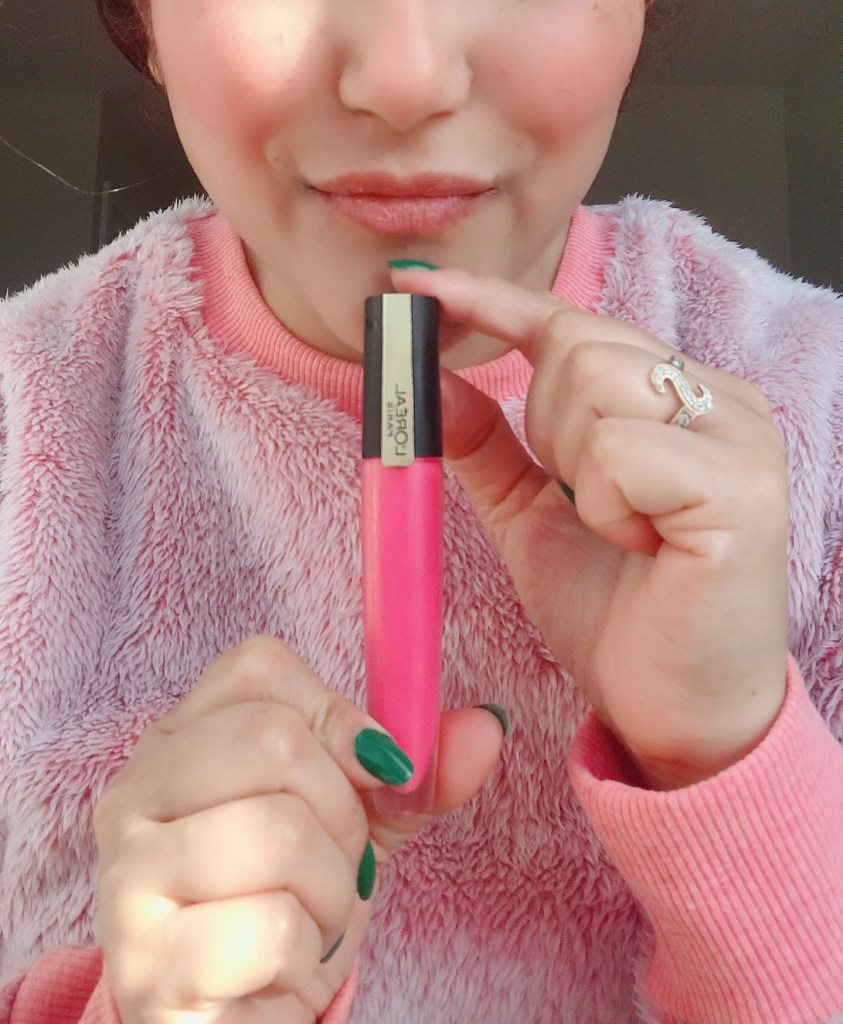
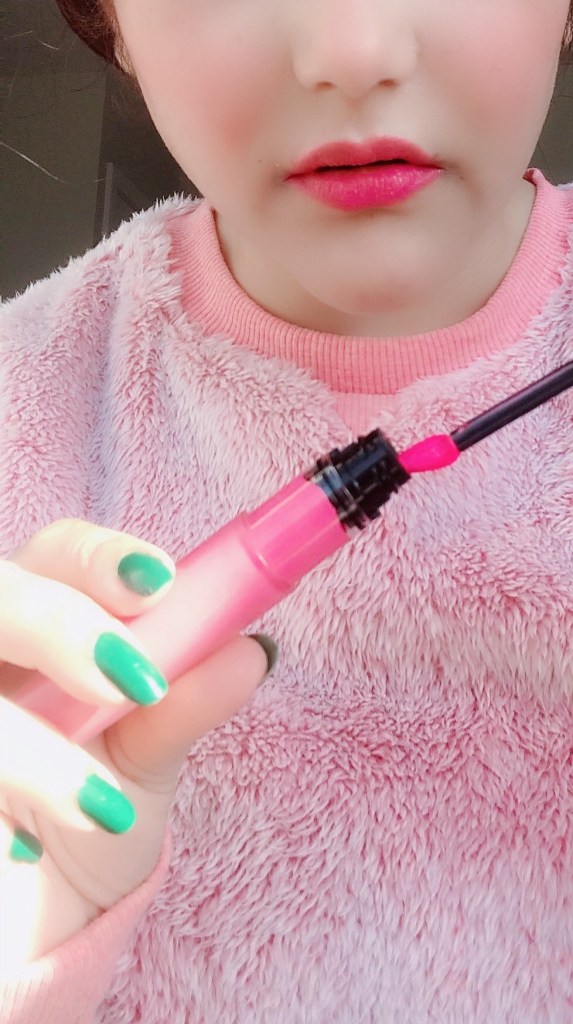
- Don’t forget to exfoliate your lips before doing anything
- Display a matte pink lipstick of your choice ( I used matte pink to justify the whole look)
- Blot it and reapply it to last longer
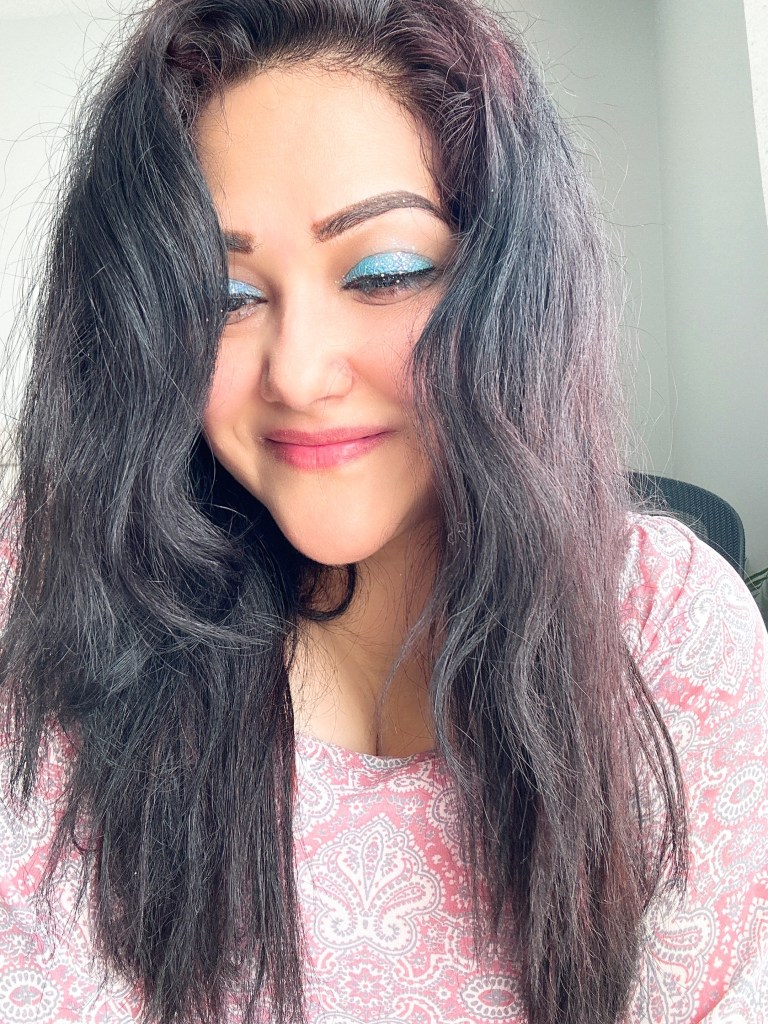
I hope you find this tutorial alluring and hope you give it a try at least once this winter season.
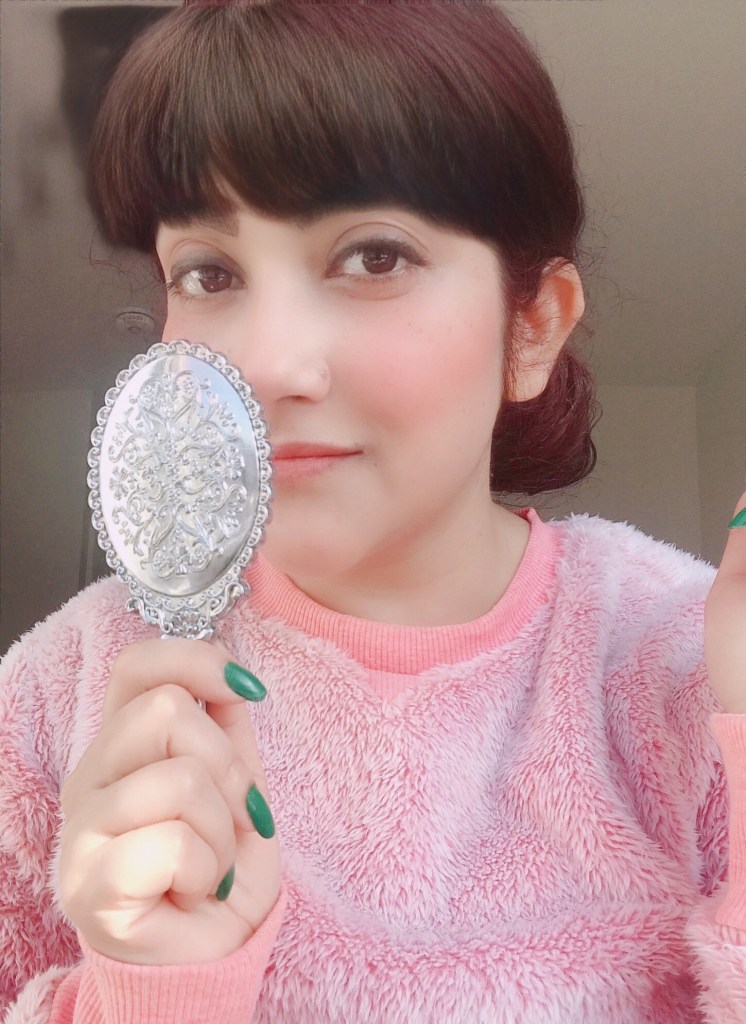
Soft pink blush with a hot cup of coffee makes it more wonderful
So enjoy your blushy look this winter…
Sweta “ka”
#blogpost #healthyfoods#superfoods#healthiswealth#walnuts#yogurt#darkchocolate#kale#berries#dailyroutine#healthylifestyle bathandbodyworks beautyandcare beautycare Beauty Craft behealthy boldlook curlingrod eye makeup eyes eyeshadow face fashionbloggers fashioninspiration fashionstyle fashiontips featured foundation freshbeauty haircare haircurls hairdo hairdryer hair fixing spray hairserum hairstyle hairvibes hair volumiser HEALTH Health and Healing health benefits healthybody honey lips loreal makeup makeup.beauty makeupandbeauty makeupbrushes makeup do makeuptools mascara Moda scrub