“Fashion is the bridge between who you are and who you want to be, giving you the freedom to reinvent yourself with each new look.”
Sweta
Whether you’re a career-driven professional or a multitasking individual, finding time to transition from a long day at the office to an evening social event can be a challenge. However, with a few simple tweaks and smart choices, you can effortlessly transform your daytime office look into a stunning party ensemble. In this blog post, I’ll guide you through the art of transitioning your outfit from chic and professional to glamorous and party-ready, ensuring you’ll turn heads at any after-hours event.

Let’s get started :
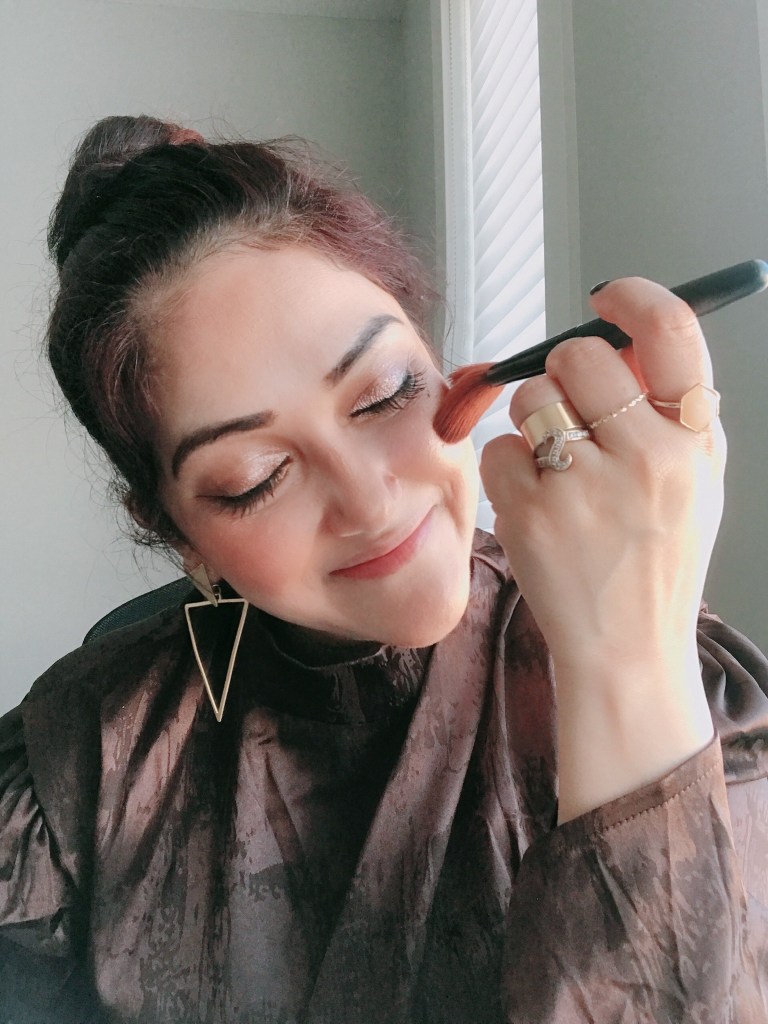
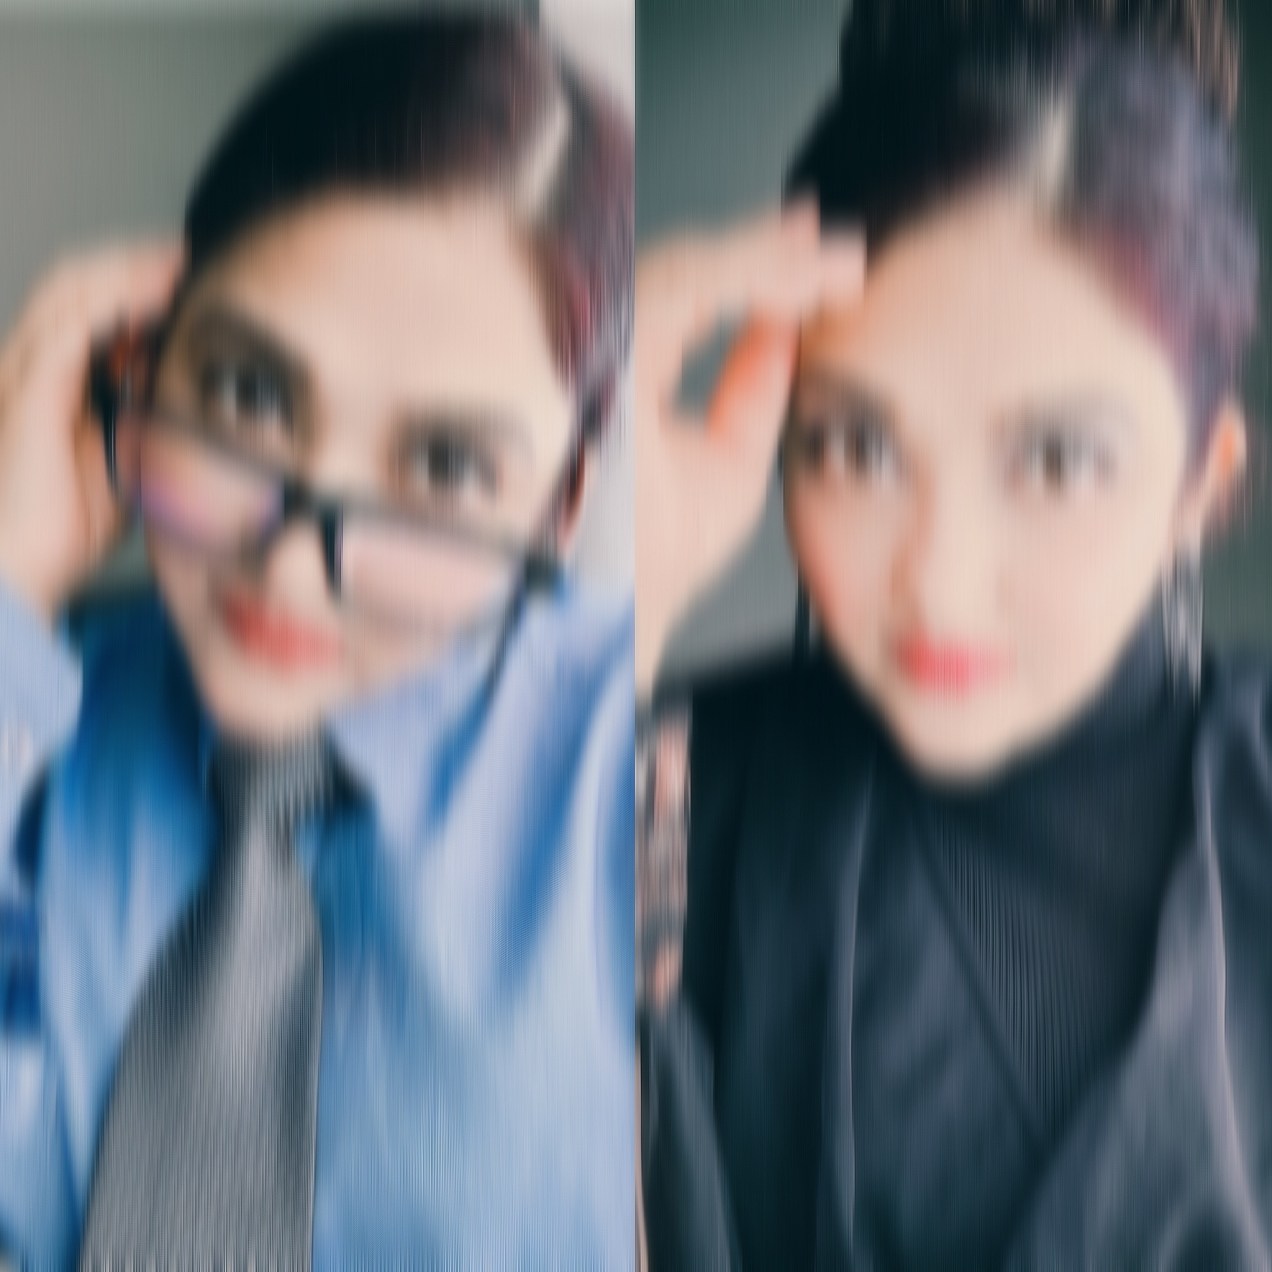
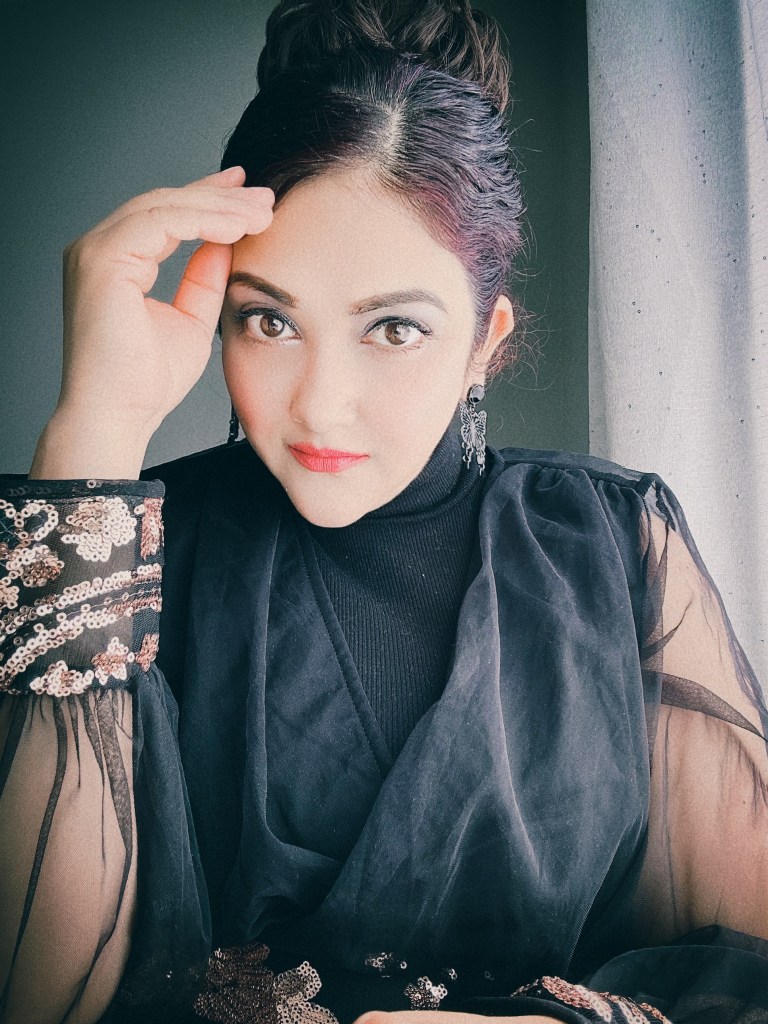
LOOK 1: Day look
Keep your look minimal in the office and neutral lips should do the trick.

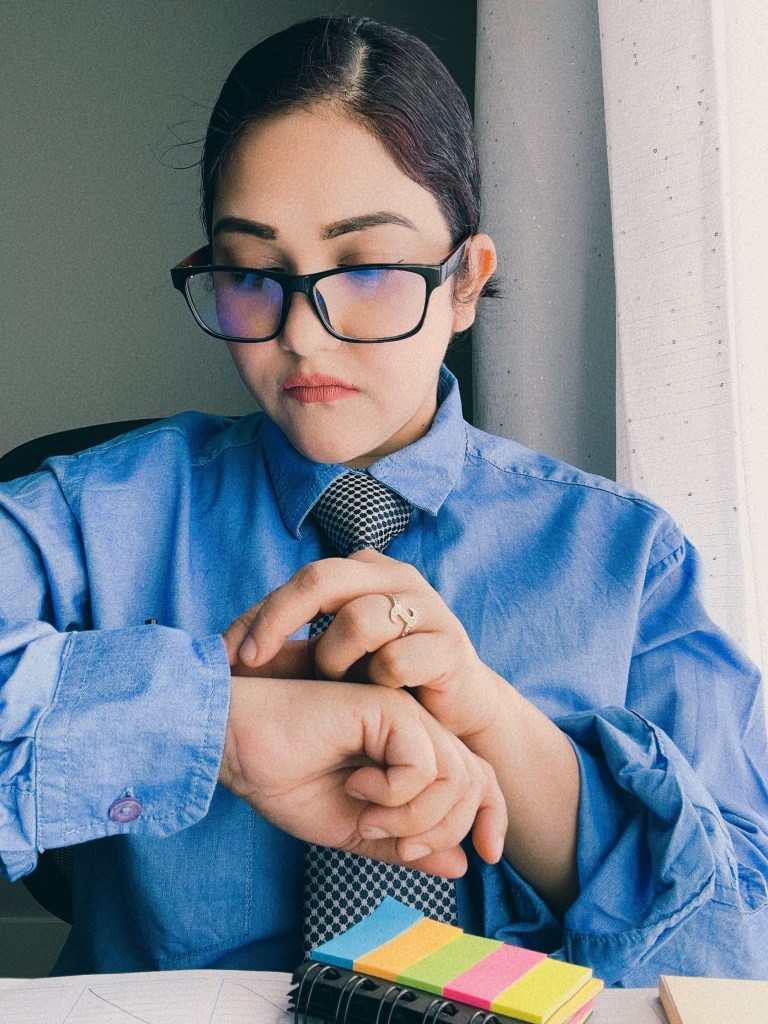

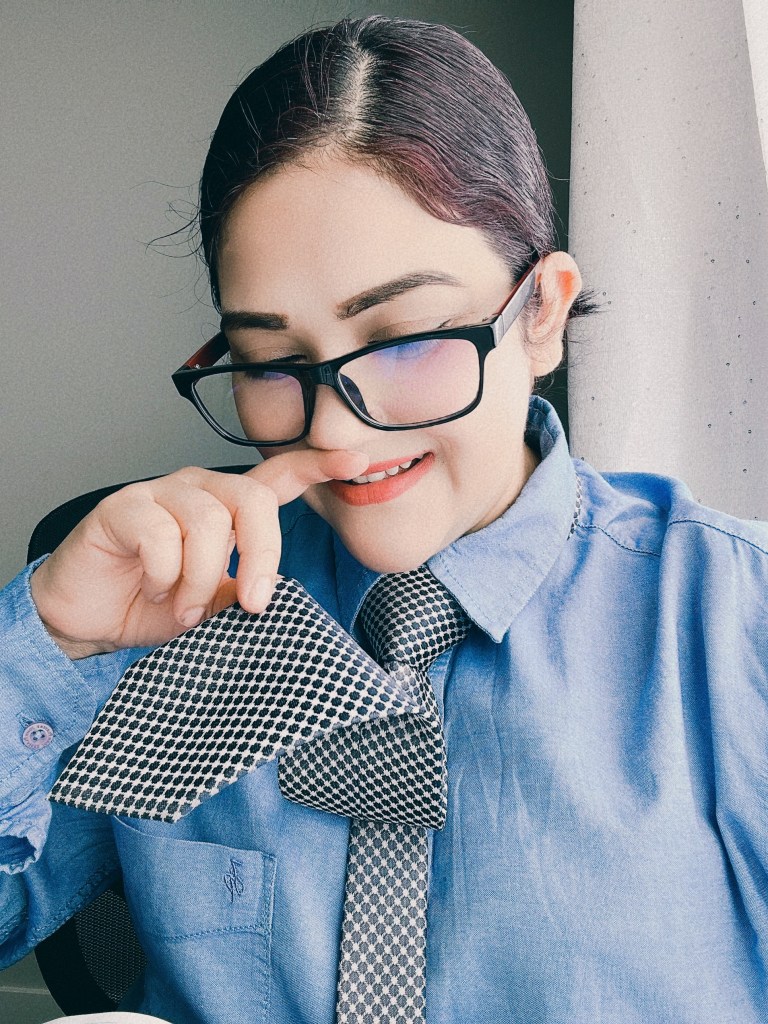

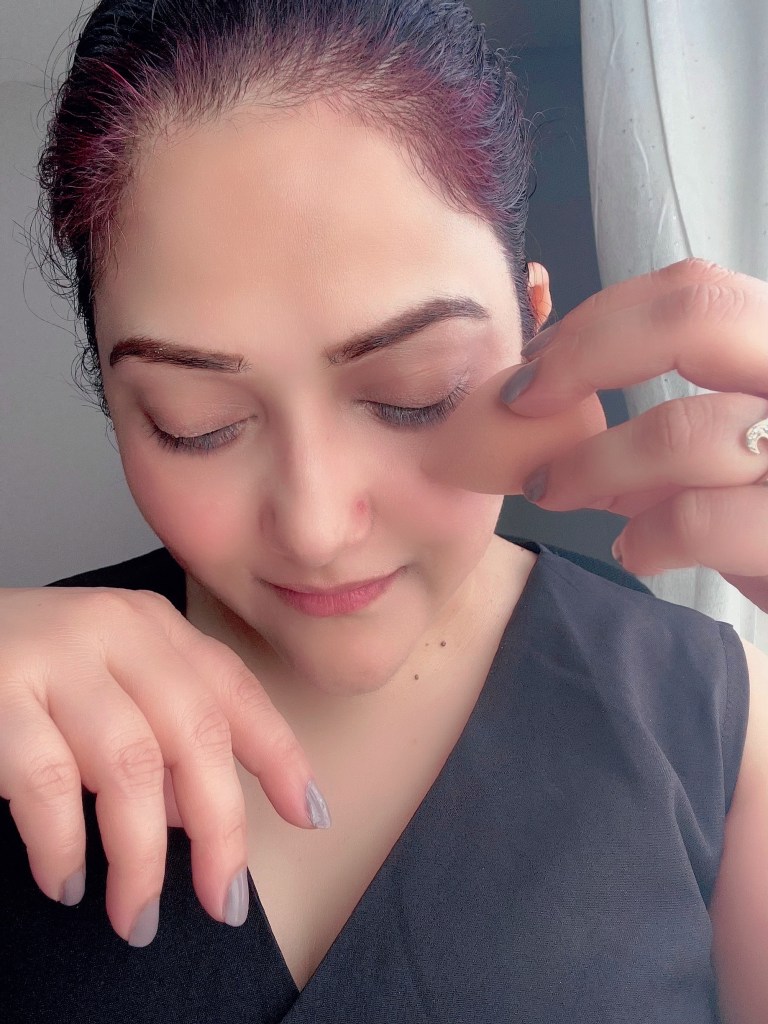
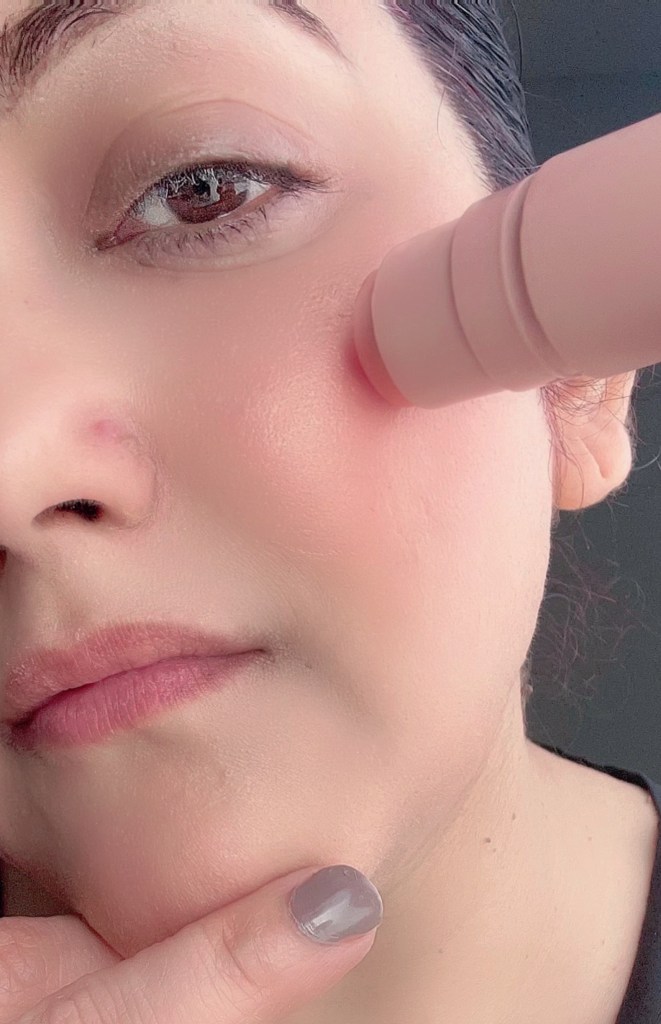
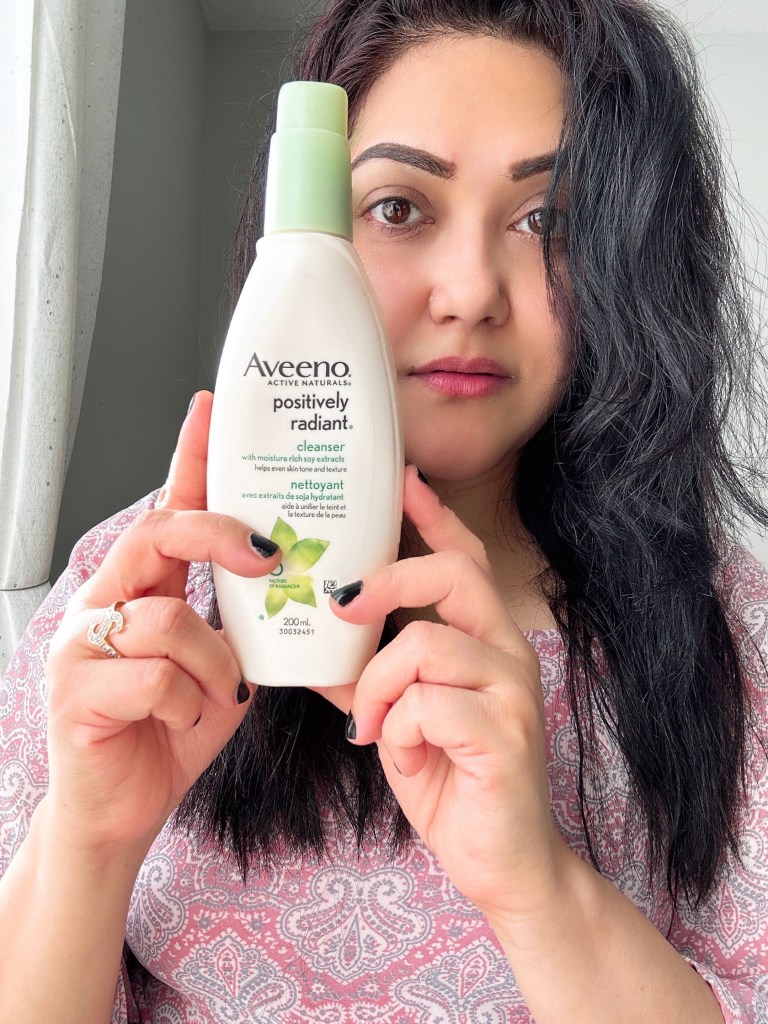
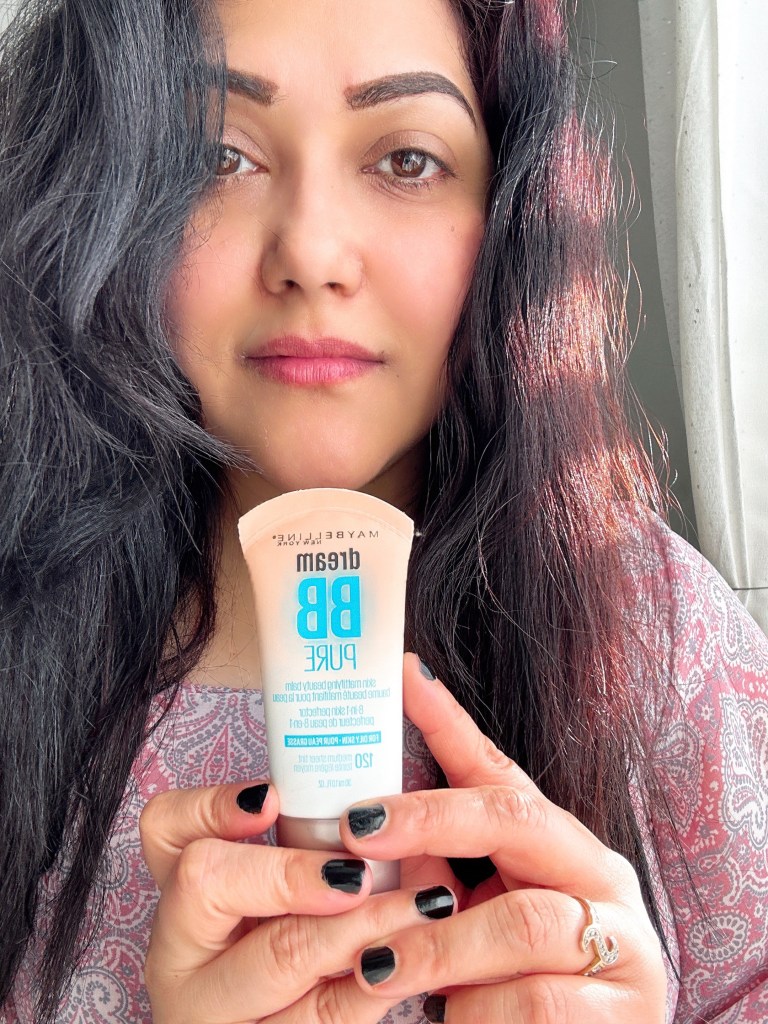
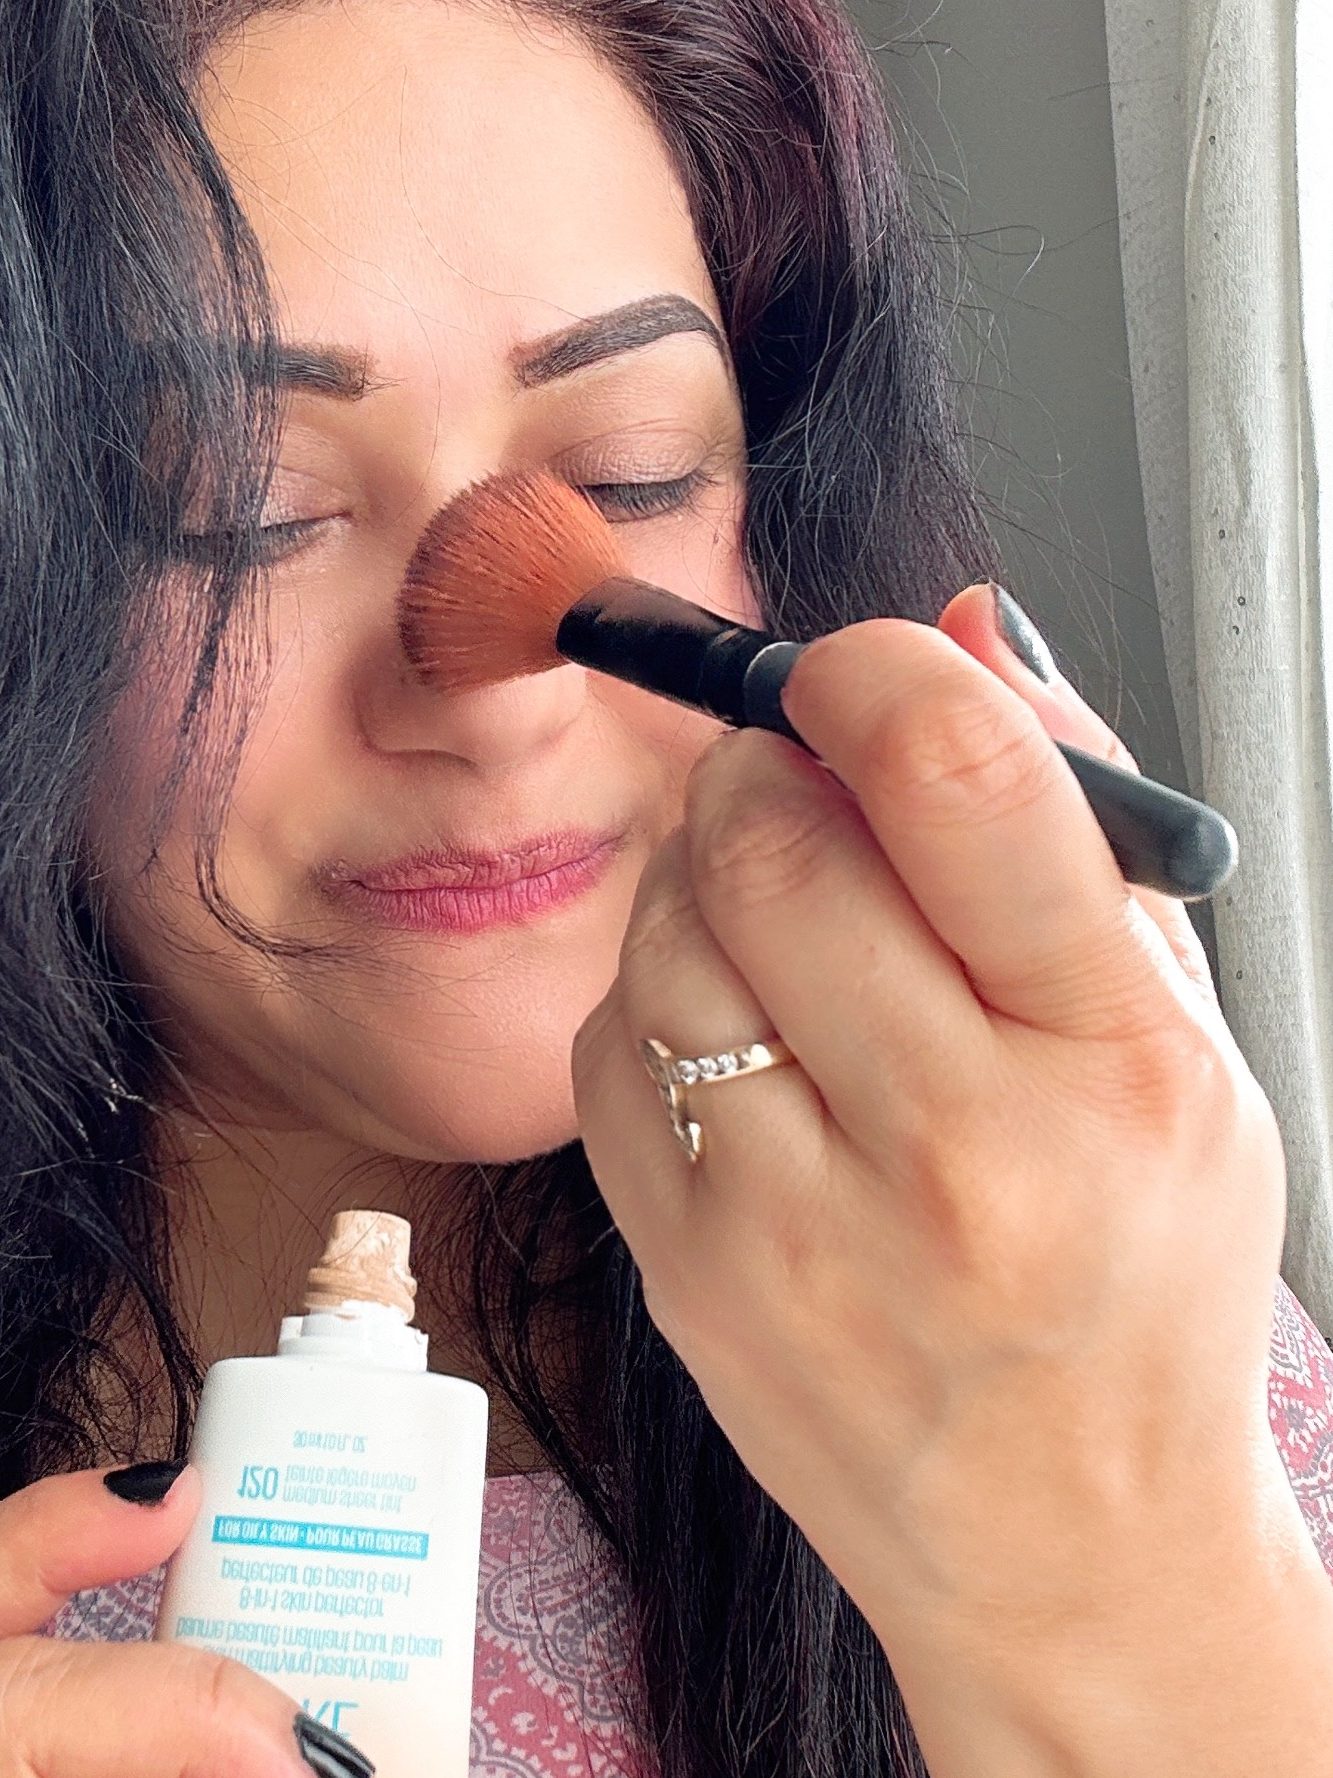
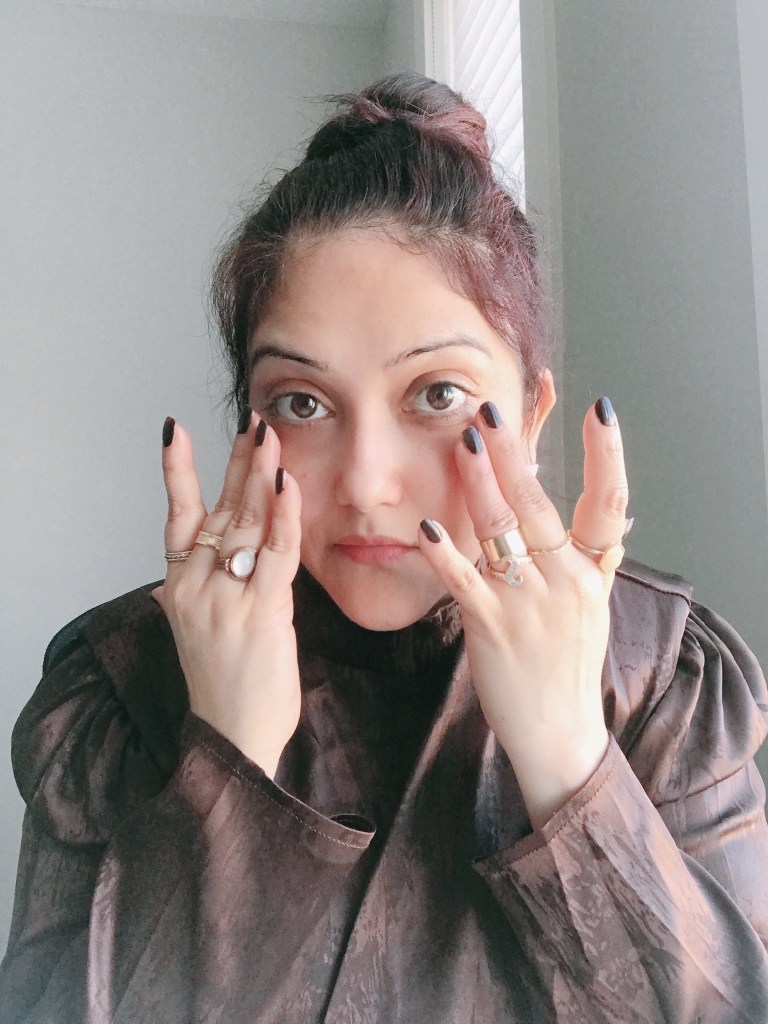
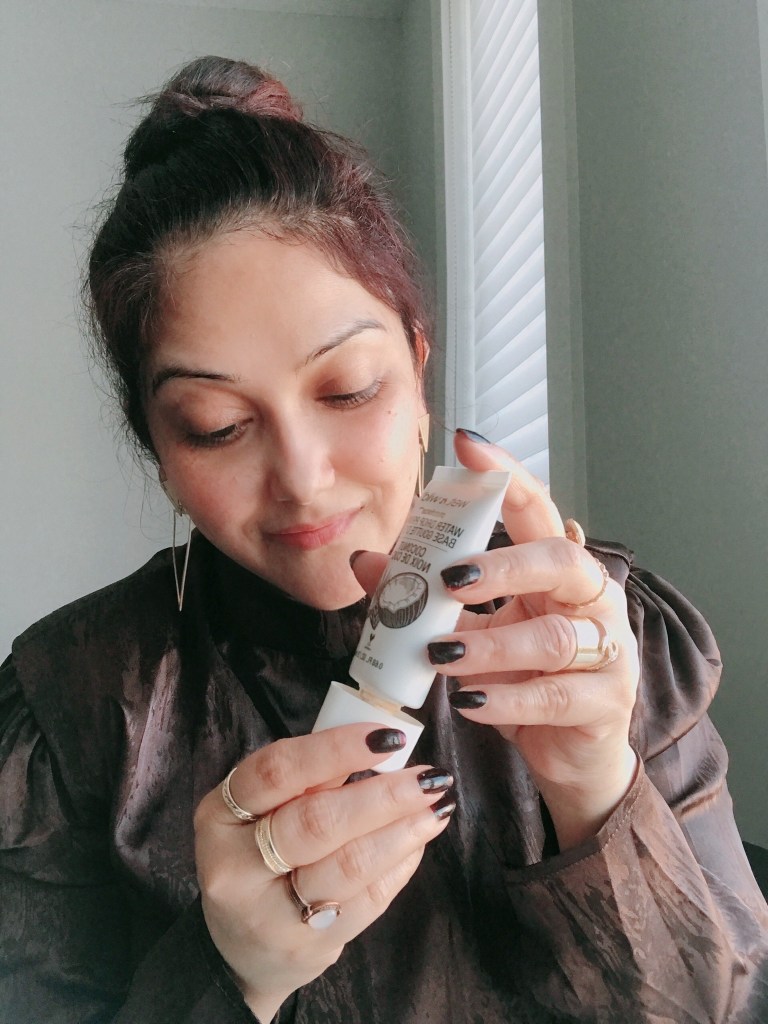
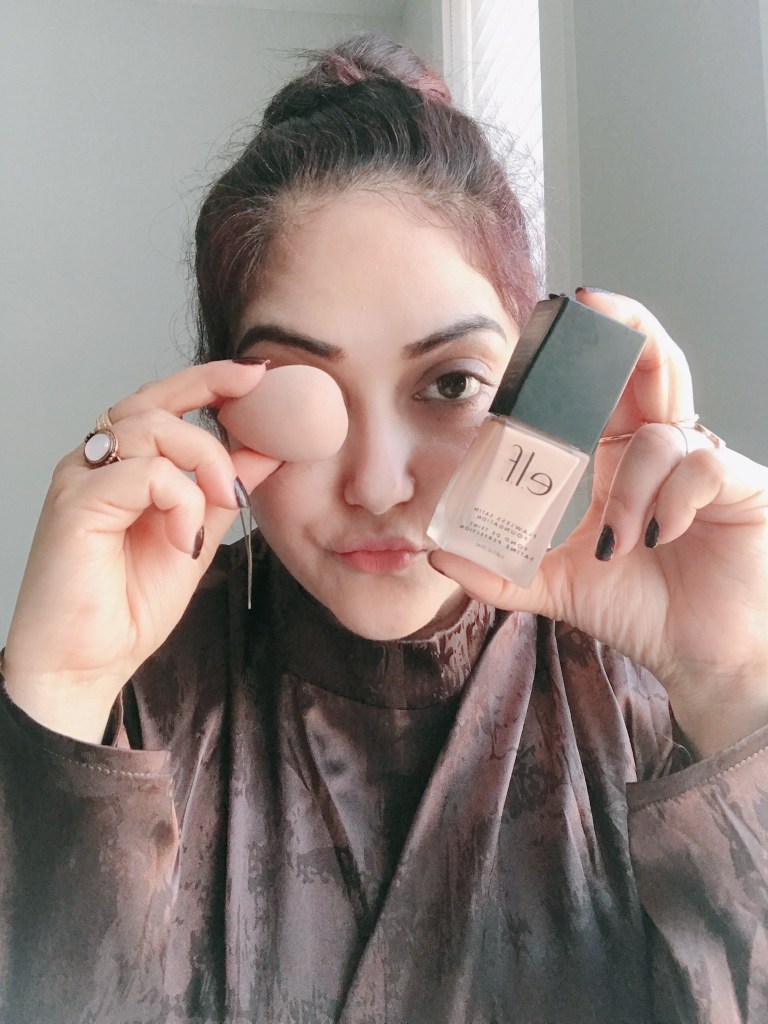
- Even out your skin with foundation. This is a must, especially if you are just touching up your face later.
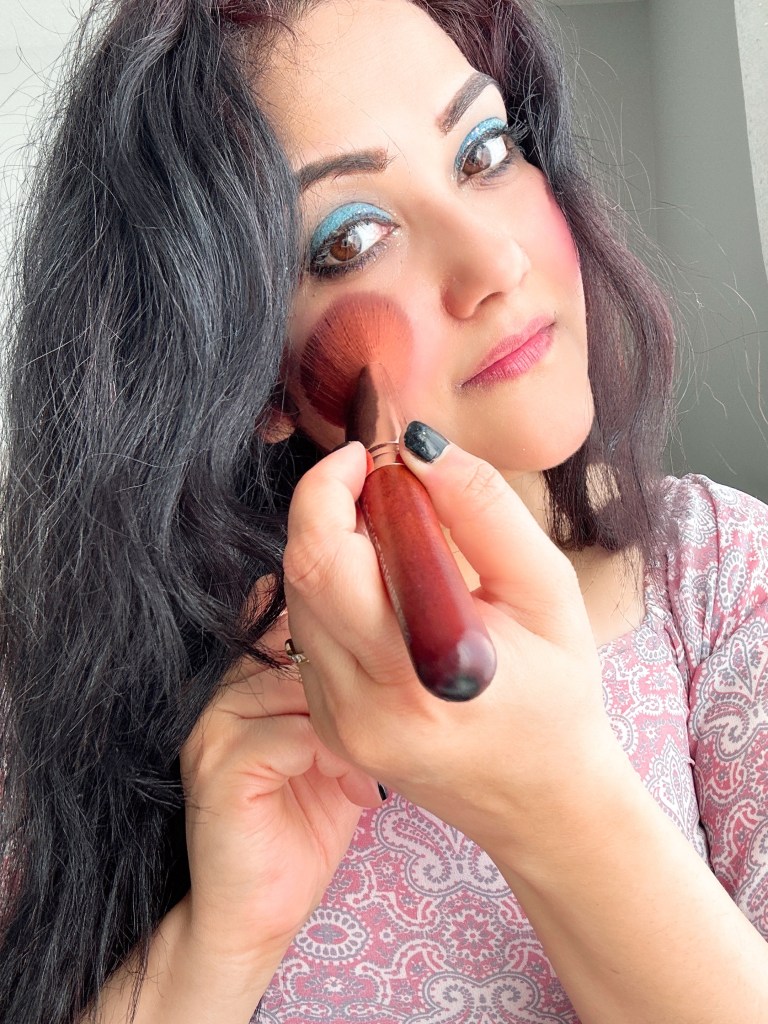
- Shade a soft, neutral colour blush into your cheeks.
- Keep your lips natural with a beige shade or one that matches your lip colour.
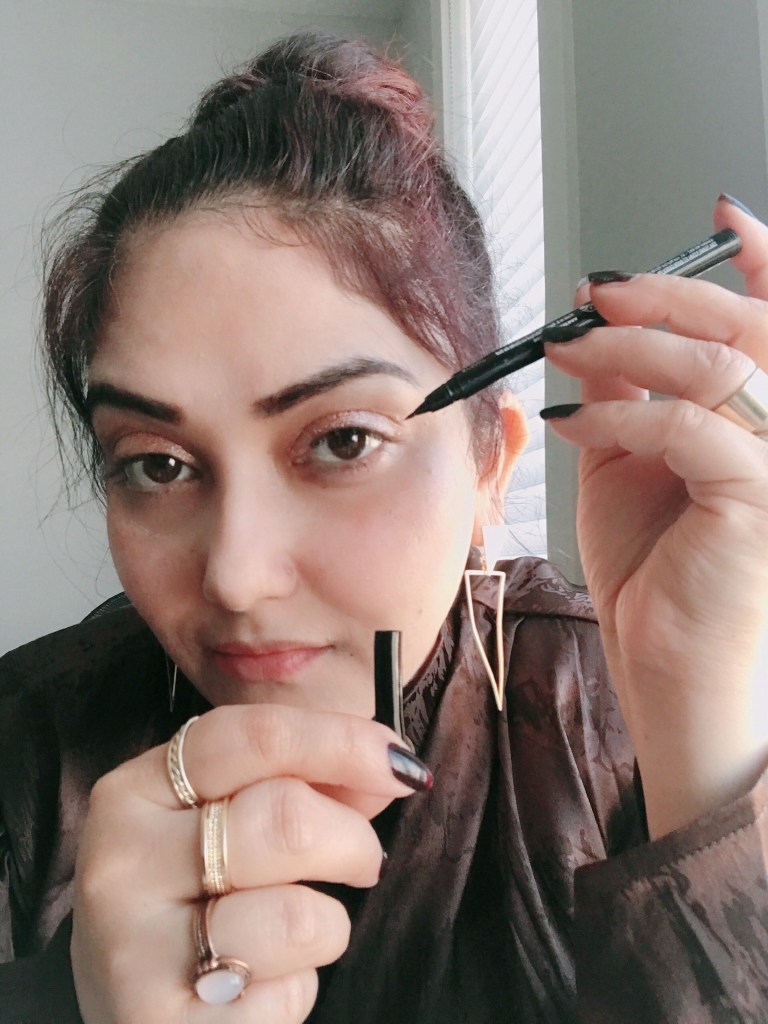
- Use a concealer to eliminate dark circles and shade a neutral colour into your eye socket.
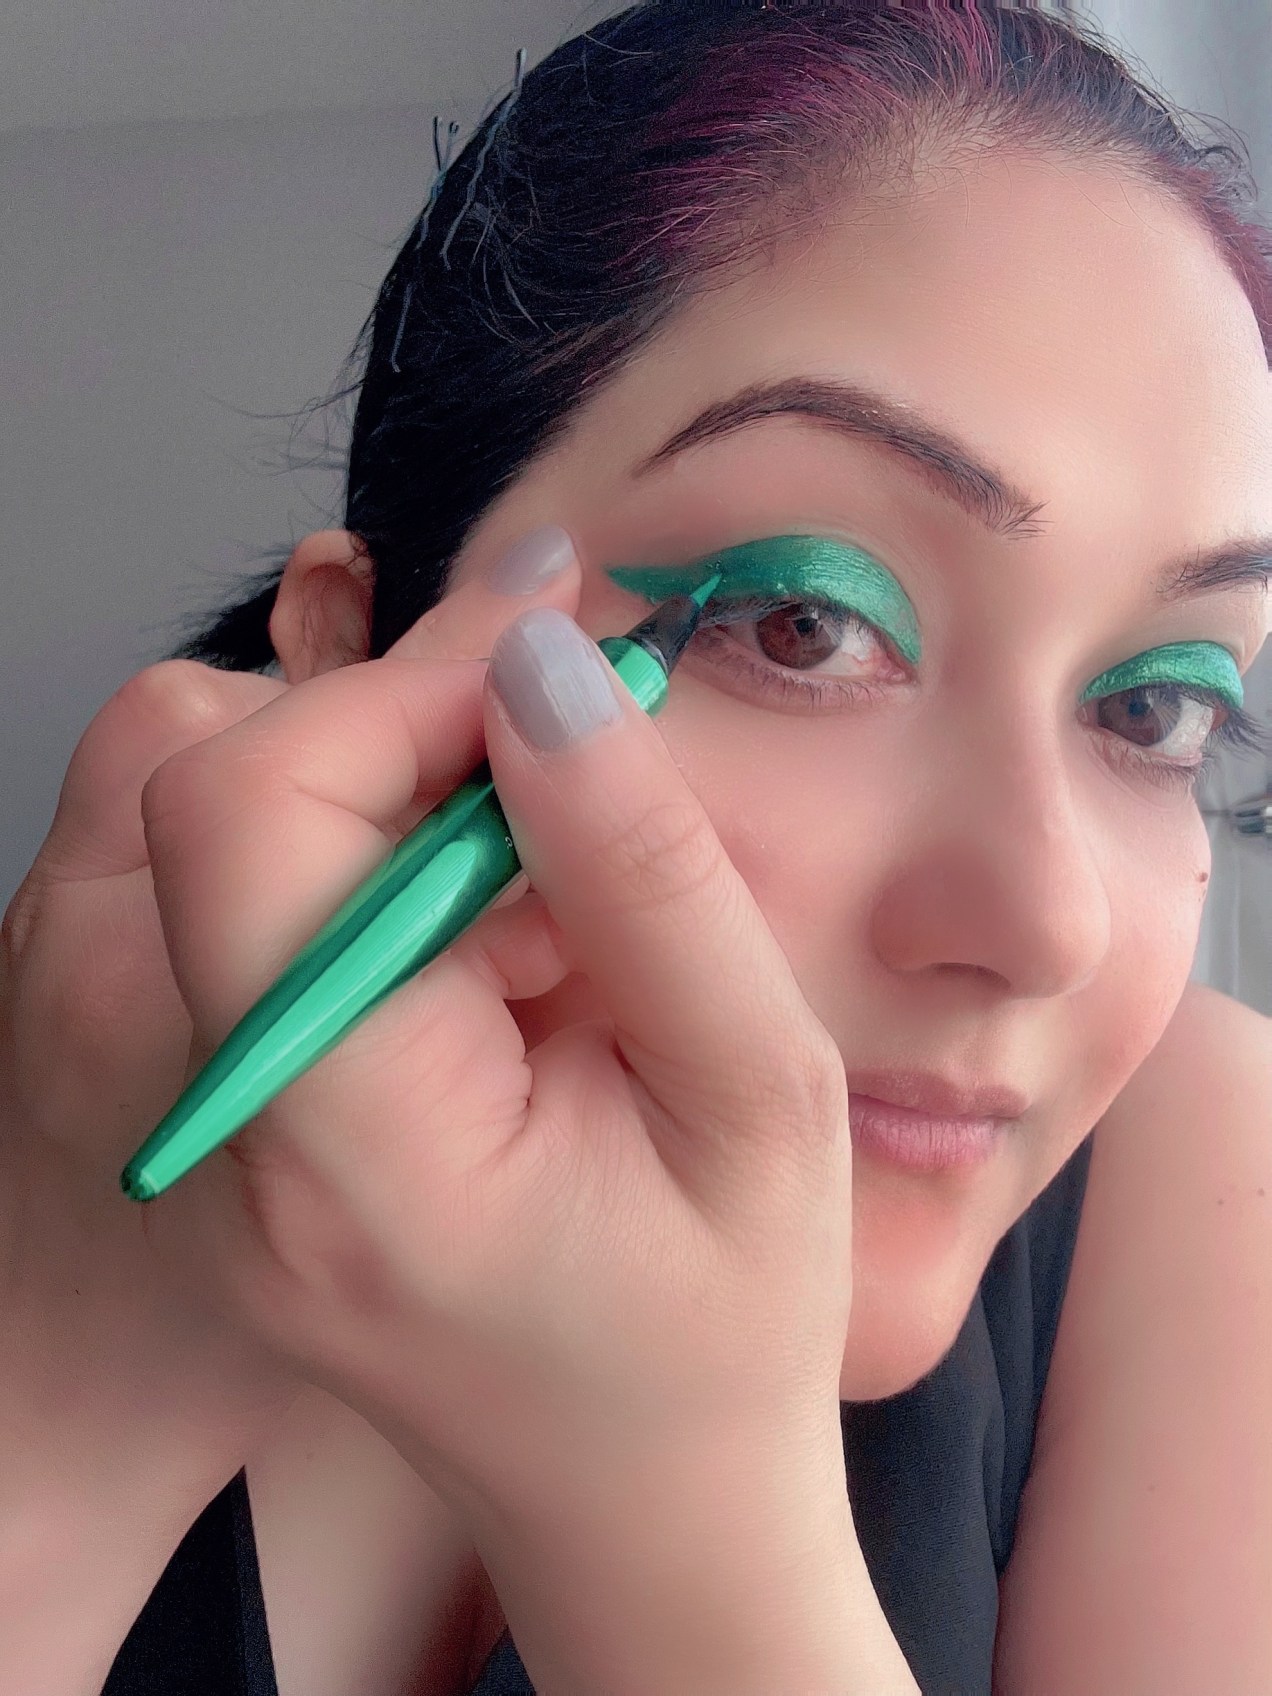
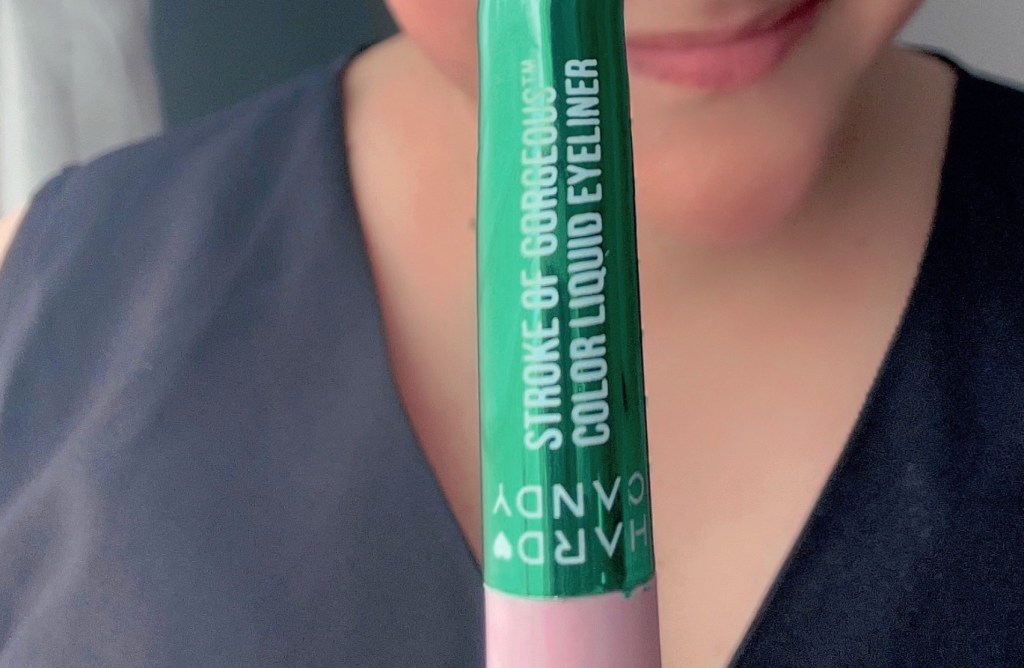
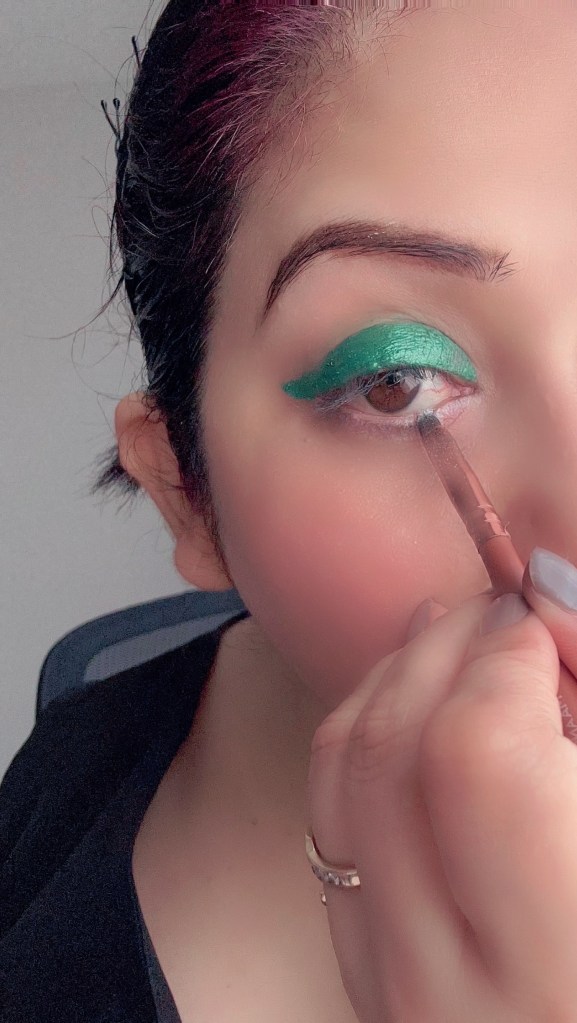
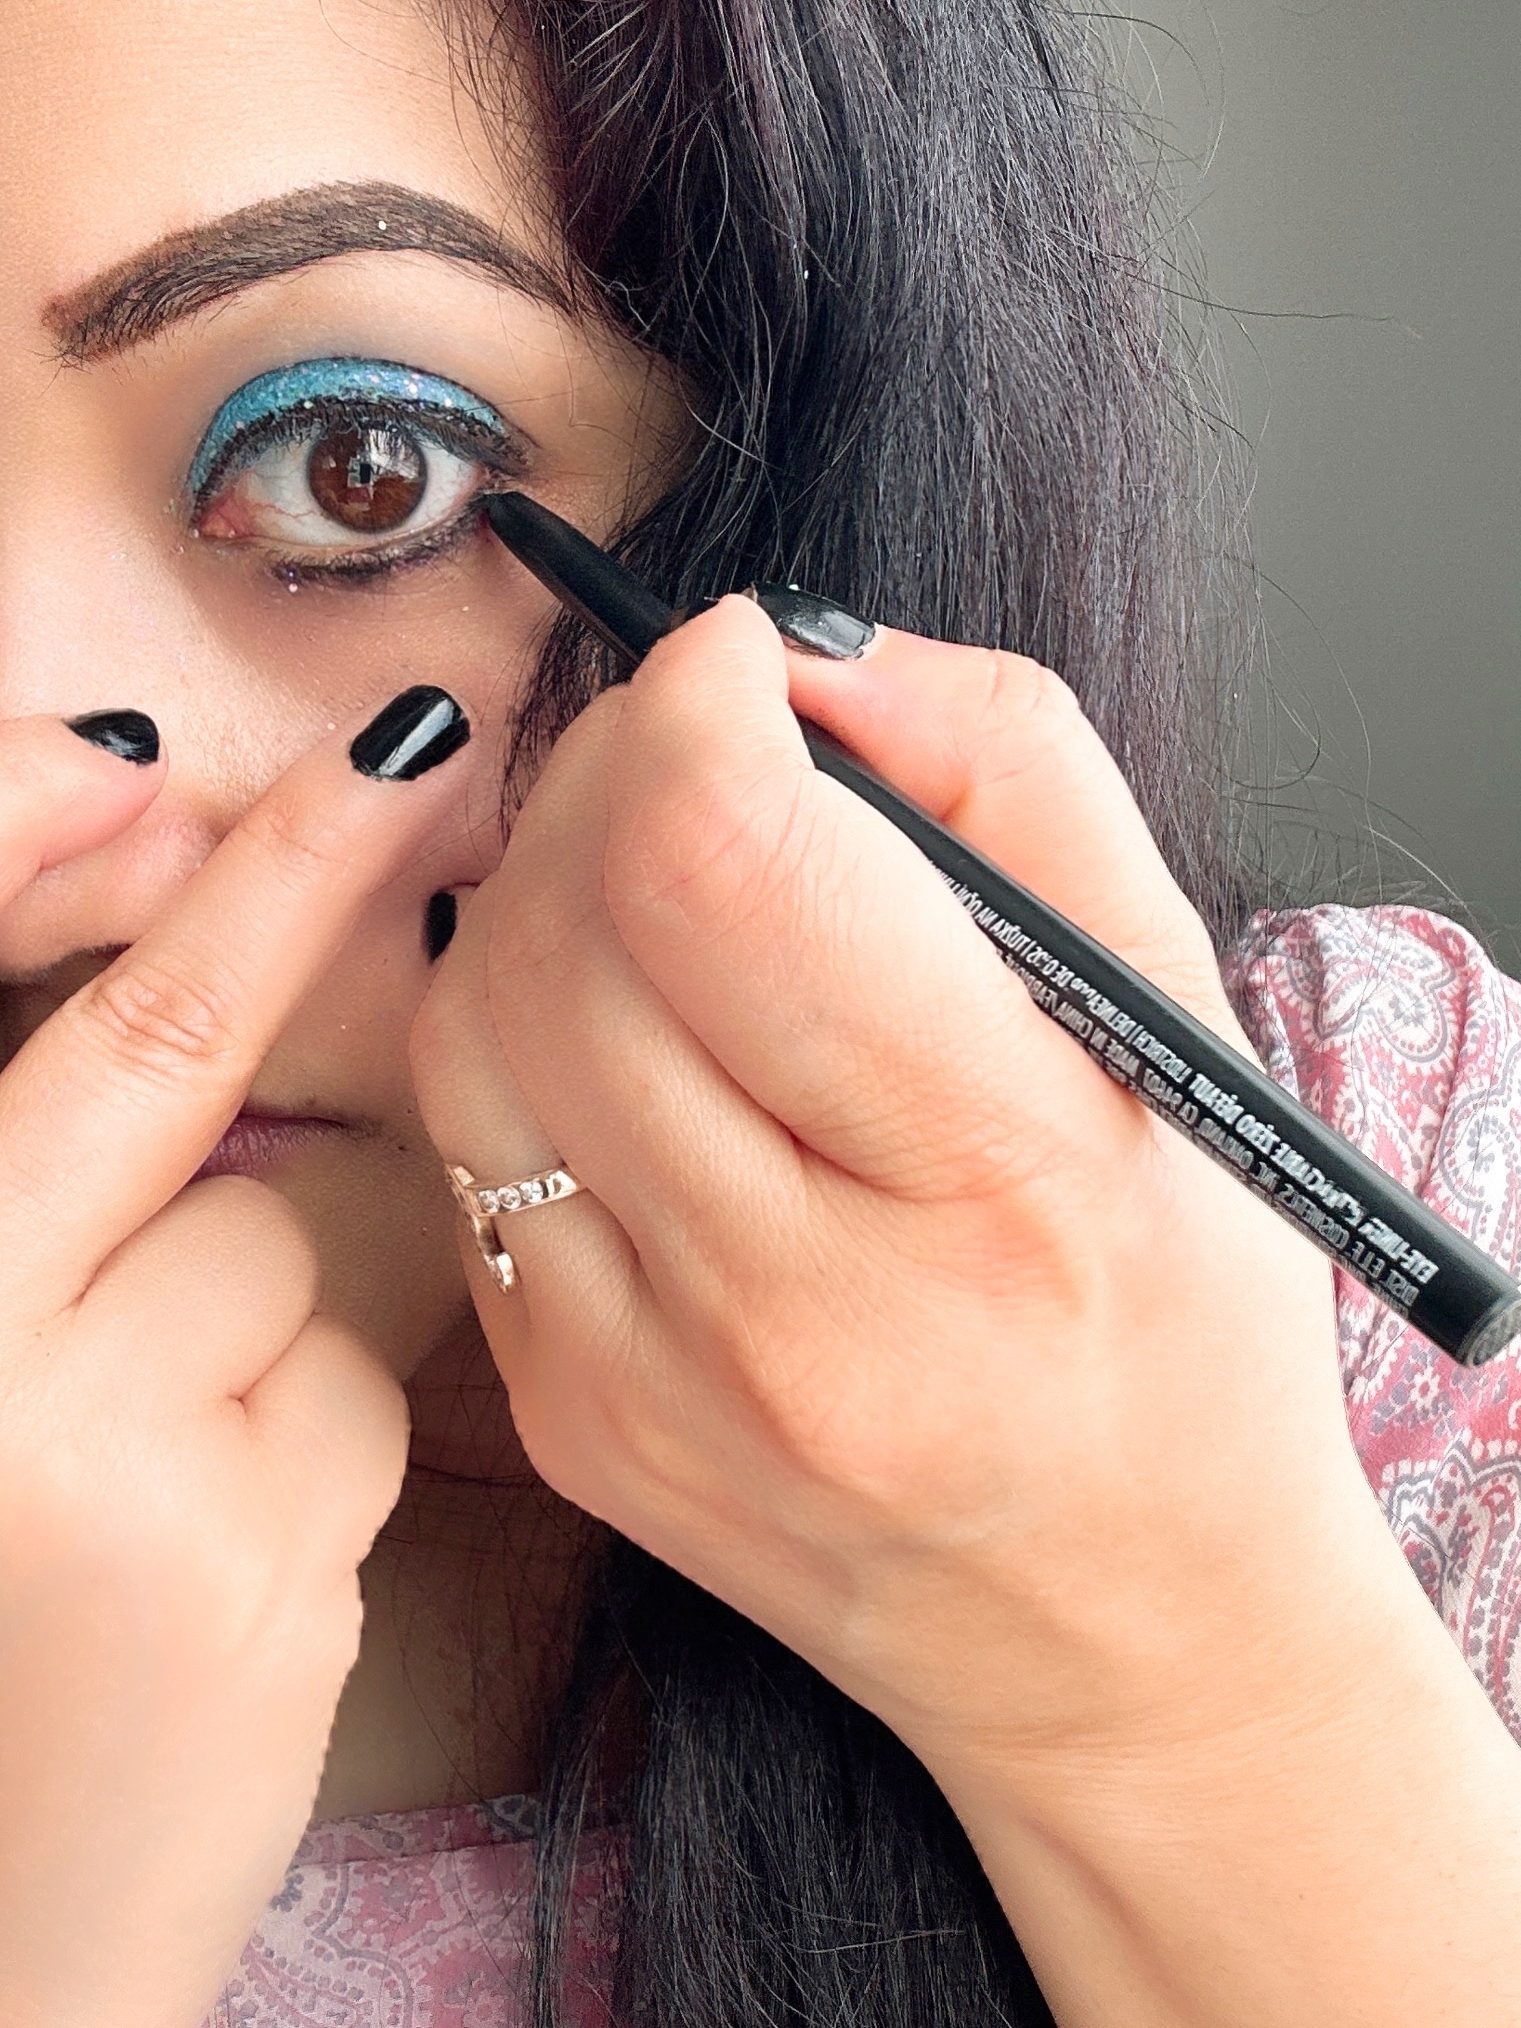
- Using a liquid eyeliner, draw a line on your upper eyelid from the inner corner to the outer corner.
- Pull your hair into a low chignon and secure it firmly. If you have bangs, let them fall neatly on your forehead.
- During the day, keep your hair polished and professional with a sleek updo, a sophisticated bun, or a classic blowout.
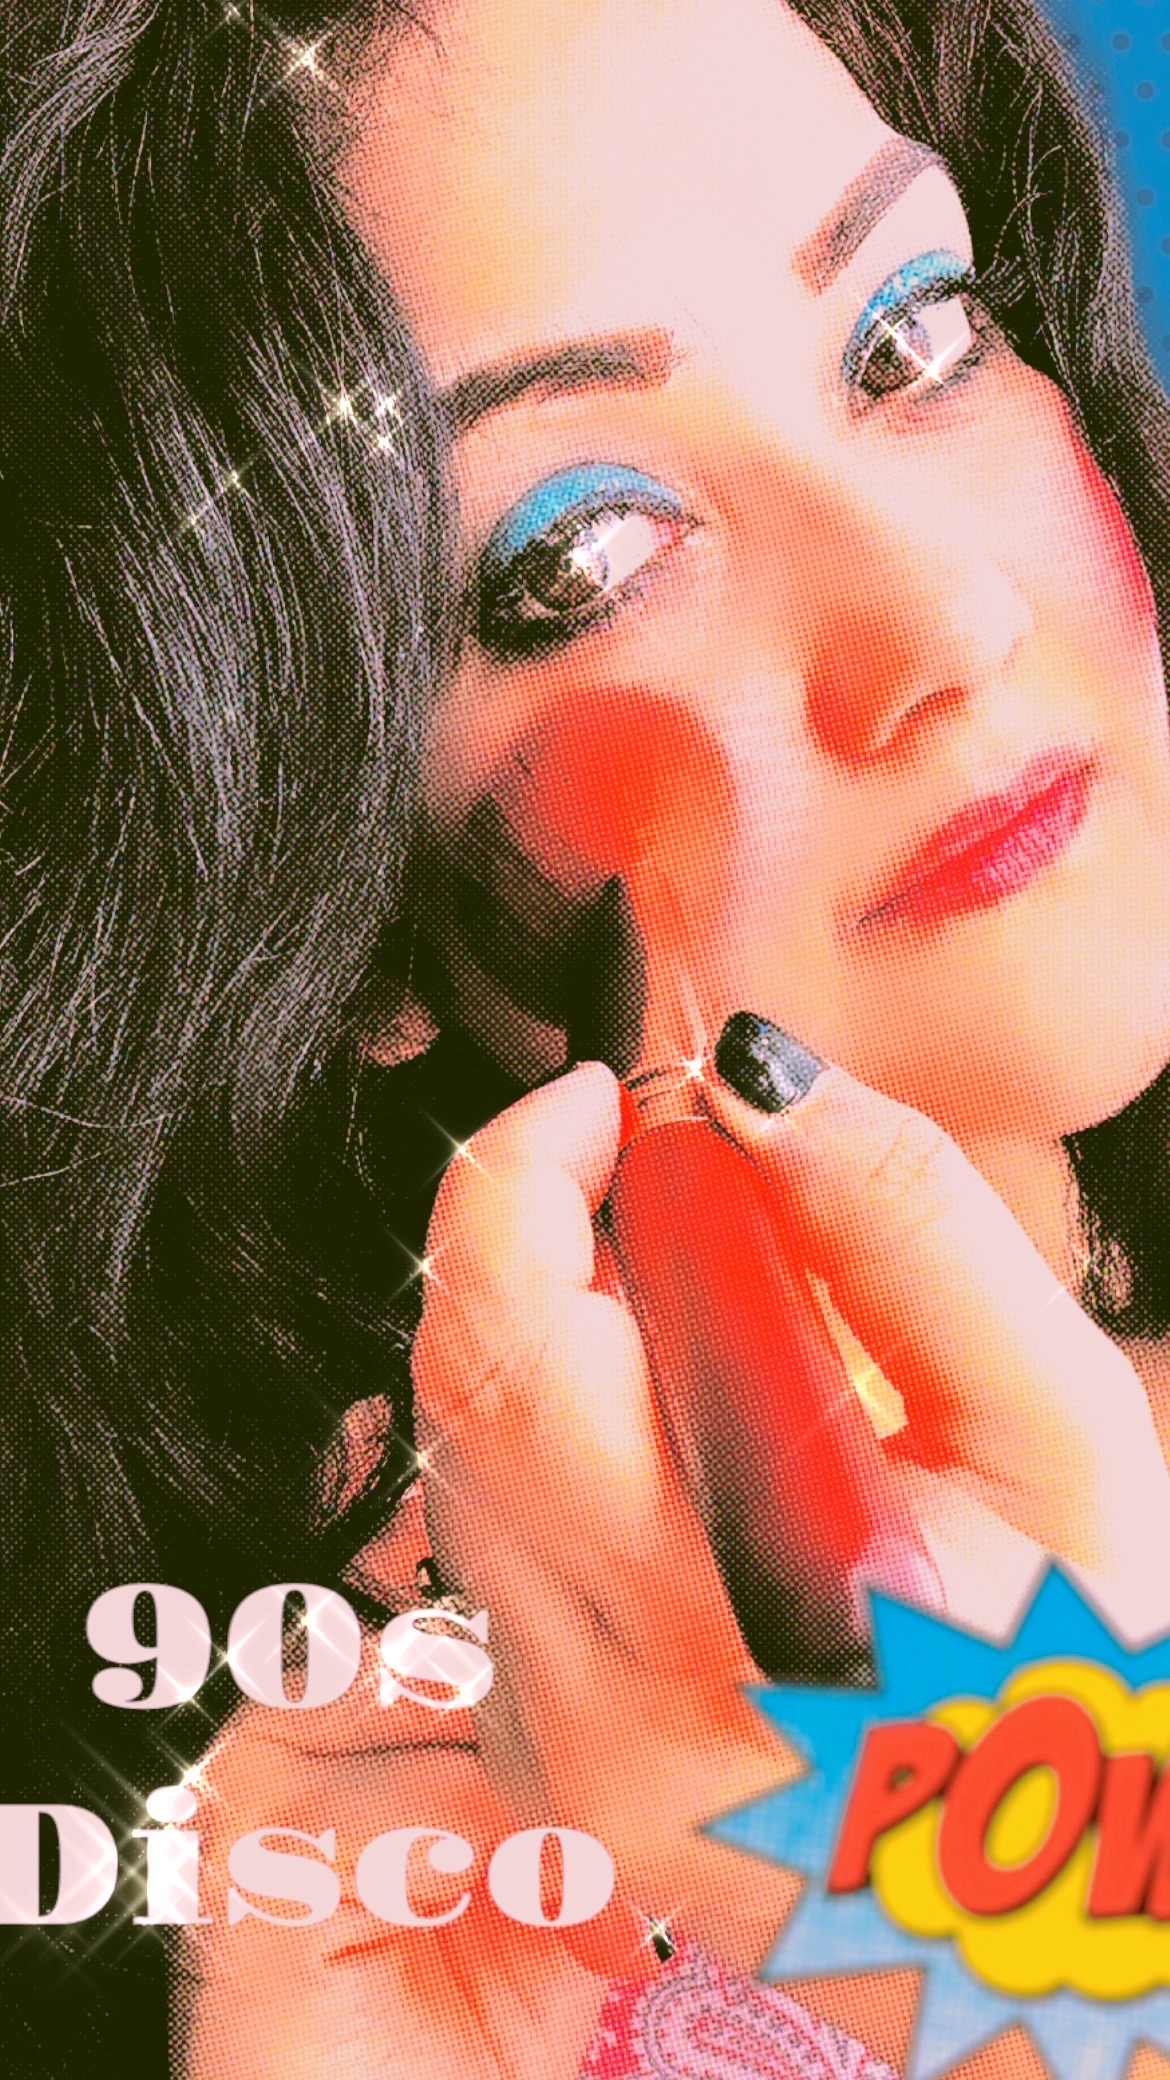
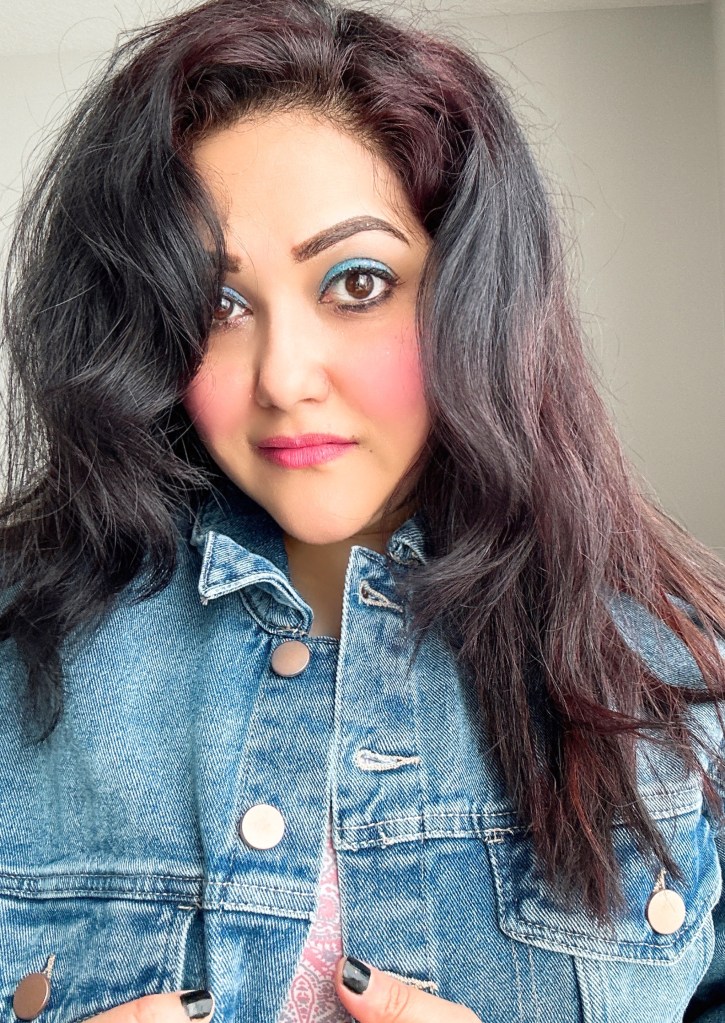
LOOK 2: Night look
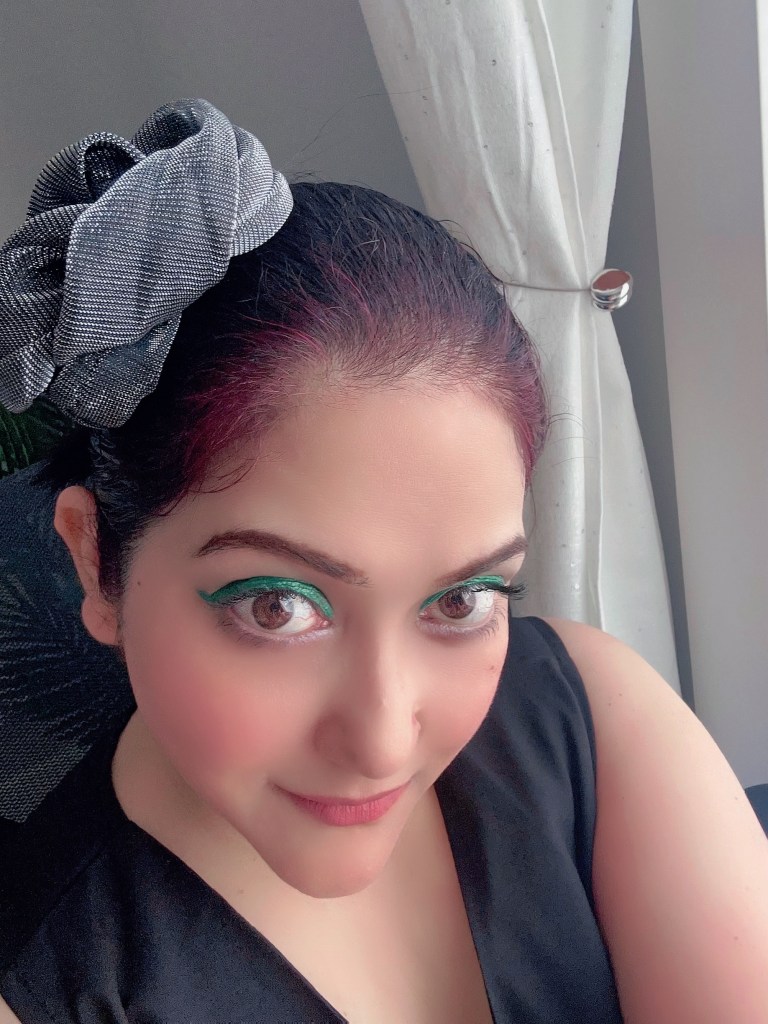
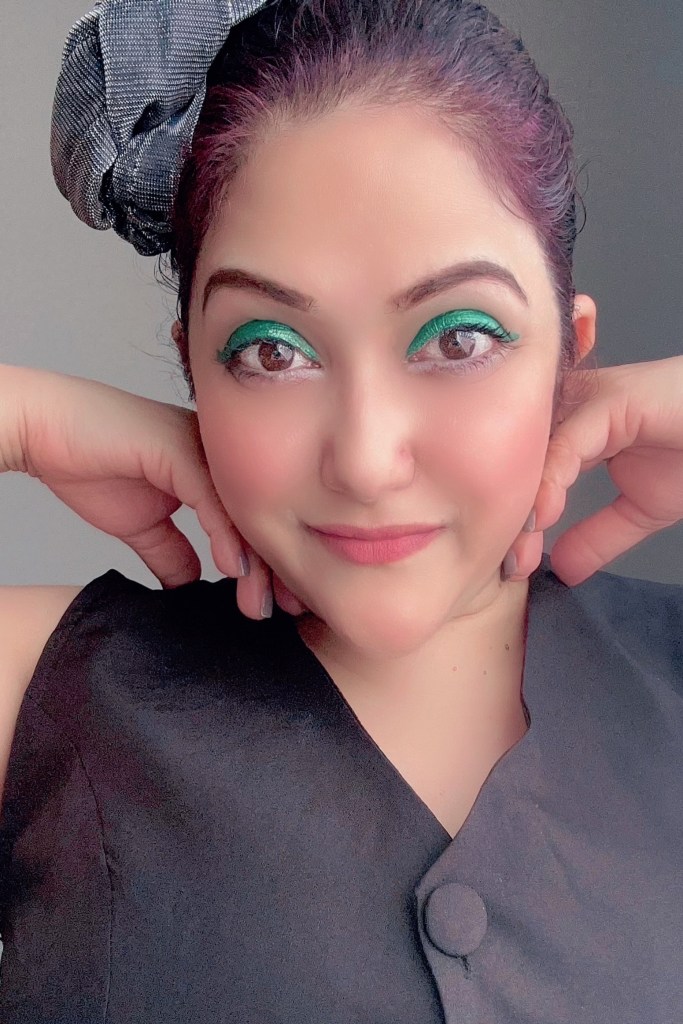
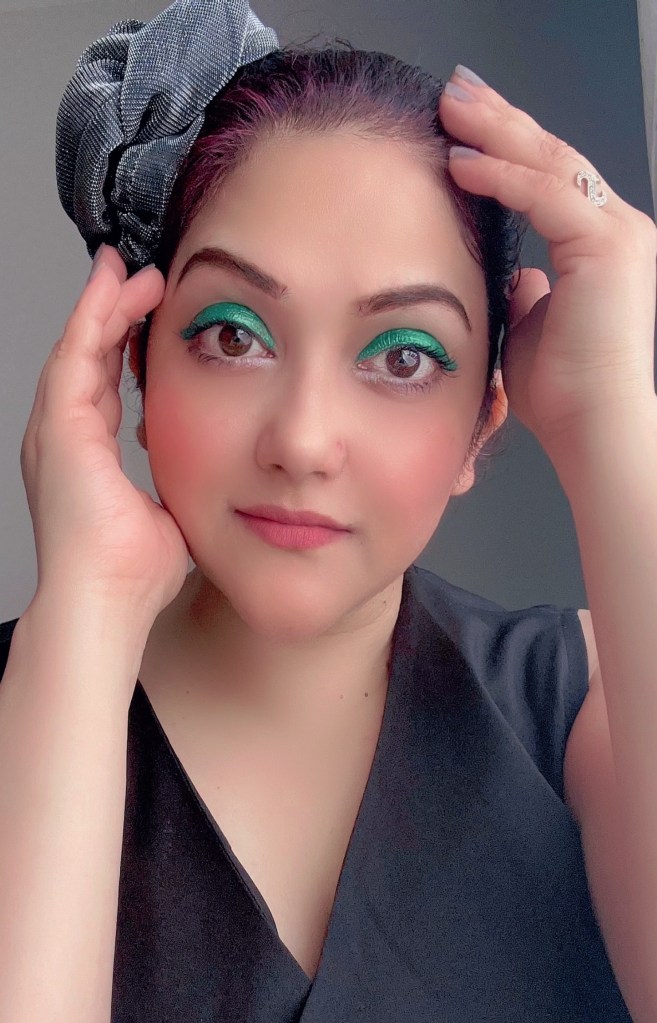
Glam up your look with silver-hued eyes and a close-to-messy chignon
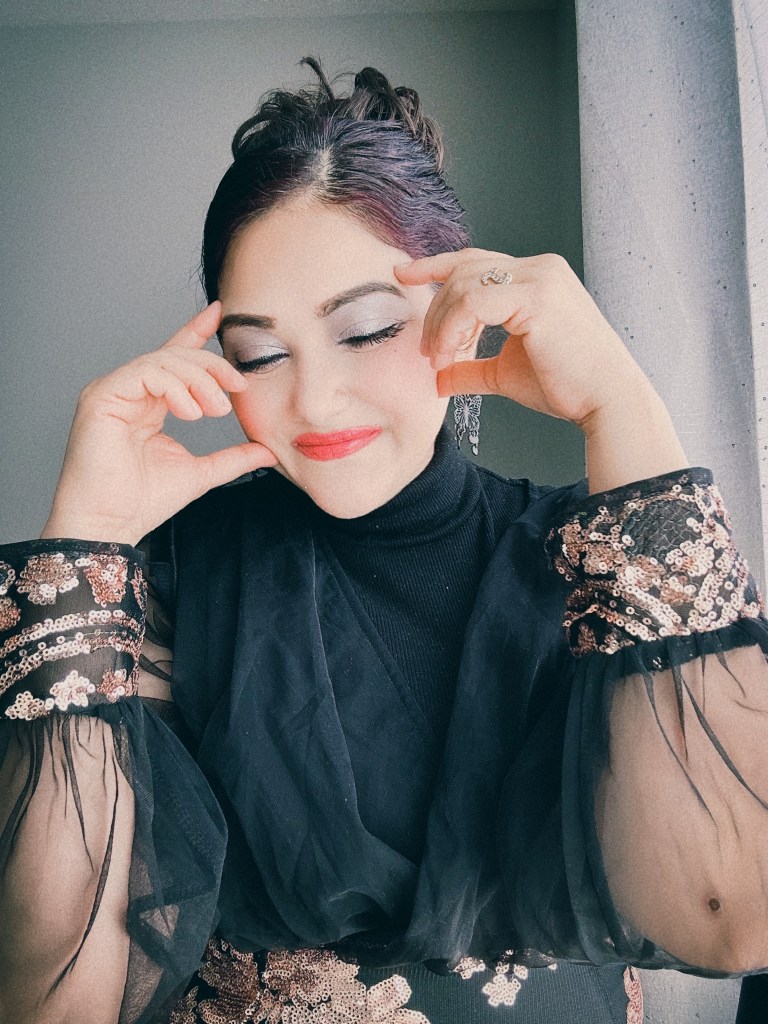
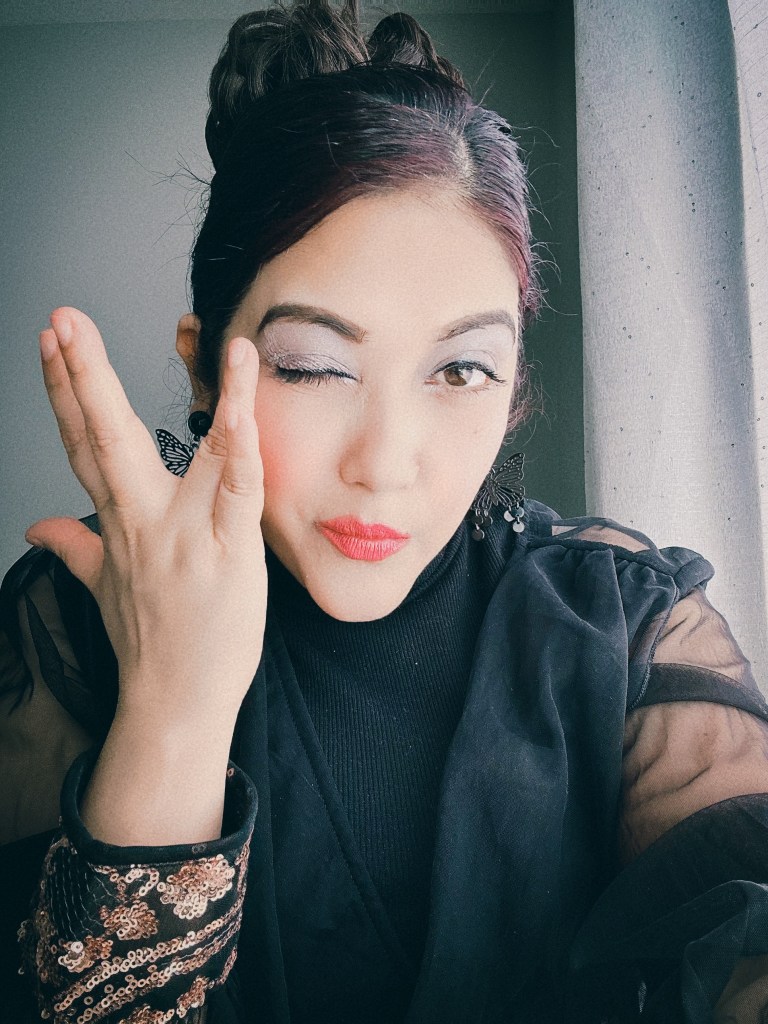
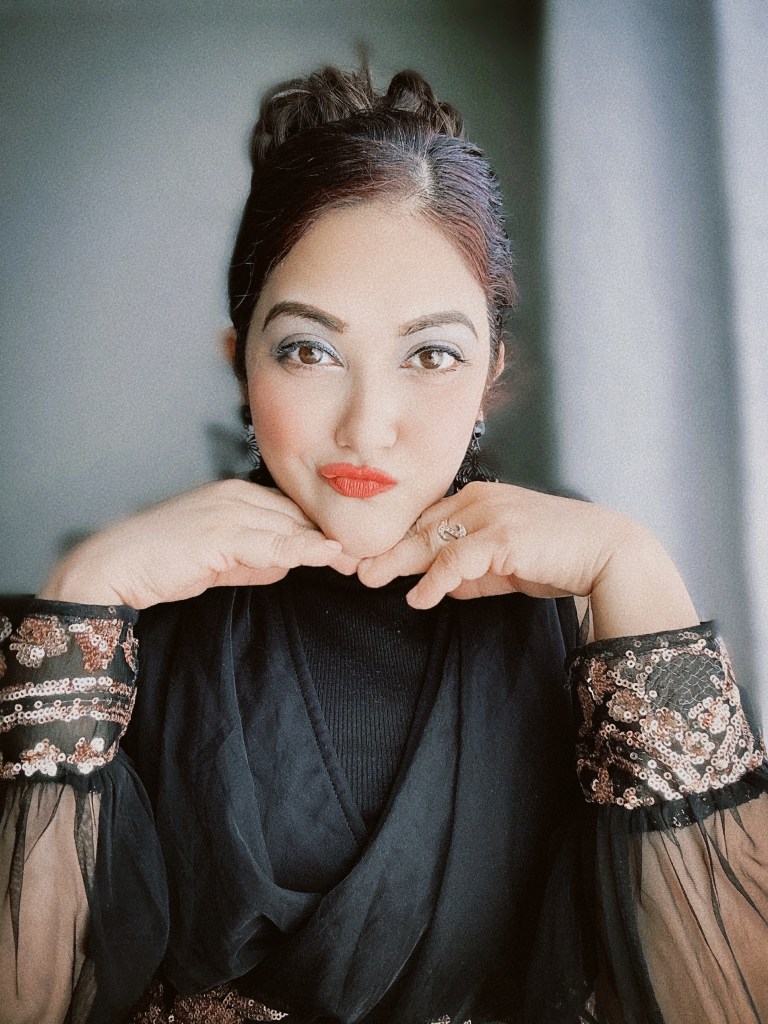
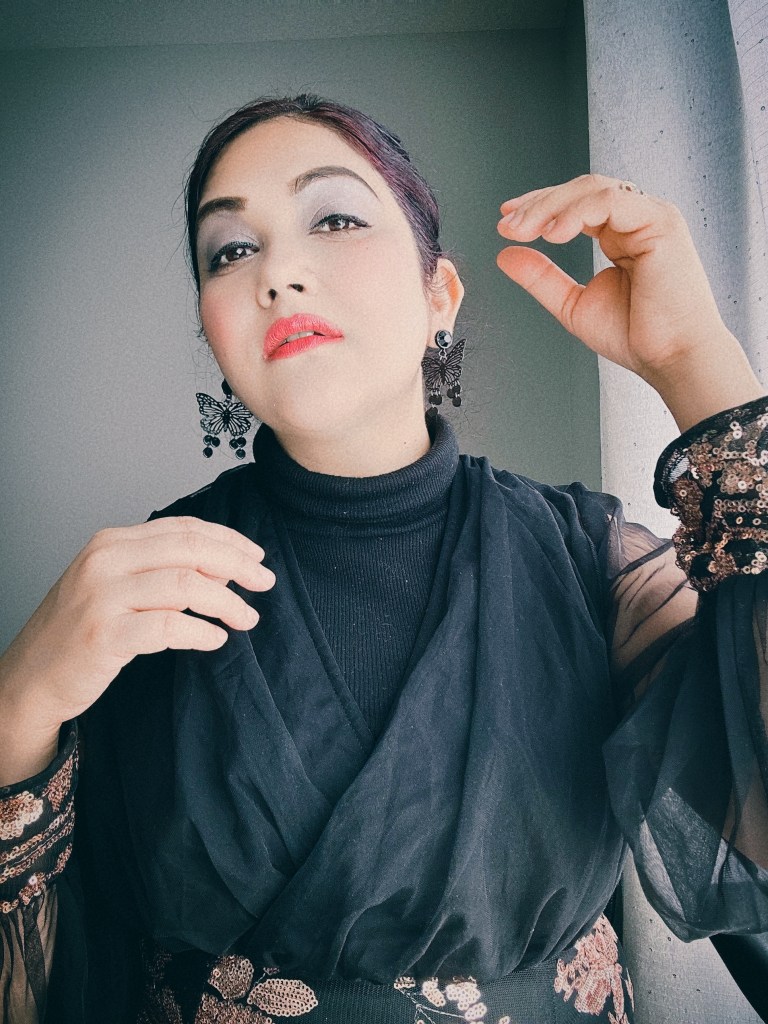
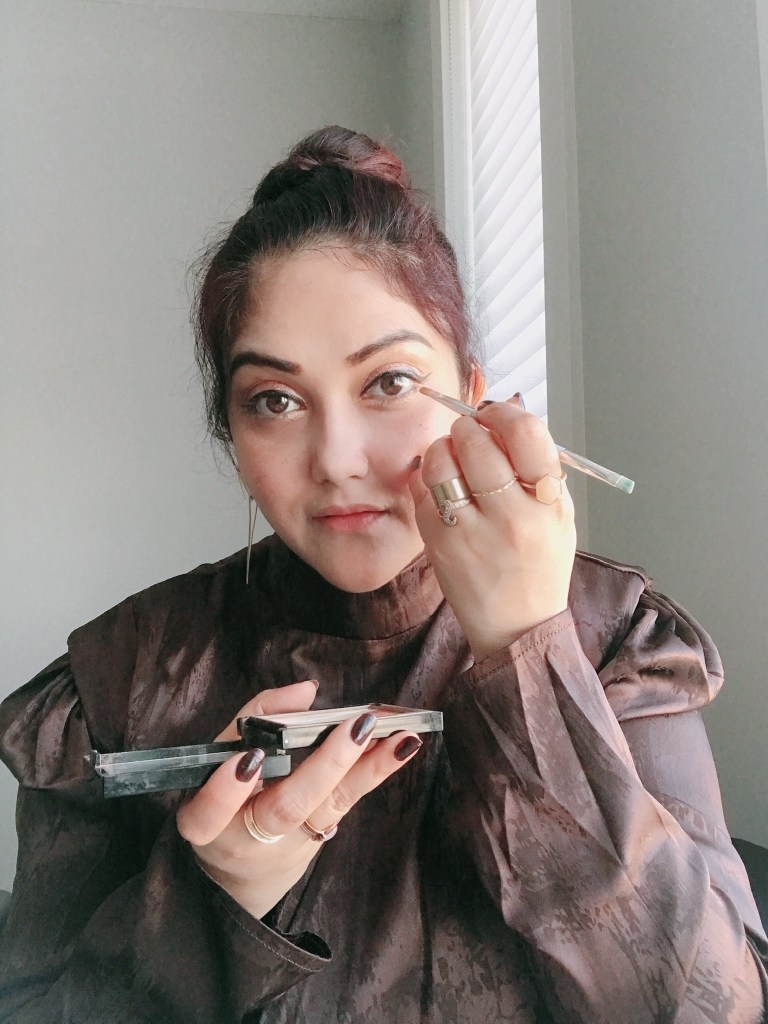
- Deepen your cheeks with the same shade adding a hint of colour.
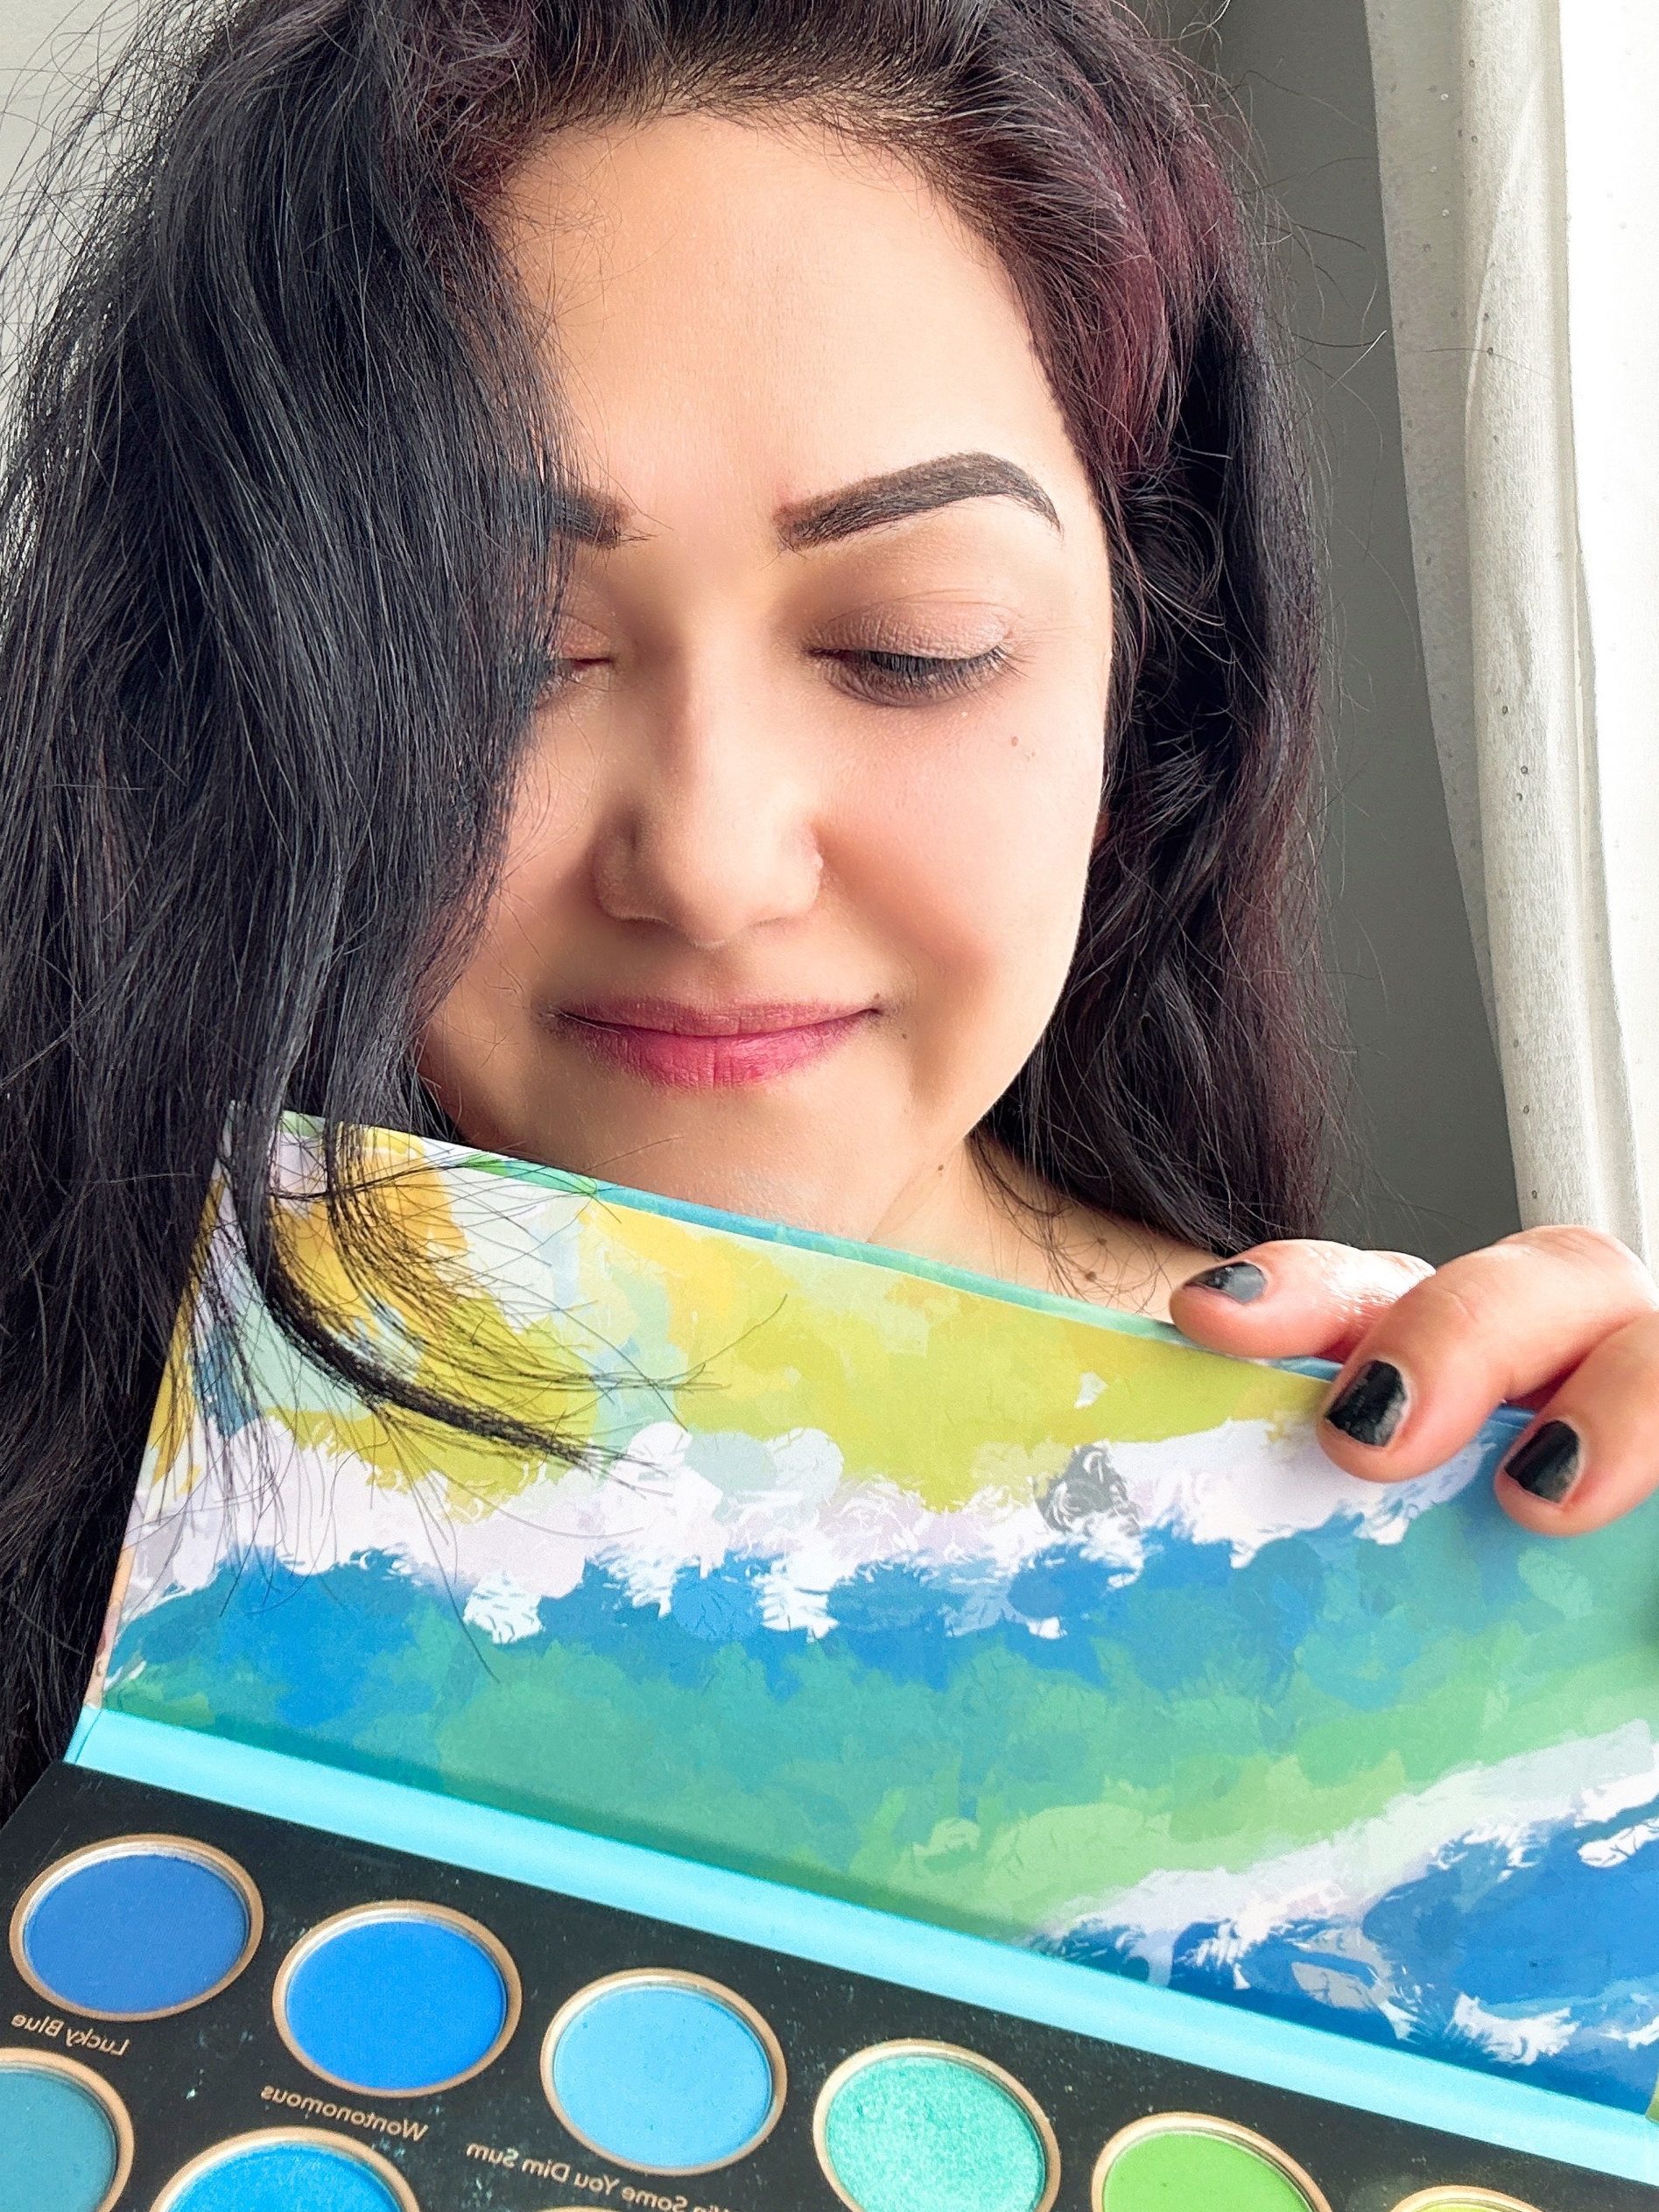
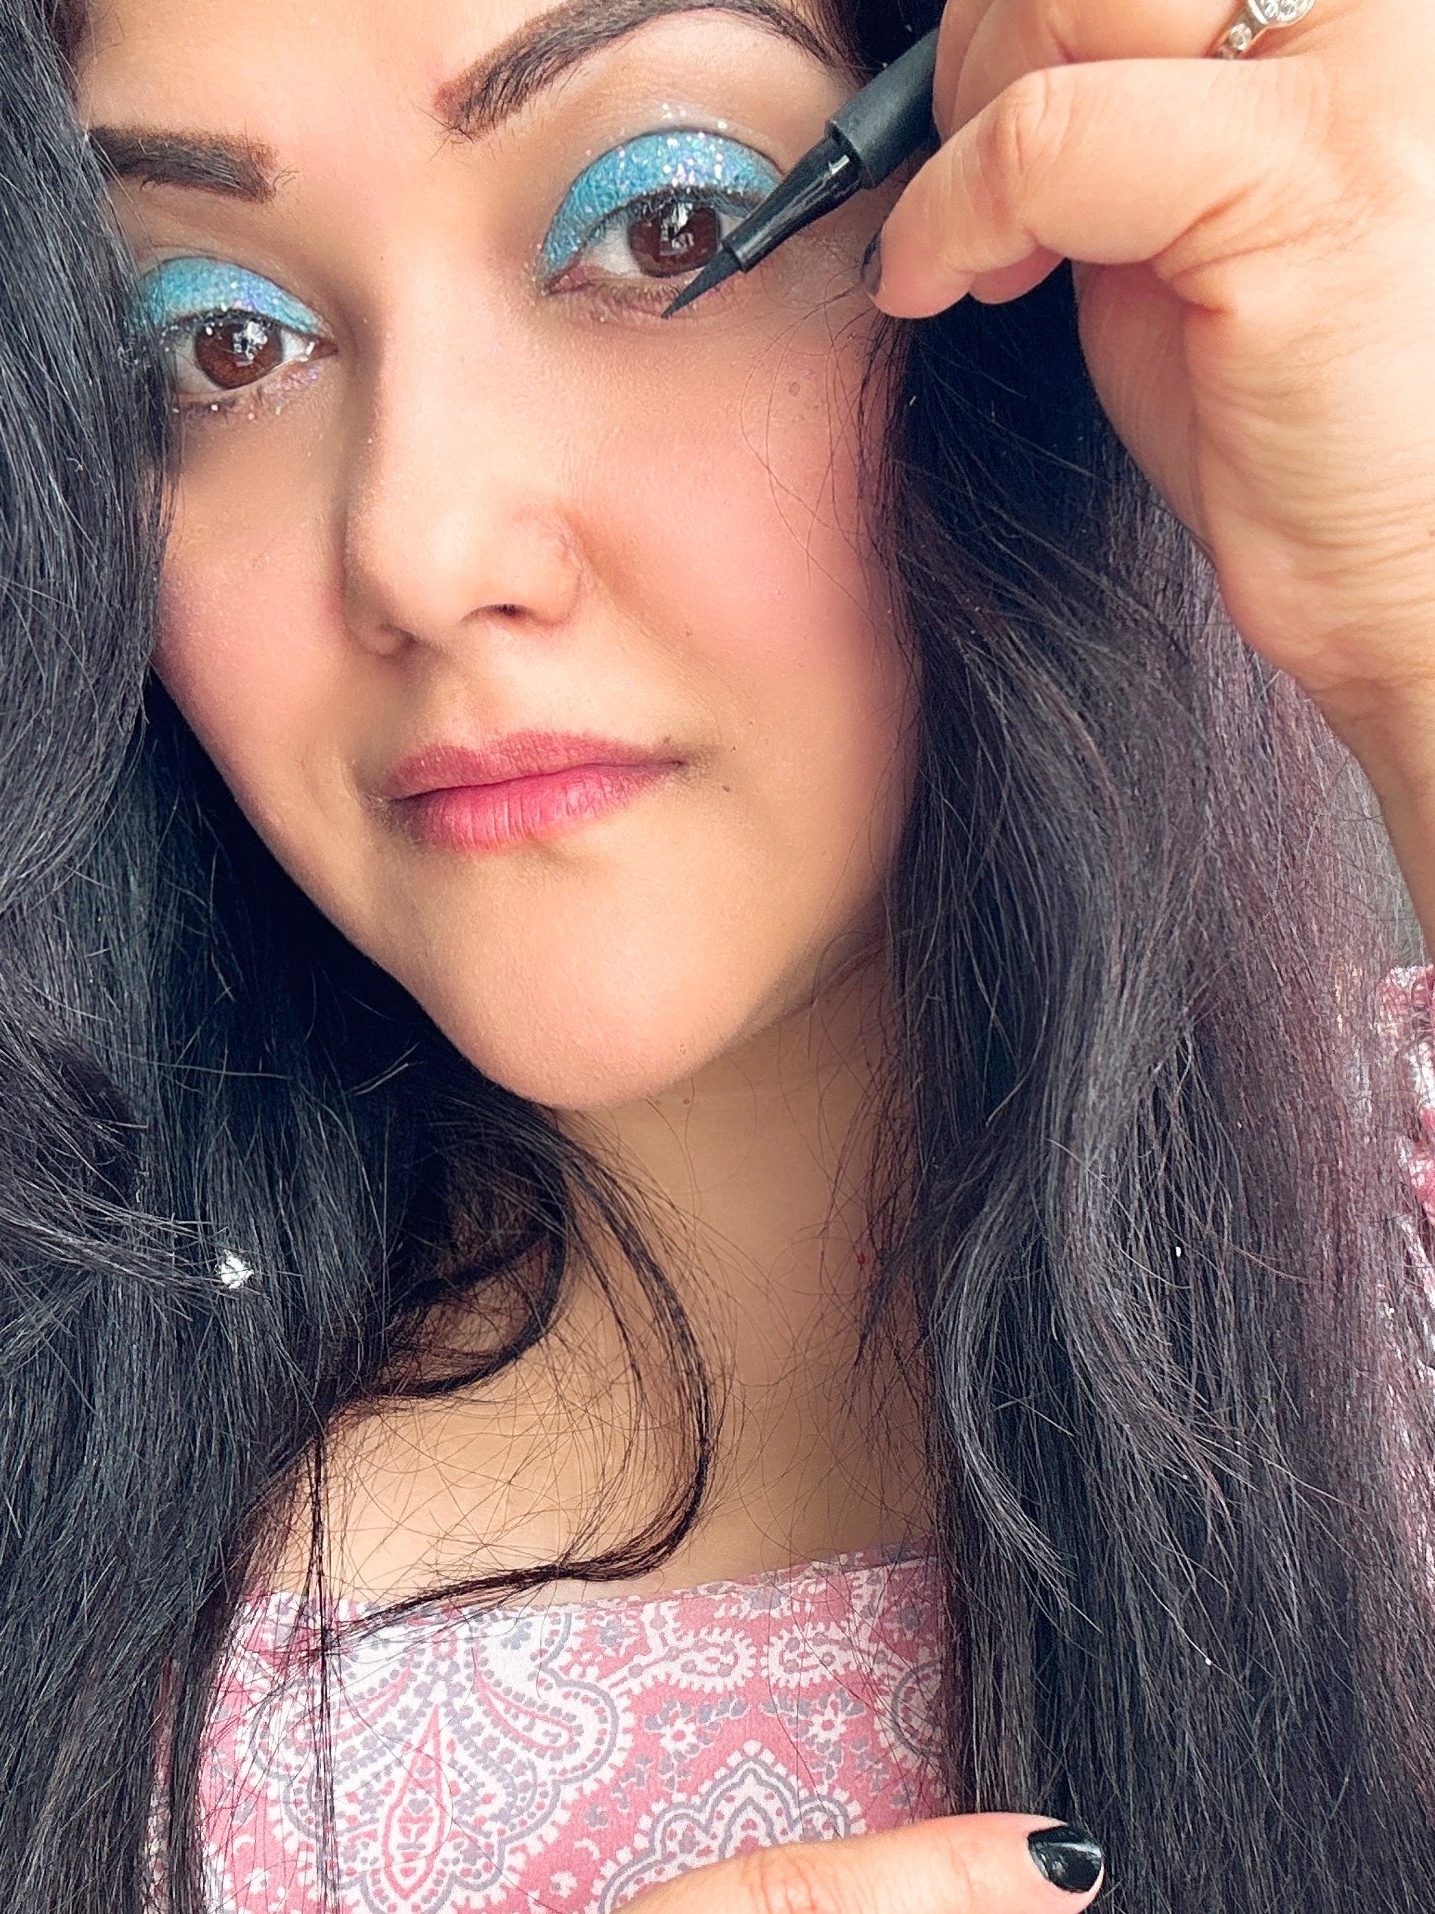
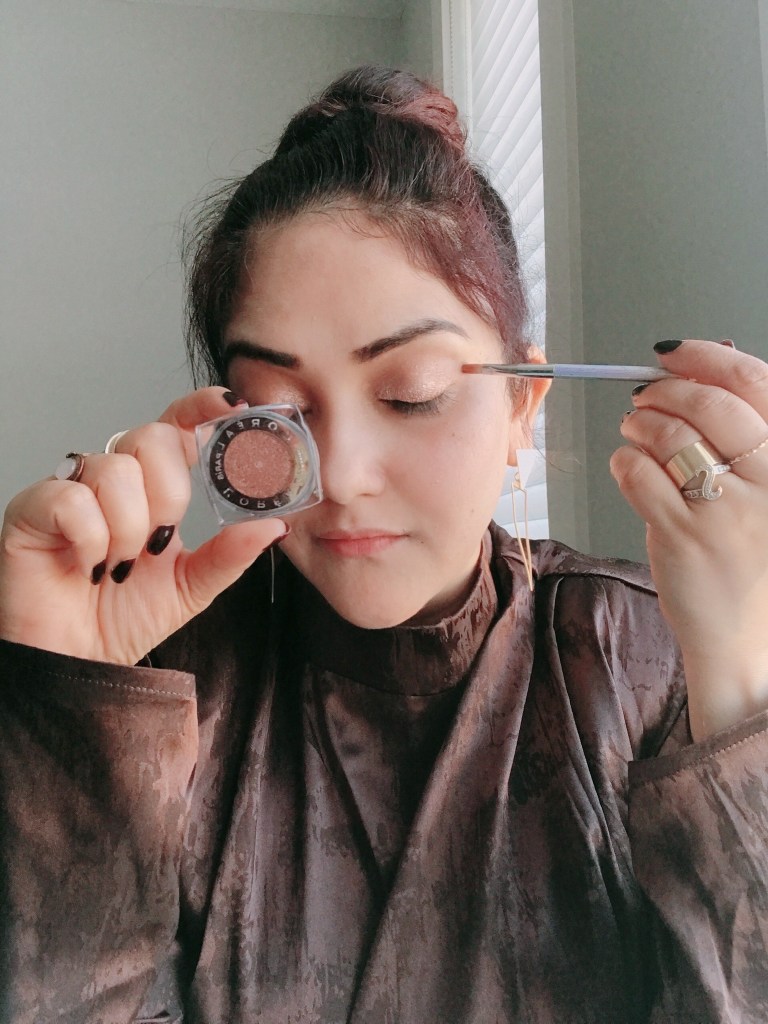
- Evenly shade a silver-grey eye colour all over your upper eyelid, from your lash line to your brow bone.
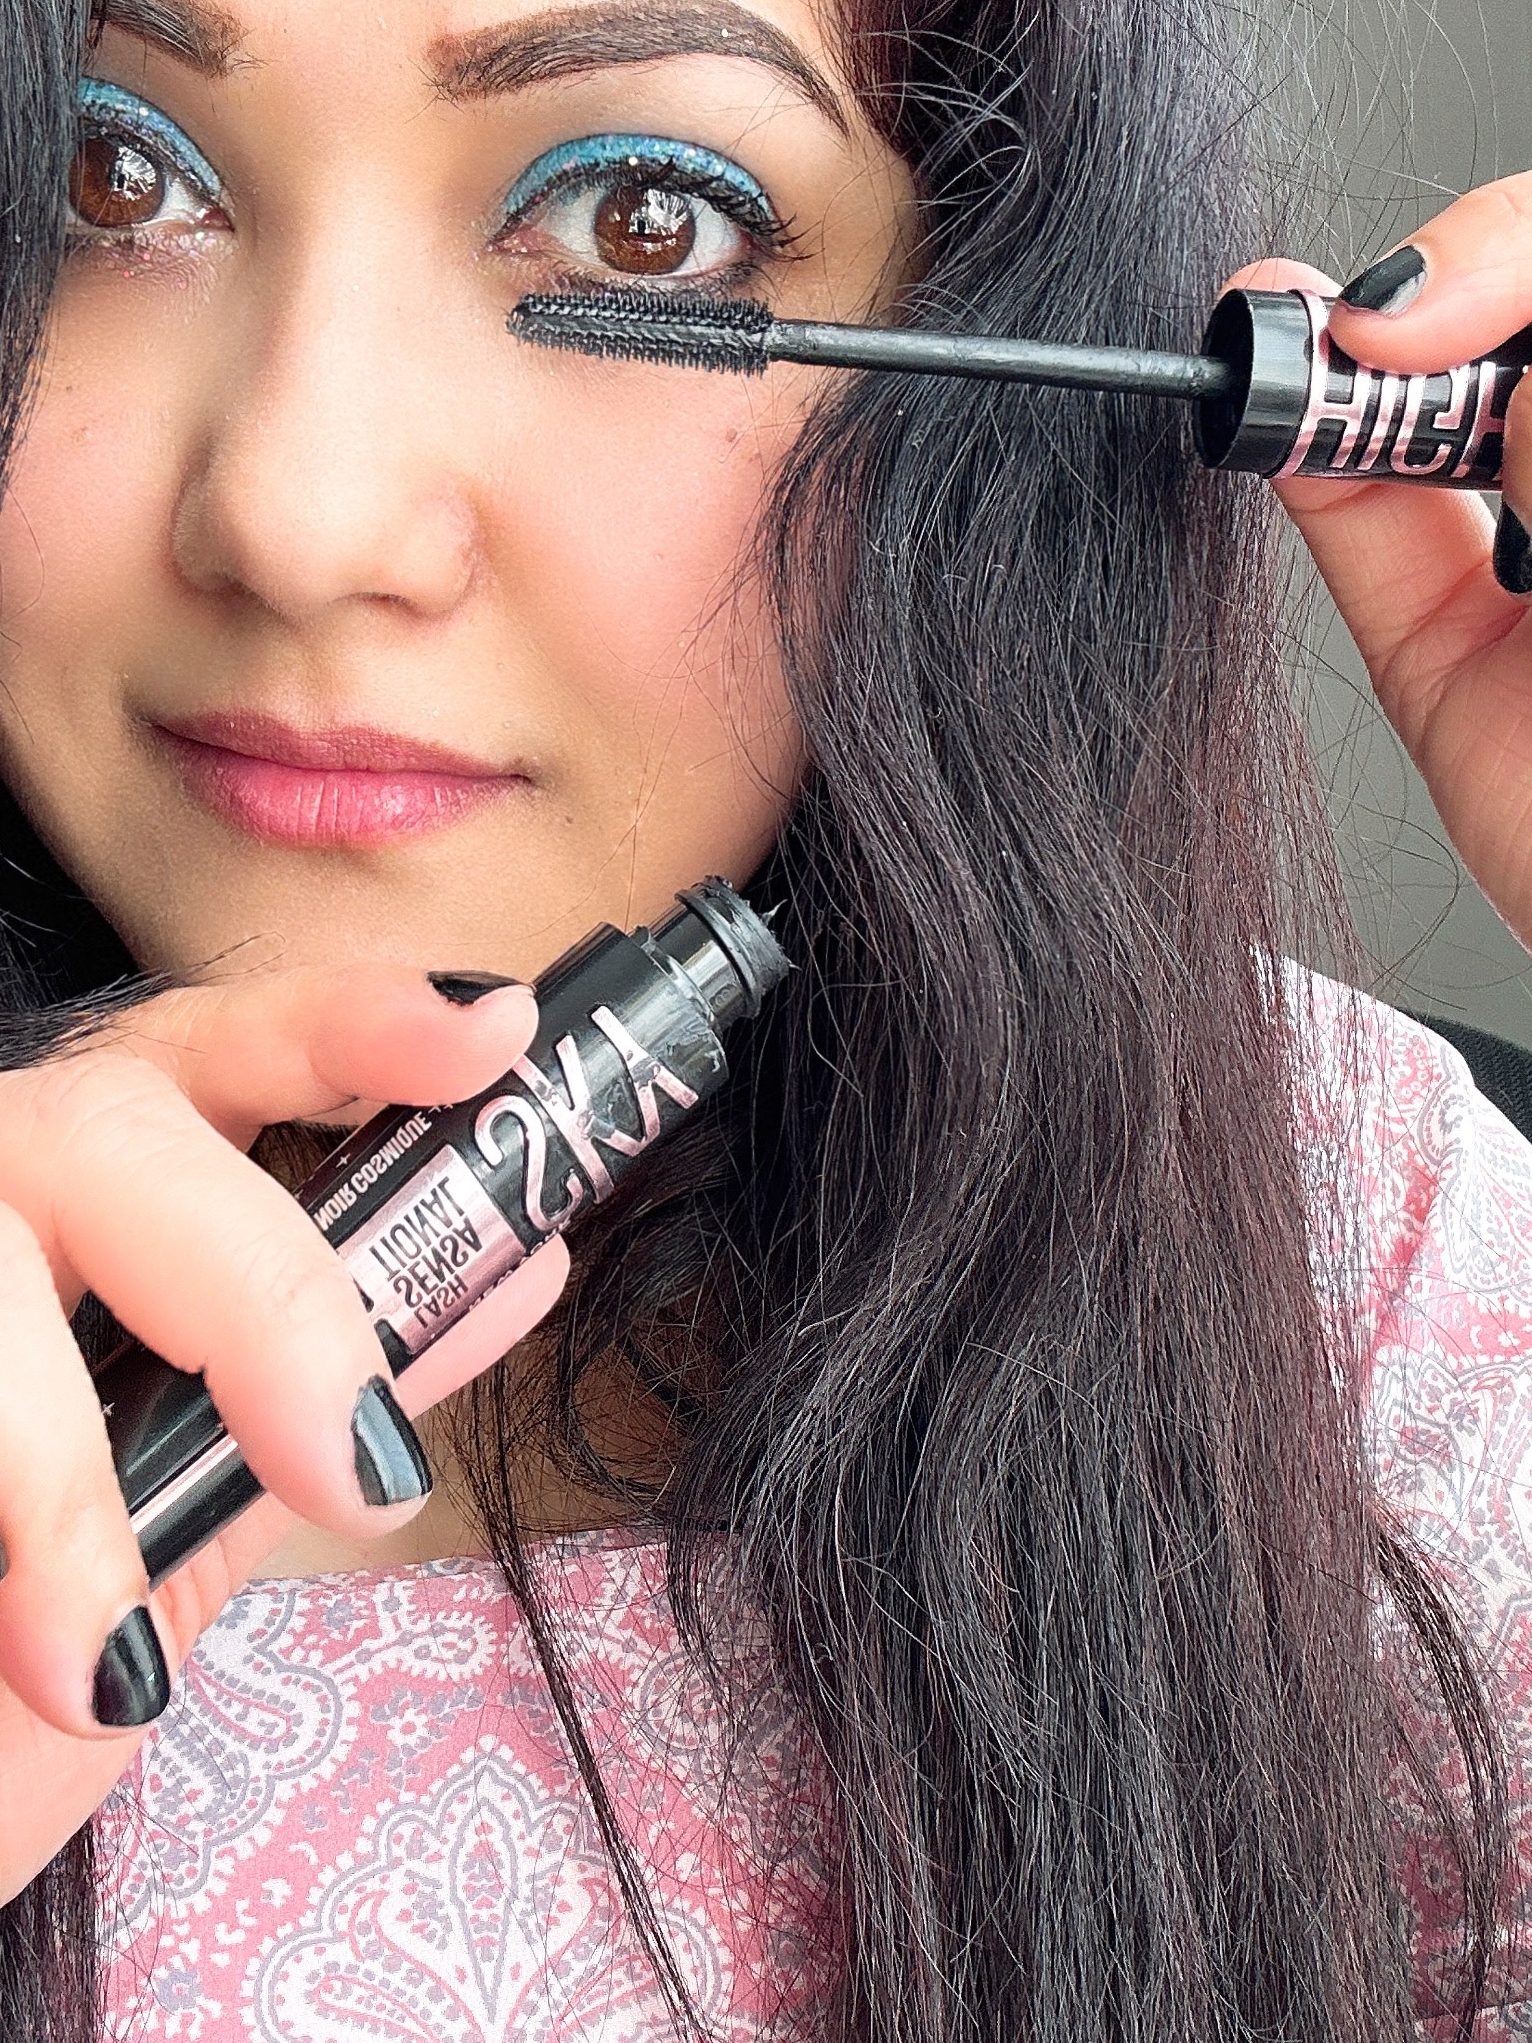
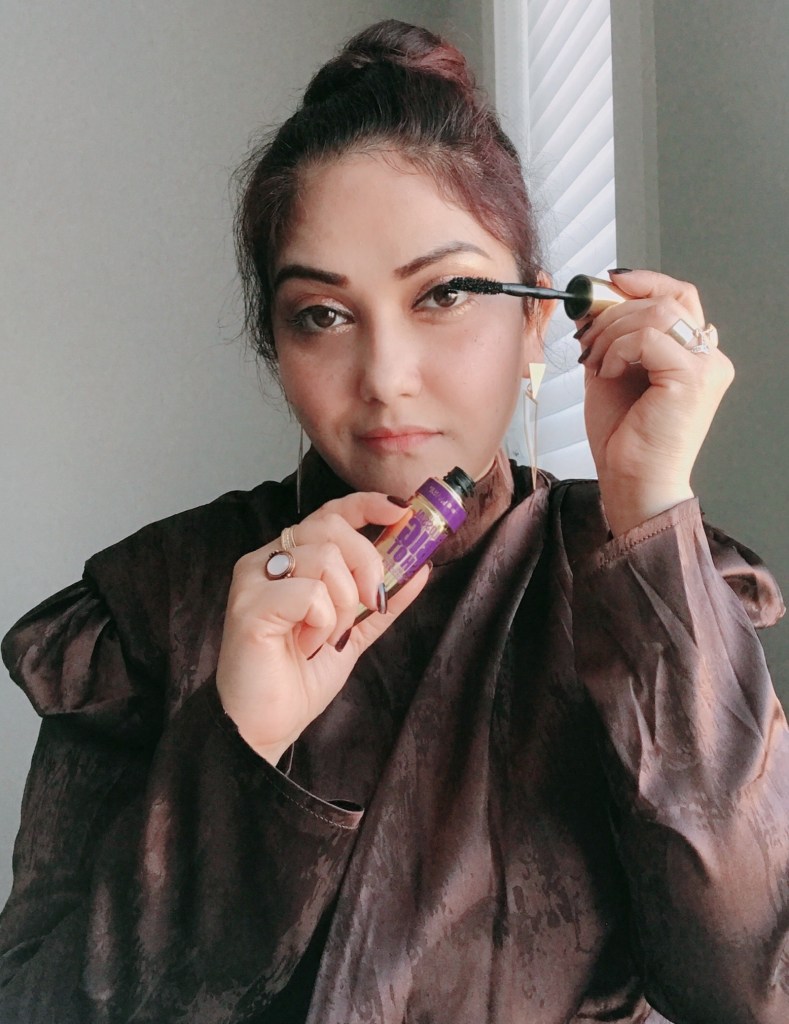
- Add black lash-lengthening mascara or false eyelashes, if you can manage them.
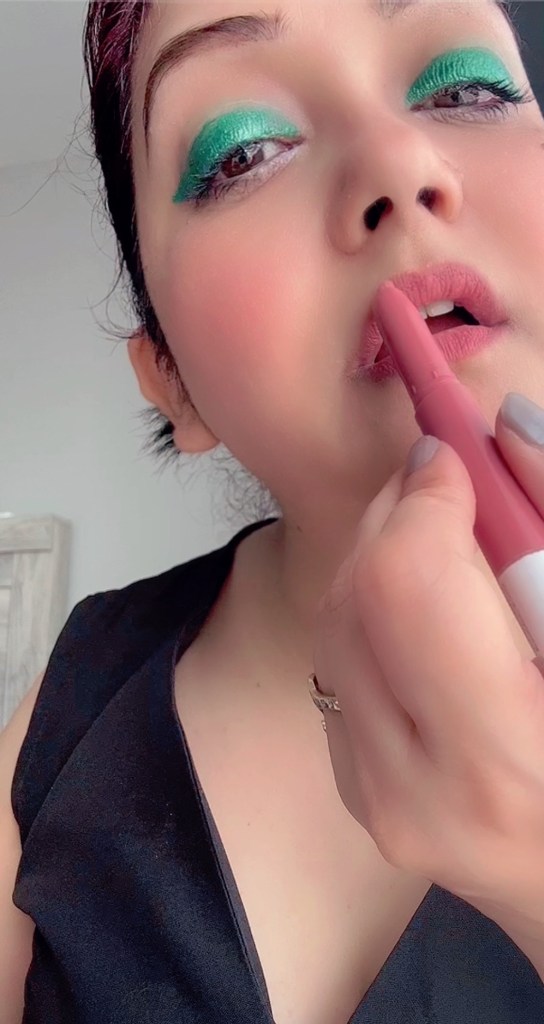
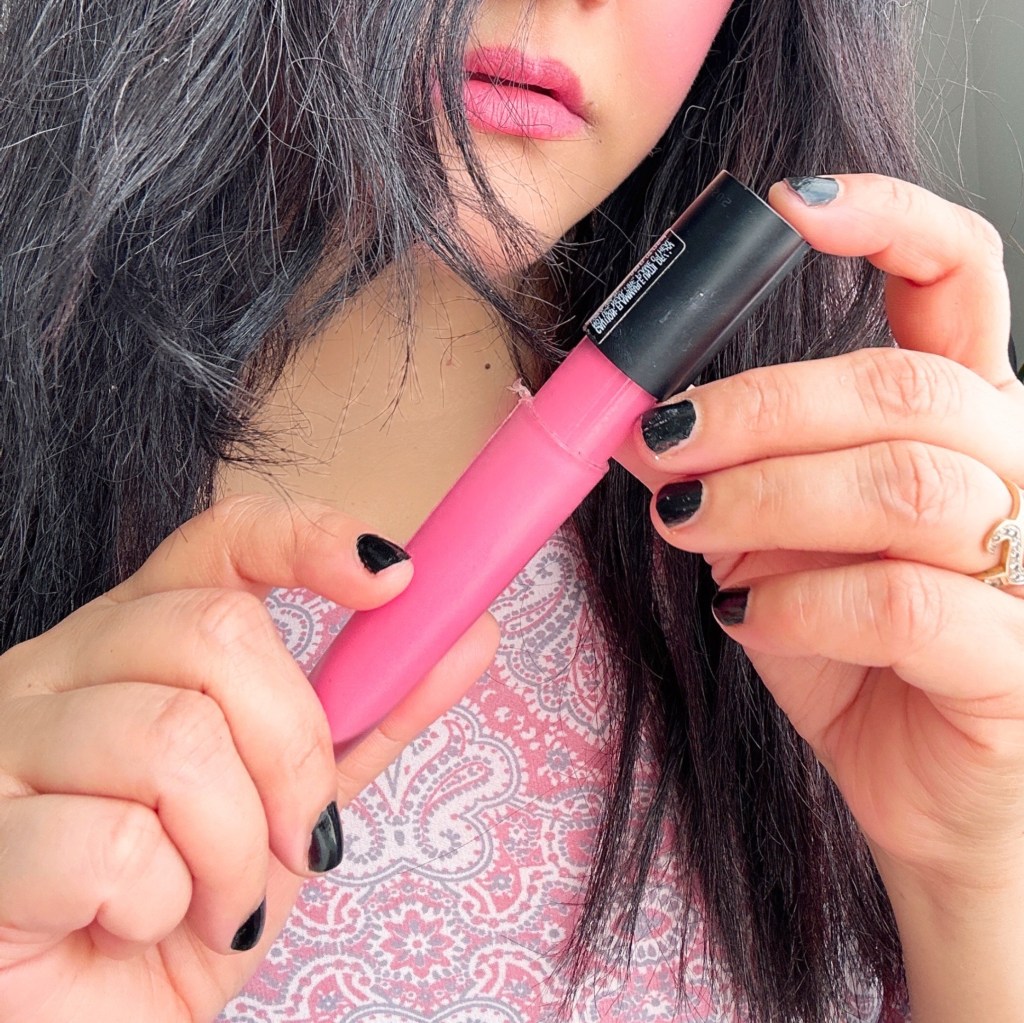
- Rework your lips in an ice-pink shade of lip colour.
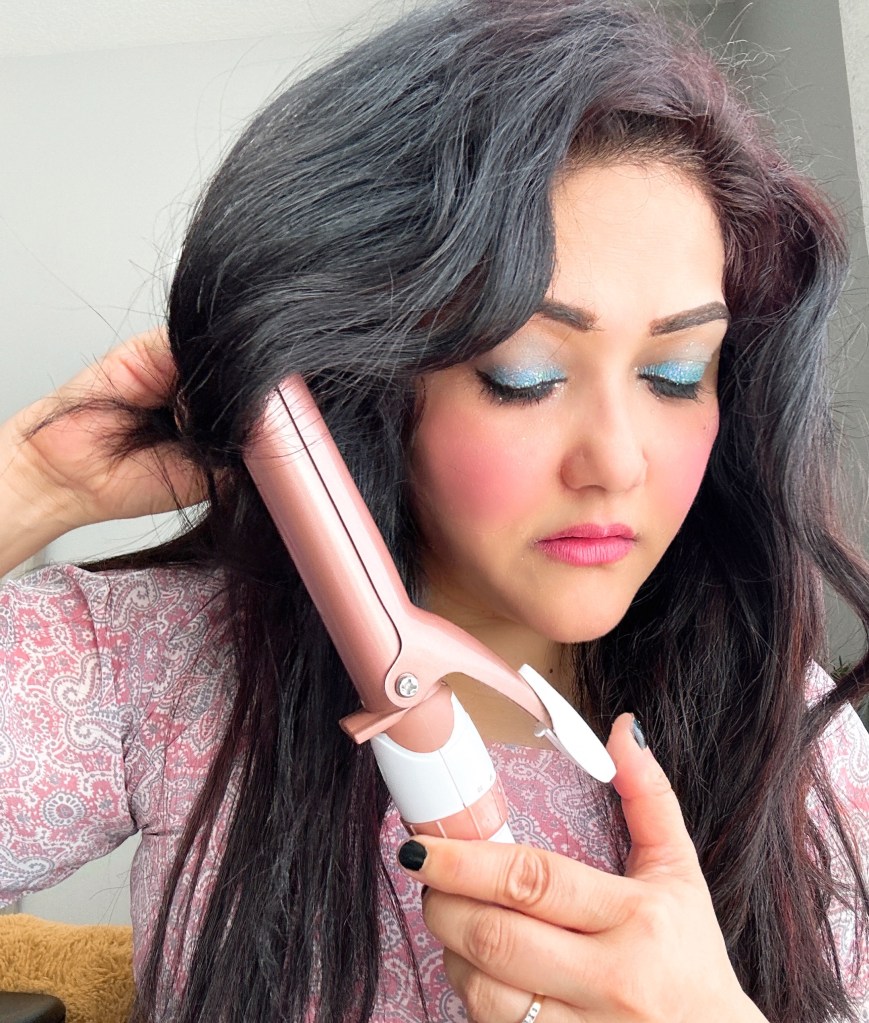
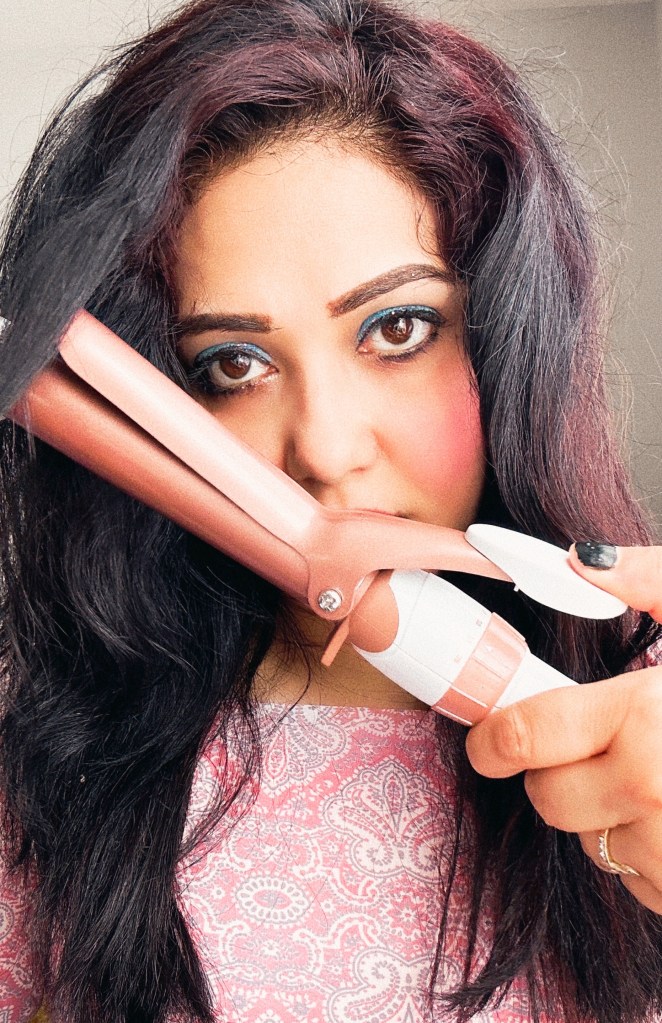
- Open out your hair, spray with texturing spray and gather into a chignon. You can also pull out strands and weave them back in with U-pins. Use a little texturizing serum to add volume to your fringes. If you have any?
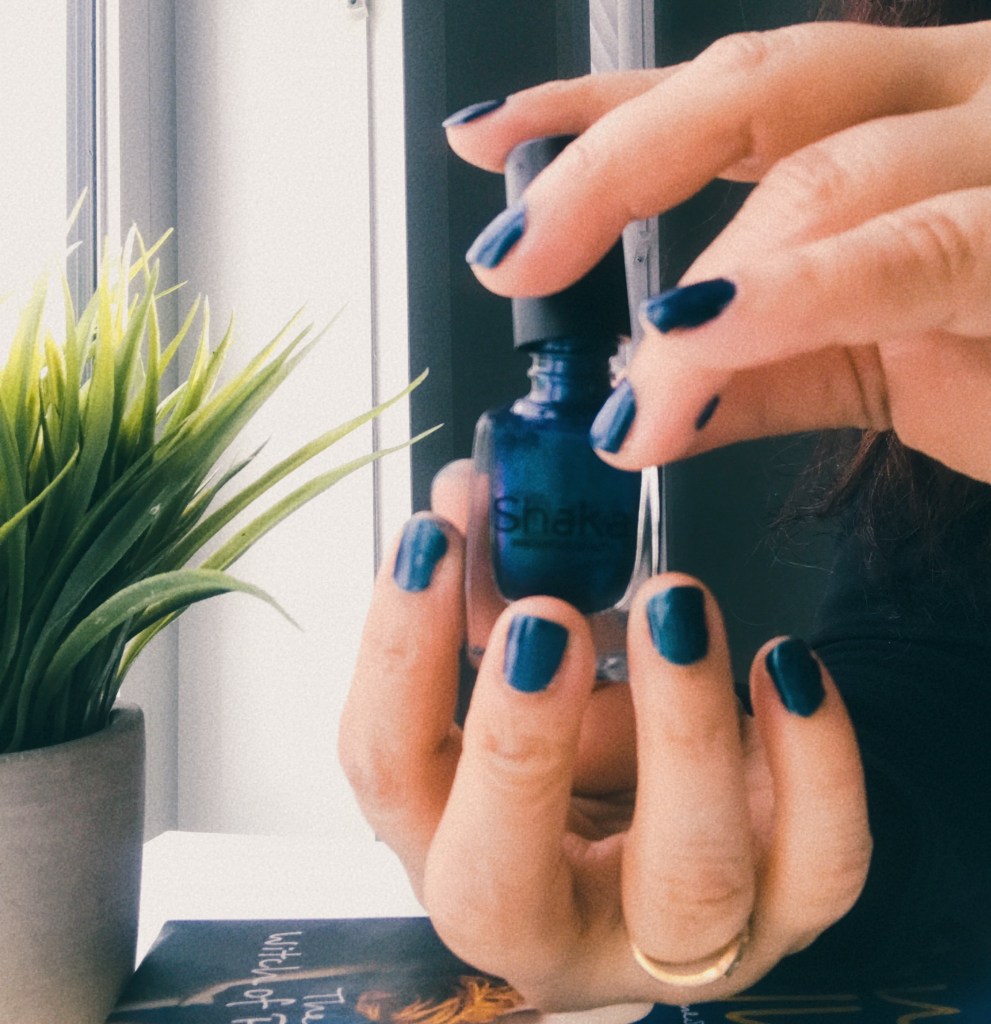
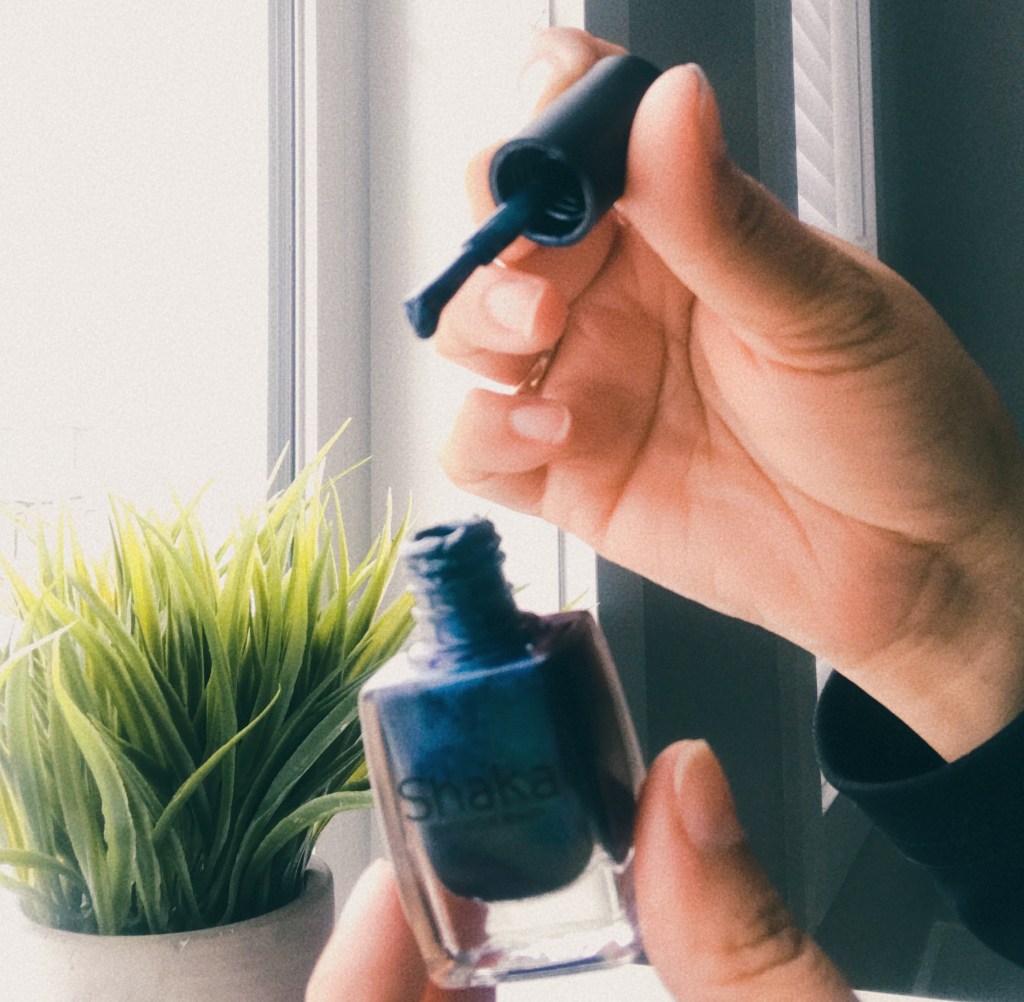
- Add a pair of statement earrings ( not so heavy ones) to inject instant glamour.
Transitioning from a daytime office look to a party-ready ensemble doesn’t have to be a daunting task. By strategically incorporating small changes to your outfit, makeup, accessories, and hairstyle, you can effortlessly transform your appearance. Remember, the key is to choose versatile pieces and accessories that allow for easy customization. With these tips in mind, you’ll be ready to dazzle at any after-hours event, exuding confidence and style wherever the night takes you.
#blogpost #healthyfoods#superfoods#healthiswealth#walnuts#yogurt#darkchocolate#kale#berries#dailyroutine#healthylifestyle bathandbodyworks beautyandcare beautycare Beauty Craft behealthy boldlook curlingrod eye makeup eyes eyeshadow face fashionbloggers fashioninspiration fashionstyle fashiontips featured foundation freshbeauty haircare haircurls hairdo hairdryer hair fixing spray hairserum hairstyle hairvibes hair volumiser HEALTH Health and Healing health benefits healthybody honey lips loreal makeup makeup.beauty makeupandbeauty makeupbrushes makeup do makeuptools mascara Moda scrub