Beauty Craft

TOUCH IT! AND BLEND OVER

BLEND IN YOUR OWN WAY

Anonymous

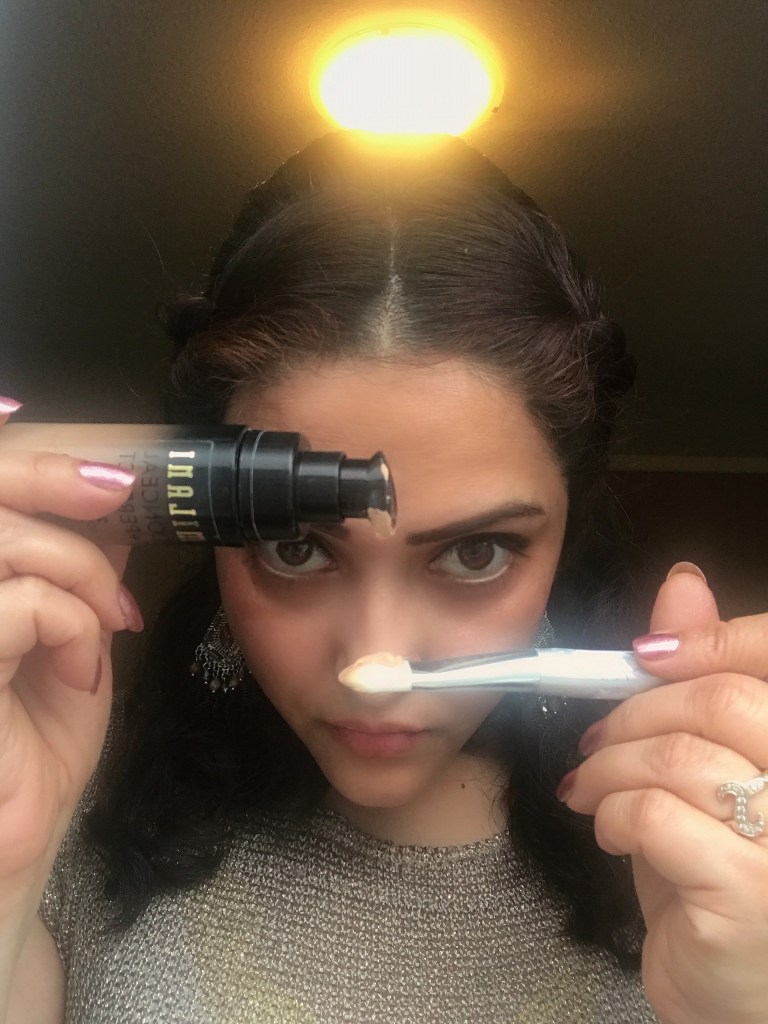
Wishing you had the kind of flawless, glowing complexion that only the soft-focus filter on your phone camera seems to achieve? Let’s introduce you to a real-world miracle worker, the Makeup Sponge. A beauty tool that helps you blend your foundation perfectly, the sponge ensures even coverage and is pretty easy to use, once you’ve learnt a few basic tricks.

INVINCIBLE EGG

The makeup sponge has been around for a long time. The most common ones were the stiff, triangle-shaped ones that were used to even out pancake foundations. But they had their own drawbacks, so when the egg-shaped Beauty Blender was created by Makeup artist Rea Ann Silva in 2002, it pretty much took the world by storm.

There are many makeup sponges available in the market and picking the right one makes a big difference. The sponge is soft on the skin and, unlike makeup brushes, it does not emphasize dry patches and flakiness.

SUPER SPONGE

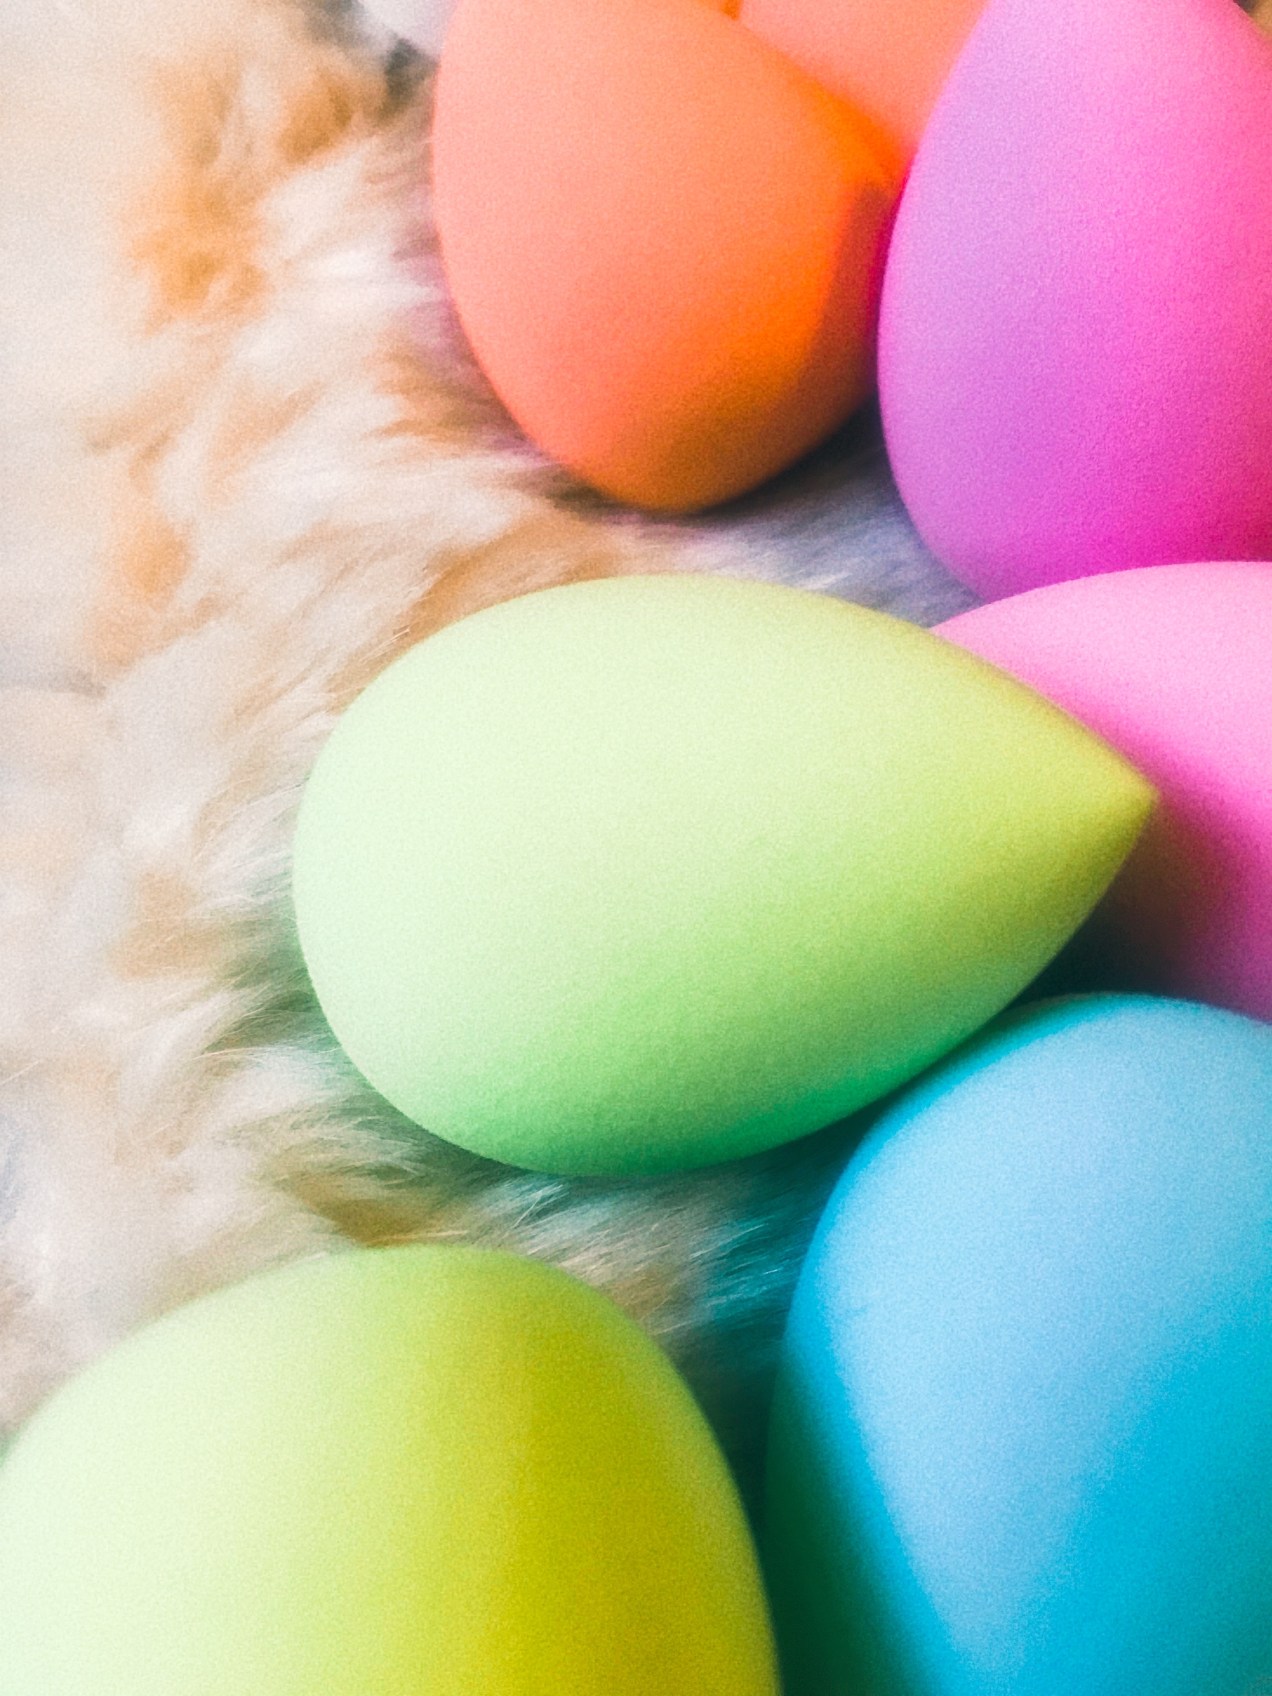
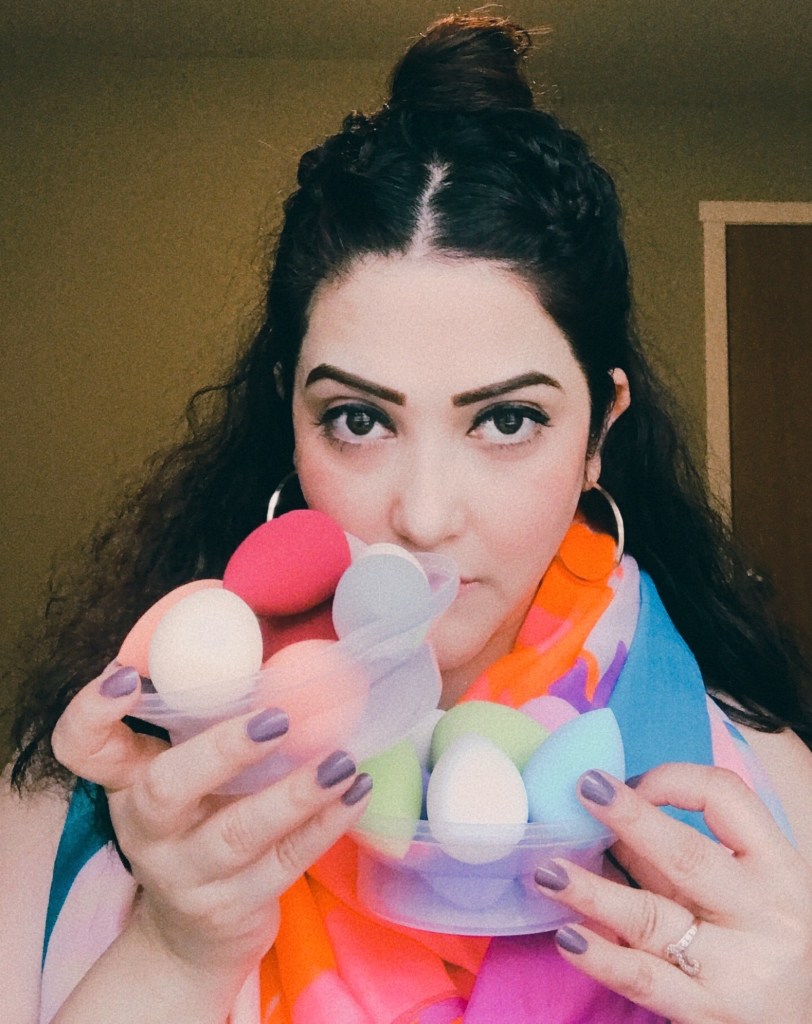
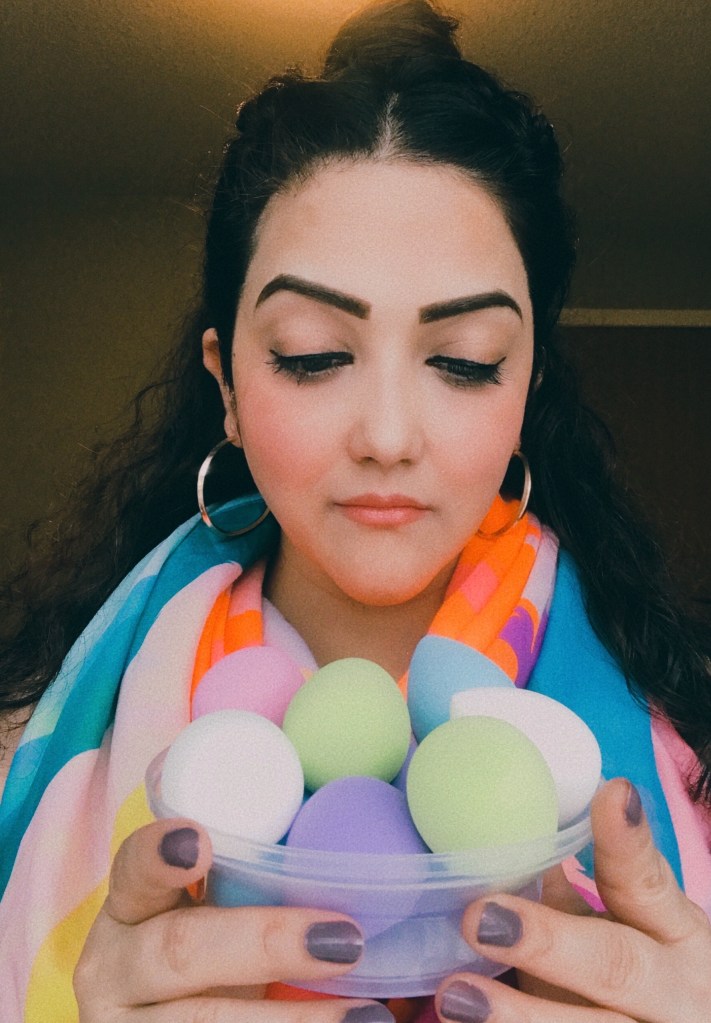
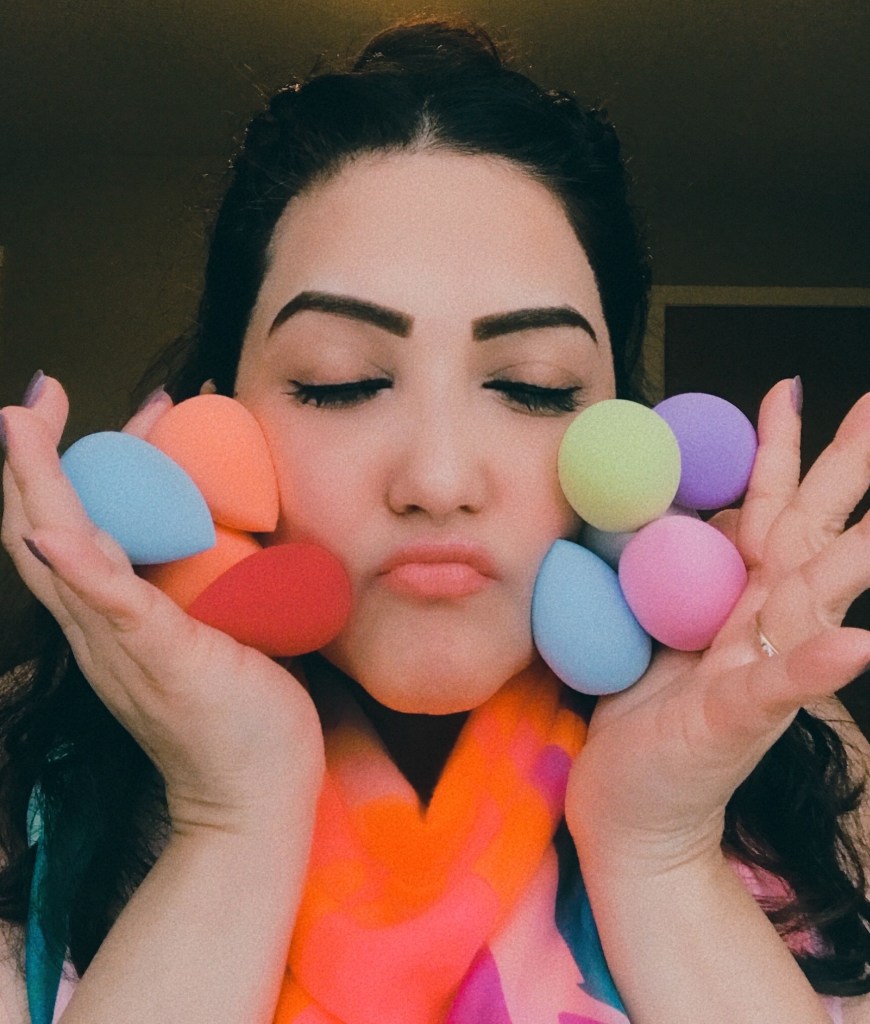
These days makeup sponges are available in a variety of shapes and sizes and colours to suit every need. While the iconic egg-shaped Beauty Blender occupies a special position in most beauty kits. The best part is that they are available in all possible sizes. The really tiny ones are brilliant to use on the under eyes area. A few come with flat surfaces as well, which work perfectly for contour lines.

WHEN BUYING MAKEUP SPONGE

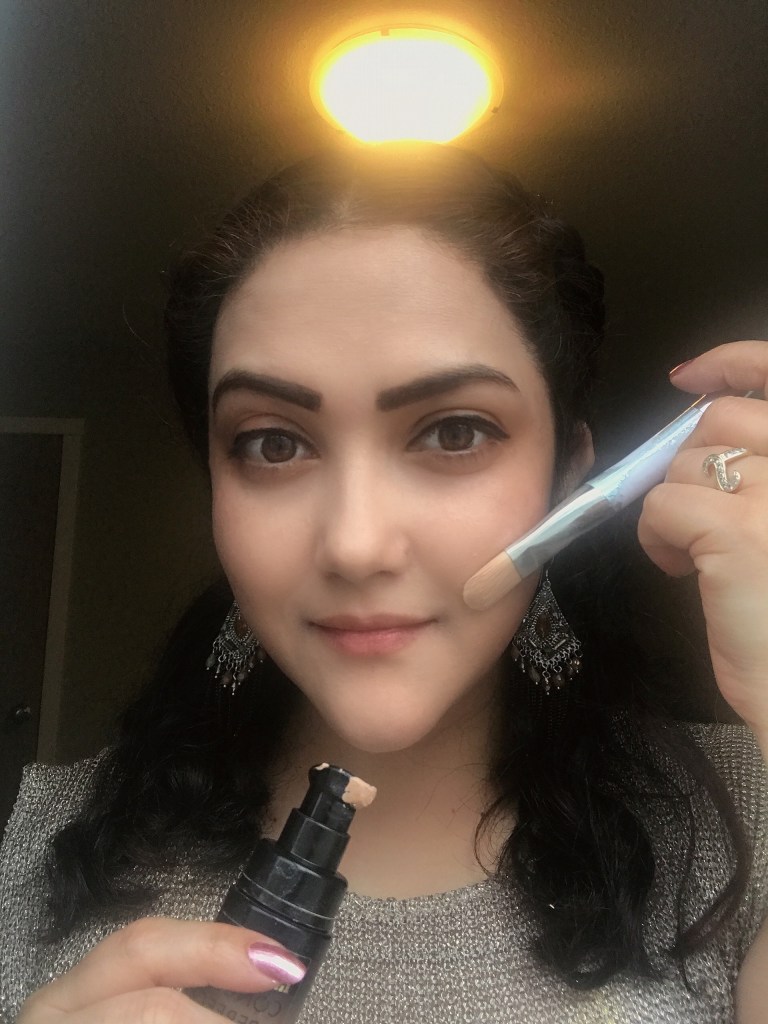
When buying a makeup sponge, look for something that is soft and porous. Small sponges are great for spot application to hide marks on acne. The pointed tip of the sponge is great to target smaller areas of your face such as the corners of the eyes and areas around your nose. The flat surface on some sponges is great for powder application and to cover larger areas on your face.

BLEND BASICS: DO’S AND DONT’S

  • Don’t use a dirty sponge or the same sponge for too many products. Mixing products on a sponge isn’t a great idea.
  • Only use a best quality or you will end up doing more than good.
  • Do not drag or rub the sponge on the skin; instead use a dab or roll motion.
  • After blending the foundation with a brush, dab rather than rub, the blender all over the face make sure you don’t remove products.
  • Dampen the sponge the right way and when you squeeze the waterout.

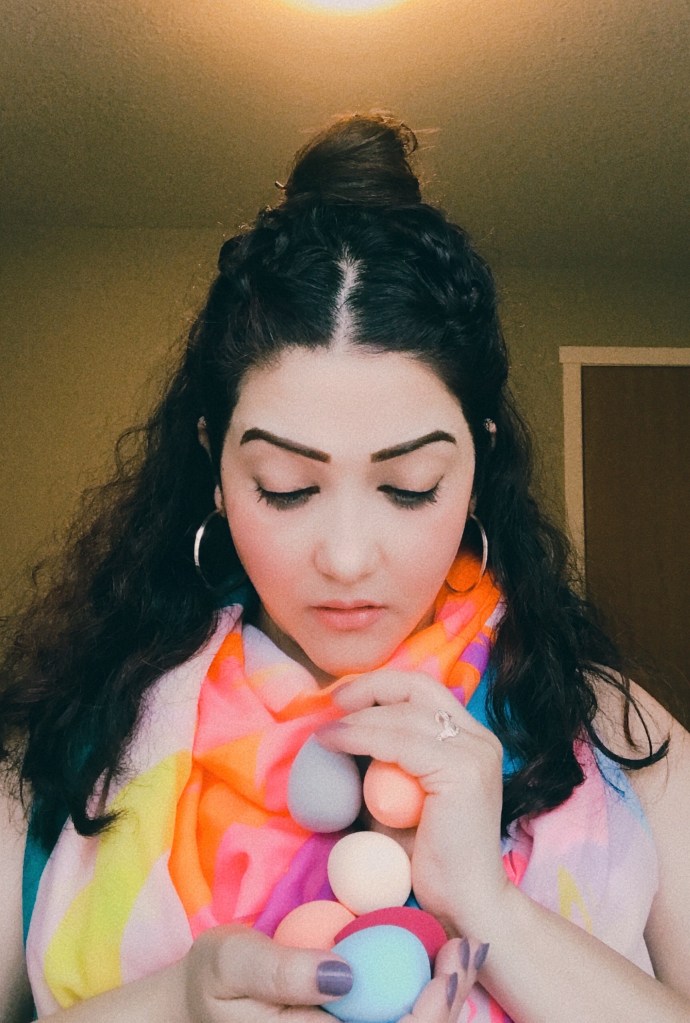
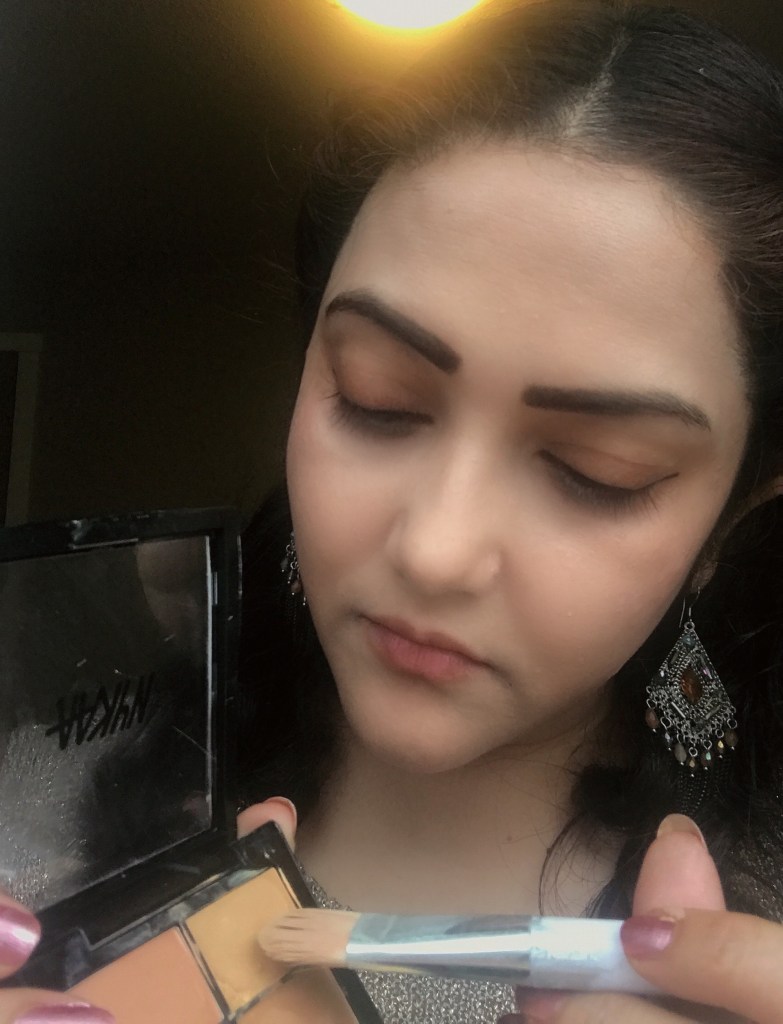
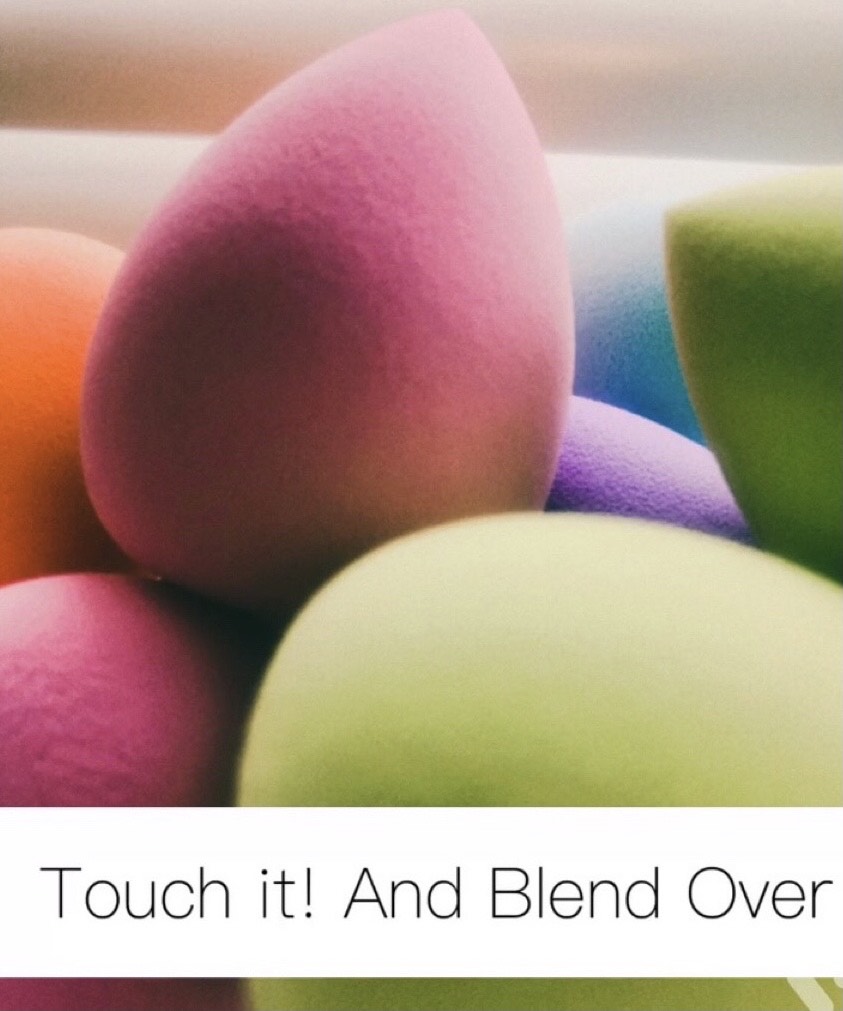
Blending sponge’s popularity is its versatility. Tend to use it to apply blush, moisturizer, corrector and highlighter to contour, define brows, apply eyeliner and also to tone a look and evenly apply powder on the face.

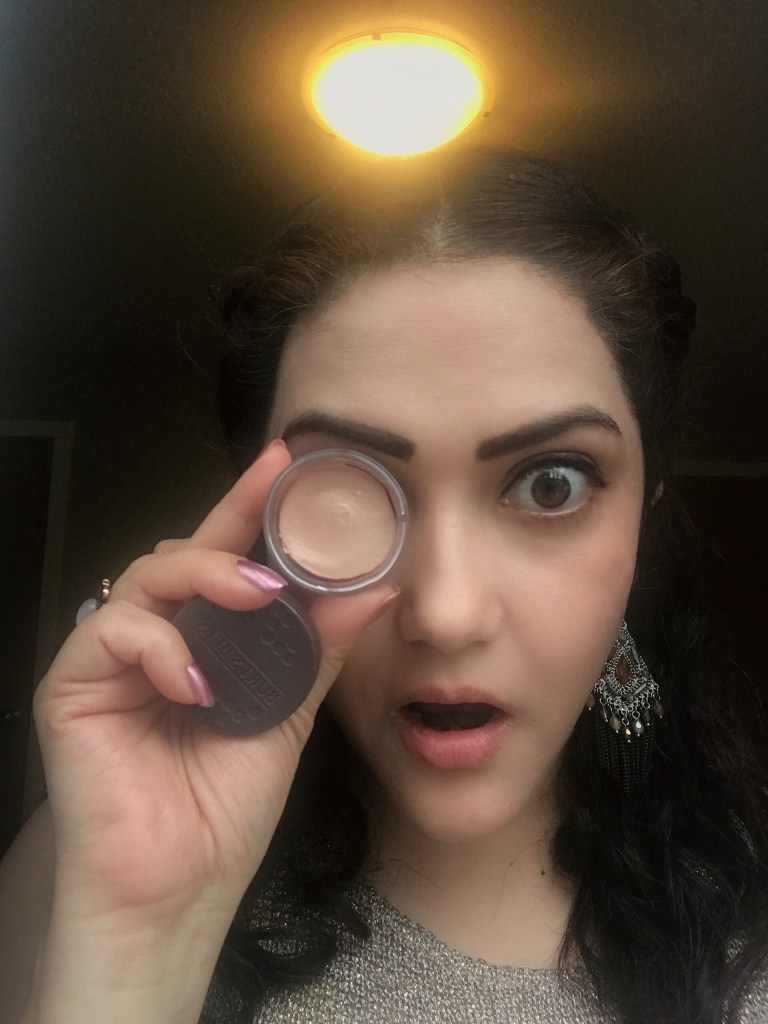
Blenders are every beauty expert’s go-to tool. You really need it in your life right now to change your beauty game.

I hope you like the post. Thank you for reading!

Sweta”ka”

Rating: 4 out of 5.

#blogpost #healthyfoods#superfoods#healthiswealth#walnuts#yogurt#darkchocolate#kale#berries#dailyroutine#healthylifestyle bathandbodyworks beautyandcare beautycare Beauty Craft behealthy boldlook curlingrod eye makeup eyes eyeshadow face fashionbloggers fashioninspiration fashionstyle fashiontips featured foundation freshbeauty haircare haircurls hairdo hairdryer hair fixing spray hairserum hairstyle hairvibes hair volumiser HEALTH Health and Healing health benefits healthybody honey lips loreal makeup makeup.beauty makeupandbeauty makeupbrushes makeup do makeuptools mascara Moda scrub

Standard
Beauty Craft

RASPBERRY RUSH

I BELIEVE ALL THE THE WOMEN ARE PRETTY WITHOUT MAKEUP BUT WITH THE RIGHT MAKEUP PRETTY POWERFUL

BOBBI BROWN

RASPBERRY RUSH

Fashion and Beauty choices are never predictable. Sometimes you want to go subtle sometimes bold, sometimes glittery and sometimes natural.

I really heart this berry-hued lip colour makeup tutorial. This winter it’s one of the juiciest colours of the season as they say” Berries for Winters”. This berry shade can be toned down for the day and amp for the night and will work on most skin tones. If you love to try this look as much as I did, here is the tutorial:

Let’s start with

FACE

The first thing you notice about this look is that it calls for a fuss-free base.

  • Start with a moisturiser
  • Follow up with a good eye cream. I picked Neutrogena as it suits me a lot.
  • Dab foundation on forehead, cheeks and chin and evenly blend it in with your finger tips or sponge.
  • Using a puff apply pressed powder and buff away with big powder brush.
  • Keep the cheeks bare for optimal look.

EYES

Need to keep the freshness of colours.

  • I am using shimmery and subdued pink eyeshadow all over the eyelids, starting from brow bone extending to lash line. Blend it well with an eyeshadow blending brush.
  • Next, take a small eyeliner brush and create winged liner with eyeshadow in purple. It does’t have to be perfect line, you can even smudge the corners out if you like.
  • Add the finishing touches with two generous coats of a volumising mascara.

LIPS

Depending on how intense you want your lips to look

  • Define the lips with lipstick brush before filling in the colour.
  • Apply two coats of your favourite Matte Lipstick in Raspberry Syrup.

If you notice, the makeup on the eyes is quite subtle and has natural undertones allowing the bold lip colour to stand out. I am in love with this matte Raspberry shade lipstick and always love to experiment with my wardrobe and makeup.

Love the makeup so much that I am going to try this out quite a few times, just love the freshness on the face after finishing the look. Do give it a try and drop a comment in the comment box that how you like it!

Thank you so much for reading! You can watch a tutorial of this amazing makeup look on my INSTAGRAM REEL.

Stay safe! Stay Beautiful from the inside out!

Sweta “ka”

Rating: 1 out of 5.

#blogpost #healthyfoods#superfoods#healthiswealth#walnuts#yogurt#darkchocolate#kale#berries#dailyroutine#healthylifestyle bathandbodyworks beautyandcare beautycare Beauty Craft behealthy boldlook curlingrod eye makeup eyes eyeshadow face fashionbloggers fashioninspiration fashionstyle fashiontips featured foundation freshbeauty haircare haircurls hairdo hairdryer hair fixing spray hairserum hairstyle hairvibes hair volumiser HEALTH Health and Healing health benefits healthybody honey lips loreal makeup makeup.beauty makeupandbeauty makeupbrushes makeup do makeuptools mascara Moda scrub

Standard
Beauty Craft

RADIANT ROSEGOLD MAKEUP

“LIFE ISN’T PERFECT, BUT YOUR MAKEUP CAN BE ROSE GOLD”

Anonymous

As they say, all that glitters is not gold “It is Rose Gold”. This unique Copper-Gold hue has been gracing us with its presence via accessories like watches, earrings, bags, neckpieces, shoes, and other stuff; but what impresses me most is the Rose Gold Makeup. From luminescent to luscious lids, rose gold is a wearable tone for any daily look makeup.

Rose Gold embodies both warm and cool qualities. Here in this blog, I am going to try and achieve a natural yet eye-catching rose gold makeup look, which you can incorporate it into your routine makeup look books to shimmer and shine together.

WHAT DO WE NEED

  • Moisturiser
  • Primer
  • Lip Balm
  • Foundation
  • Corrector and Concealer
  • Rose Gold Blush and Eyeshadow
  • Mascara
  • Transparent Lip Gloss

HOW DO WE DO IT

  • Prep your skin with hydrating moisturiser to revive dull skin.
  • Apply primer evenly on your face and neck for a clean canvas.
  • Swipe a lip balm on your lips to hydrate and soften them.
  • Blend foundation that matche your skin tone on your face and neck. Use blending brush for an even finish.
  • Apply corrector and concealer under your eyes to hide dark circles and make your eyes look fresh and awake.
  • Take your favourite Rose Gold blush or eyeshadow and apply it on your eyelids. You can swipe a little along lower waterline as well.
  • Swipe a few coats of mascara to open up your eyes.
  • Apply the same product (Rose gold blush or eyeshadow) on your cheeks for the rosy flush.
  • Swipe transparent lip gloss on your lips. Dab the rose gold blush/eyeshadow on your lips to finish your look.

Rating: 1 out of 5.

#blogpost #healthyfoods#superfoods#healthiswealth#walnuts#yogurt#darkchocolate#kale#berries#dailyroutine#healthylifestyle bathandbodyworks beautyandcare beautycare Beauty Craft behealthy boldlook curlingrod eye makeup eyes eyeshadow face fashionbloggers fashioninspiration fashionstyle fashiontips featured foundation freshbeauty haircare haircurls hairdo hairdryer hair fixing spray hairserum hairstyle hairvibes hair volumiser HEALTH Health and Healing health benefits healthybody honey lips loreal makeup makeup.beauty makeupandbeauty makeupbrushes makeup do makeuptools mascara Moda scrub

Standard
Beauty Craft

BED HAIR

“I DON’T NEED STYLIST. MY PILLOW GIVES ME A NEW HAIR STYLE EVERY MORNING”

Whoever thought? Getting up with bed hair will also be counted as one of the hairdo trends one day. It sounds crazy, what’s with the tend? But, yes this is also a hairdo style. It may sound super easy, it is easy too but to get perfect bed hair is quite a task. I tried to achieve it but was not very happy with the results. Let you guys decide that!, but definitely, I love to share this wonderful tutorial for the BED HAIR trend which is awesome. Bed Hair trend is very popular among beauty and hair communities, which clearly depicts the nonchalant hairstyling yet with all the efforts put in like any other hairdo.

Famous among various celebrities who are known for trying various styles and trends, this looks almost looks like you come out of your bed and yet look so trendy and chic.

Wanted to try this look for so long. In the Pandemic, we stayed and home and mostly WFH which made this look legit and workable. You are at home right? You can have Bed Hair!

WHAT DO WE NEED

  • HAIR SPRAY
  • HAIRDRYER
  • HAIRSHINE SPARY OR SERUM
  • SCRUNCHIE TO HOLD A BUN

HOW DO WE DO IT

  • While your hair still damp load it up with hair spray
HAIR SPRAY
  • Tie your hair into a high messy bun, leaving a few strands hanging loose.
TIE IN BUN
  • Dry your hair using the diffuser attachment on your hairdryer, this will add volume.
  • Once dry, open up the bun and run your fingers through your hair for a perfectly tousled look.
  • Finish with a spritz of shine spray/serum to complete the look.
BED HAIR, BEST HAIR
HAIR SHINE SPRAY
  • If you feel your hair flattening at any point, just tie it into a messy bun for five minutes and reopen.
BED HAIR LOOK!!

I hope you enjoy this short little tutorial!

Thanks for reading!

Stay Safe!

Sweta”ka”

Rating: 1 out of 5.

#blogpost #healthyfoods#superfoods#healthiswealth#walnuts#yogurt#darkchocolate#kale#berries#dailyroutine#healthylifestyle bathandbodyworks beautyandcare beautycare Beauty Craft behealthy boldlook curlingrod eye makeup eyes eyeshadow face fashionbloggers fashioninspiration fashionstyle fashiontips featured foundation freshbeauty haircare haircurls hairdo hairdryer hair fixing spray hairserum hairstyle hairvibes hair volumiser HEALTH Health and Healing health benefits healthybody honey lips loreal makeup makeup.beauty makeupandbeauty makeupbrushes makeup do makeuptools mascara Moda scrub

Standard
Moda

HOW TO CHANEL YOUR PUNK PRINCESS

“In reality punk people are usually the gentlest, kindest folks you’ll ever know. They’re like hippies, only they wear way more black.” 

Kate Rockland

Usually, I am less experimental and follow trends that especially suits my inner being. Like.. kind of sweet, humble, easy-going, and cute. But that never means that I don’t want to try different looks or styles. But trust me it’s been a long I was waiting to try this empirical look that is an absolute paradox of my personality type. Yes, of course! I was a bit nervous but excited too to give this look a try.

So no time wasted and I gave myself go ahead and tried this delinquent look. Also, I wanted to share the easiest possible tutorial so that you can also try this tremendous look. I wanted to add a little wild side that promises to be one of the top fall/winter trends This is a strong, edgy, and nonconformist look and I think I should give it a shot, no matter if I go wrong so be it! eh? Let’s do it!

I divided this look into three parts:

HAIR

  • Sweep your hair to the base of your head securing it at the nape.
  • Lift the hair at the top of your head to create a middle bun and spray to keep it in place.
  • Use hairspray to keep all flyways at bay, or you can also use a metal band to keep them in place.
  • This look needs to be severe and in place.

EYES

  • Use metallic grey or black eyeshadow to give that punk or Smokey look to your eyes.
  • Use the color evenly on your upper and lower lids and extend into a thick wing from the outer corner of your eye.
  • Line your inner eyelids with a black eye crayon pencil and finish with lots of mascara.

LIPS

  • With lips, this dark to ensure the ruffian look, make sure the look is severe, not messy.
  • To stop ugly bleeds, use a little foundation to line your lips.
  • Blend. Sharpen a lip pencil and draw a firm, fine line outlining your natural lip shape.
  • Fill in with a dark berry matte lip shade or creamy color using a lip brush. Blot and reapply.

And done!

Folks, give in to your wild side with this strong look that promises to be one of the top winter/fall trends.

Happy Reading and stay safe!

Sweta”KA”

Rating: 1 out of 5.

#blogpost #healthyfoods#superfoods#healthiswealth#walnuts#yogurt#darkchocolate#kale#berries#dailyroutine#healthylifestyle bathandbodyworks beautyandcare beautycare Beauty Craft behealthy boldlook curlingrod eye makeup eyes eyeshadow face fashionbloggers fashioninspiration fashionstyle fashiontips featured foundation freshbeauty haircare haircurls hairdo hairdryer hair fixing spray hairserum hairstyle hairvibes hair volumiser HEALTH Health and Healing health benefits healthybody honey lips loreal makeup makeup.beauty makeupandbeauty makeupbrushes makeup do makeuptools mascara Moda scrub

Standard